BeadPattern offers two ways to convert images into perler bead patterns: upload existing images or use AI generation. Whether you're a beginner or an experienced crafter, you can get professional bead patterns in just a few minutes.
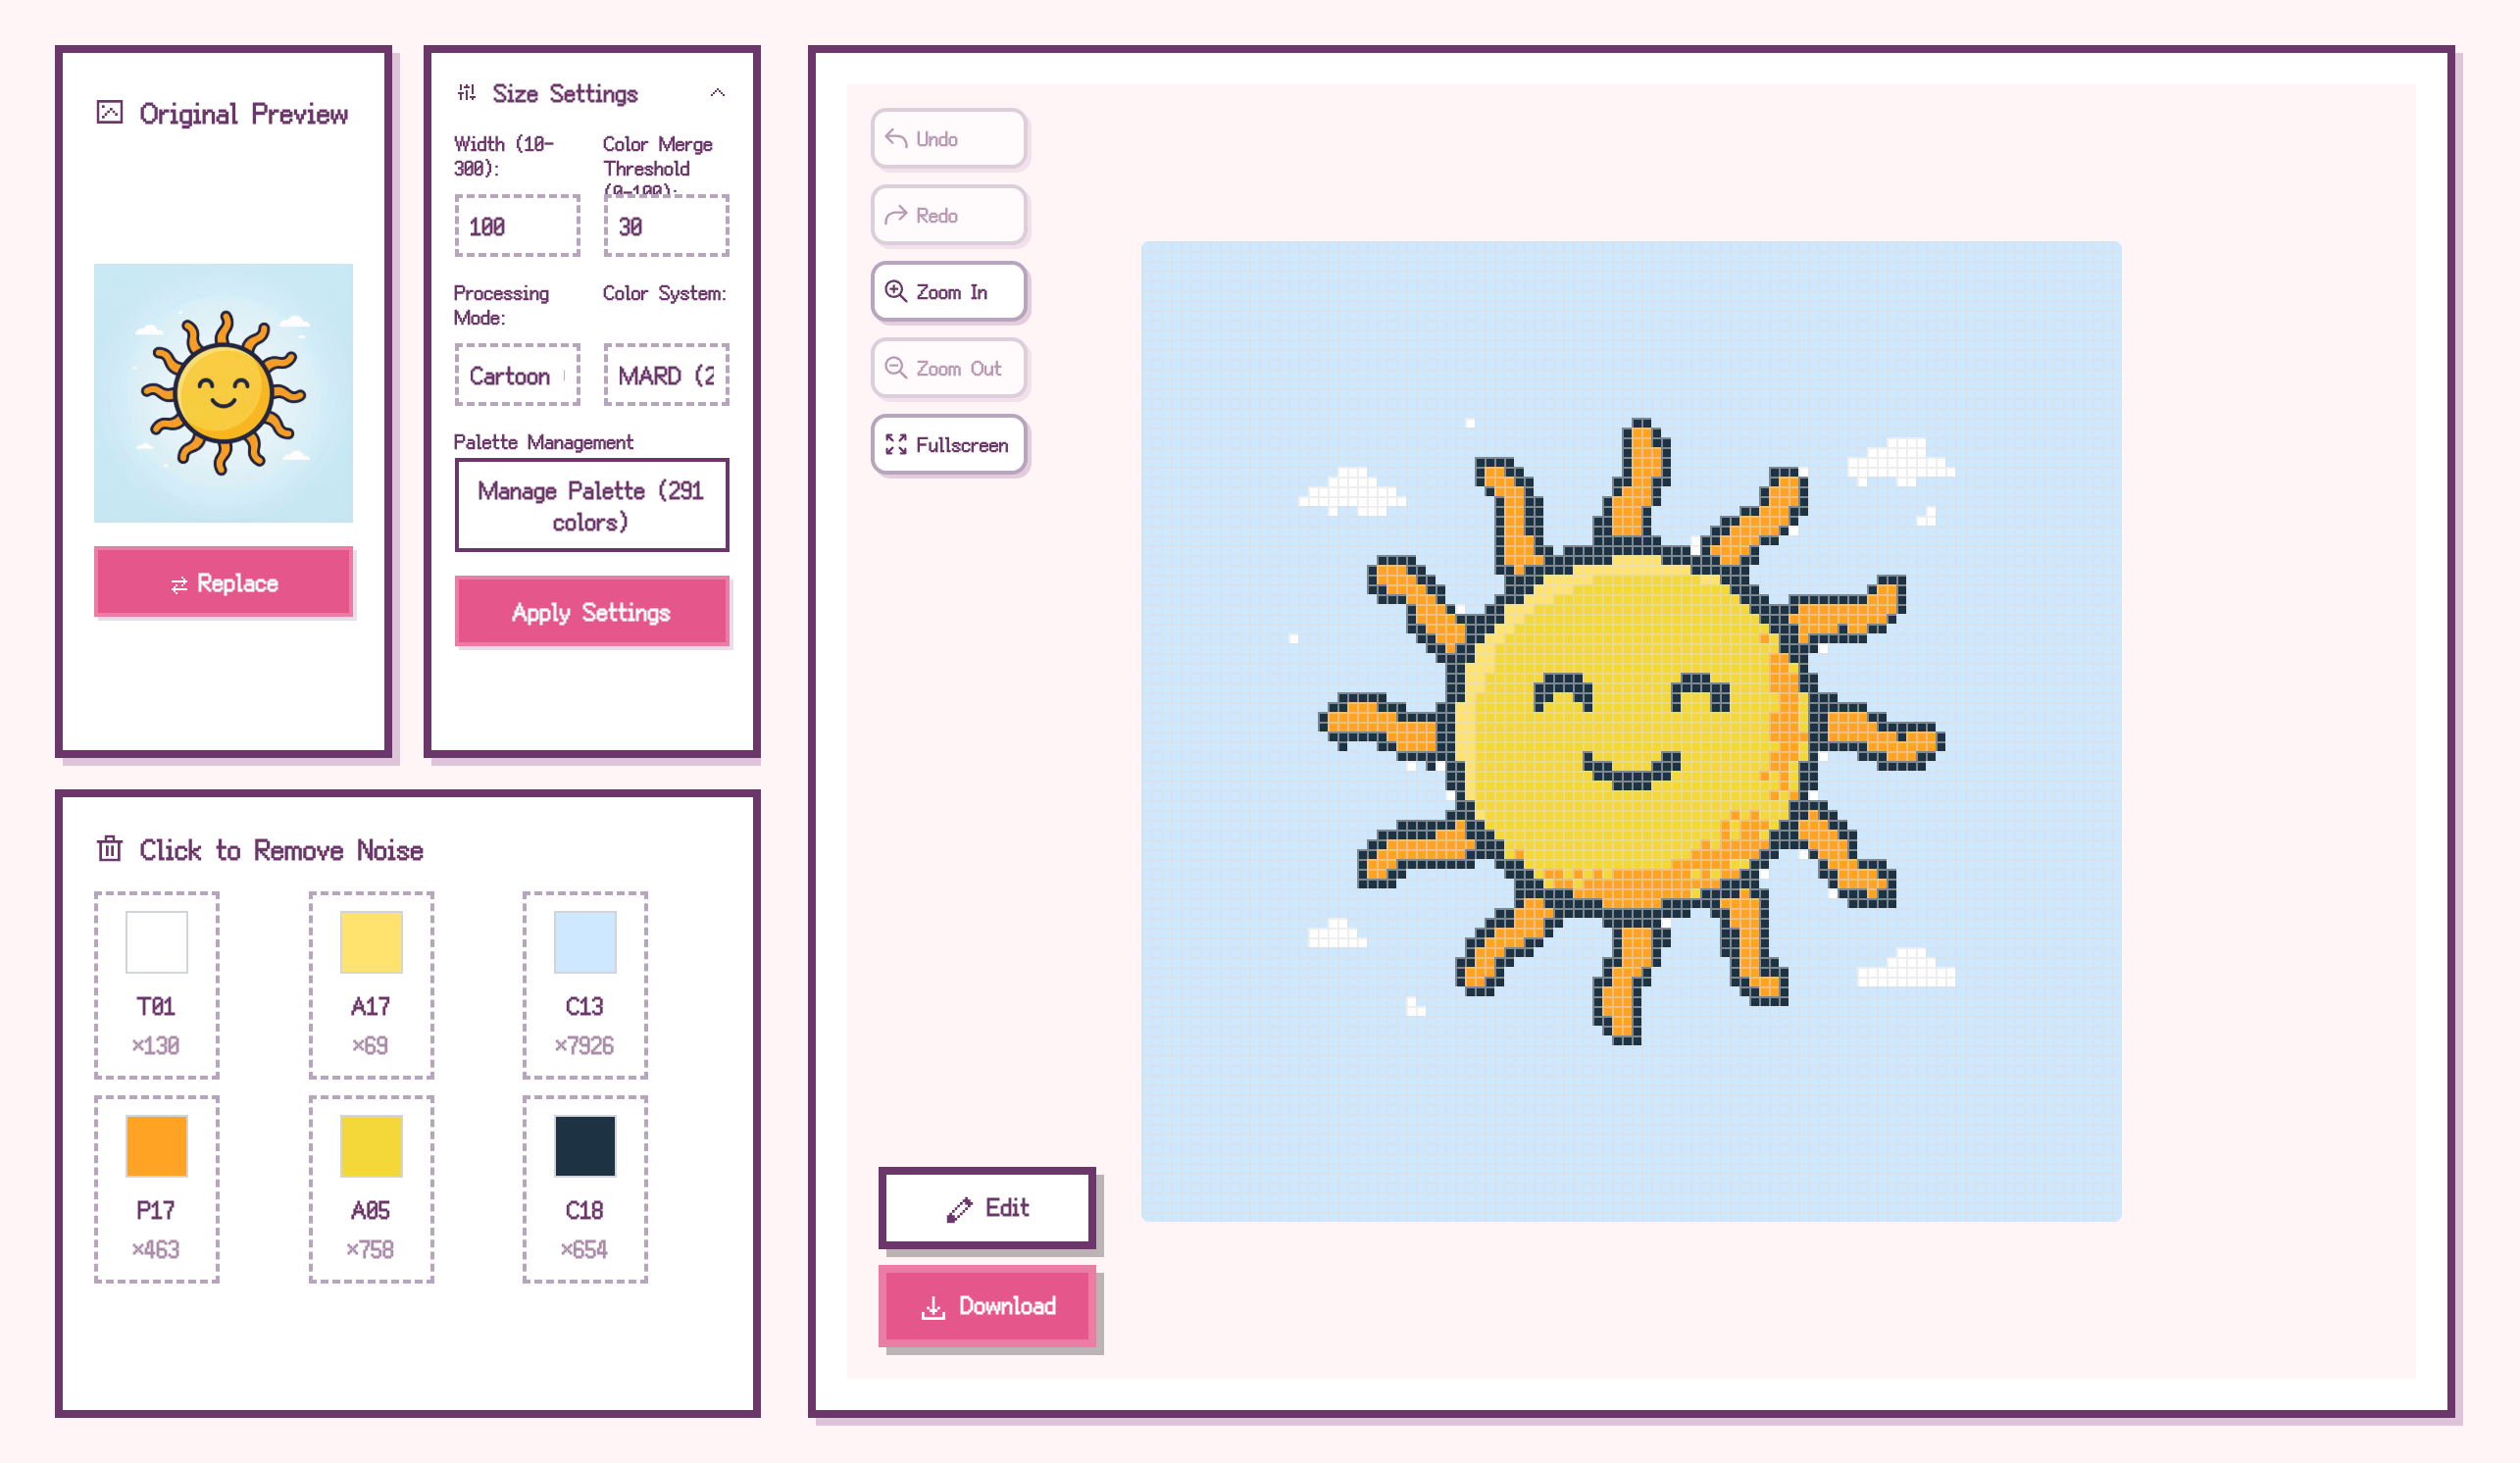
Method 1: Upload Image Conversion
Perfect for users who already have a favorite image. Just a few simple steps to convert any image into a bead pattern with color codes.
1. Upload Your Image
Click the 'Upload Image' button on the homepage, or drag and drop your image into the upload area. Supports JPG, PNG, and WebP formats. Images with clear outlines and high color contrast work best.
2. Adjust Pixelation Parameters
After uploading, you can adjust these parameters to optimize the conversion:
Pixel Size: Higher values create more detailed patterns. Beginners should start with 60-80, then try 100-120 for larger patterns once comfortable.
Color Merge Threshold: Automatically merges similar colors to reduce the number of color codes, simplifying the crafting process. Higher values merge more aggressively.
Pixelation Mode:
3. Select Color System
BeadPattern supports multiple perler bead brand color systems:
The system automatically maps colors to the corresponding brand's color codes, making it easy to purchase materials.
4. Remove Unwanted Colors (Optional)
In the color list, click on unwanted colors to exclude them. This feature is great for:
5. Manual Editing (Optional)
If you're not satisfied with the auto-generated result, use the editing tools to fine-tune:
All operations support undo/redo, so feel free to experiment!
6. Export Pattern
Click the 'Download' button to get:
Method 2: AI Generation
Perfect for users without existing images who want original designs. Just describe your idea, and AI will generate a unique bead pattern for you.
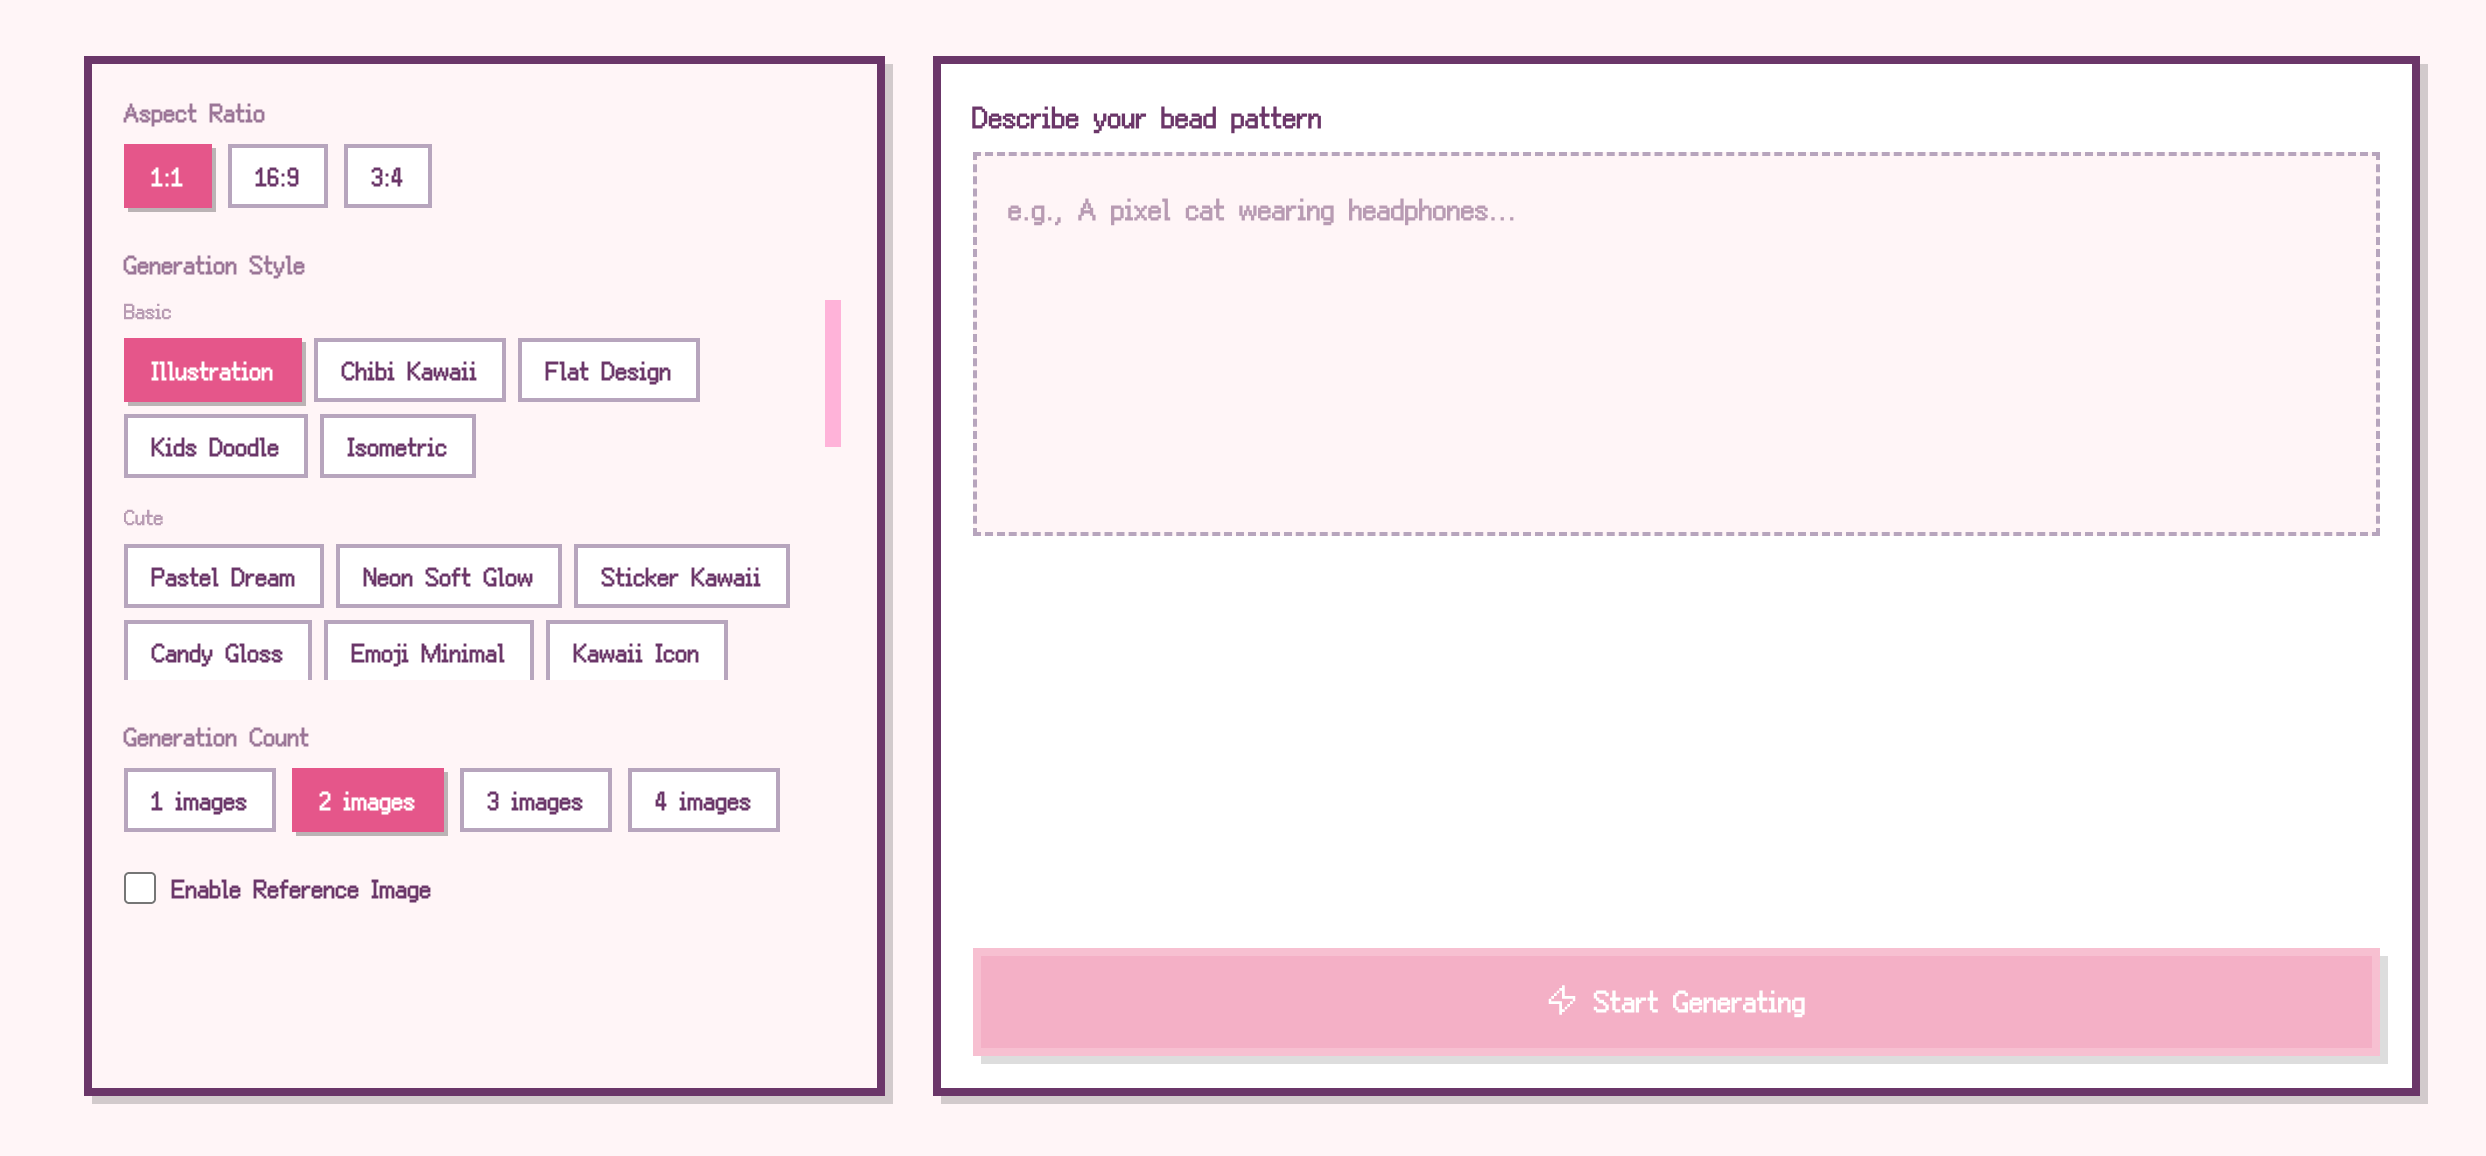
1. Click 'AI Generate' Button
On the homepage, click the 'AI Create Bead Pattern' card to enter the AI image generation panel.
2. Enter Image Description
Describe the pattern you want in text, for example:
Tip: The more specific your description, the closer the result will be to your expectations. Include details about the subject, pose, style, and colors.
3. Select Generation Parameters
Aspect Ratio: 1:1 (square), 16:9 (landscape), 3:4 (portrait)
Style: 25 styles available
Quantity: Generate 1-4 images at once to choose from
4. Upload Reference Image (Optional)
Enable 'Use Reference Image' and upload a reference picture. AI will generate new images based on the reference's style and composition. Great for:
5. Select Your Favorite Image
After AI generation completes, click 'Use This Image' to import it into the editor. Click 'Regenerate' if you're not satisfied.
6. Continue with Conversion
After importing, follow Method 1 steps 2-6: adjust parameters, select color system, and export the pattern.
Tips
Simple patterns work best: Images with clear outlines and fewer colors convert best. Complex photos may need more manual adjustment.
Use Cartoon Mode for cartoons: Illustrations, logos, and cartoon characters work best with Cartoon Mode to maintain clear boundaries.
Use Photo Mode for photos: Landscapes, portraits, and real photos work best with Photo Mode to preserve natural color transitions.
Preview before exporting: Adjust parameters and preview in real-time. Export only when satisfied to avoid wasting paper.
Use the color removal feature: Can significantly reduce the number of colors you need to purchase, especially helpful for beginners on a budget.
Start your bead crafting journey now! If you have any questions, feel free to contact us via email.