How to Print Drawing Grids on A4, A5, Letter and Legal Paper
A printable grid maker is only useful if the printed page matches the way you plan to draw. The common failure is simple: the grid looks right on screen, then the printer quietly scales it, clips it, or changes the margins.
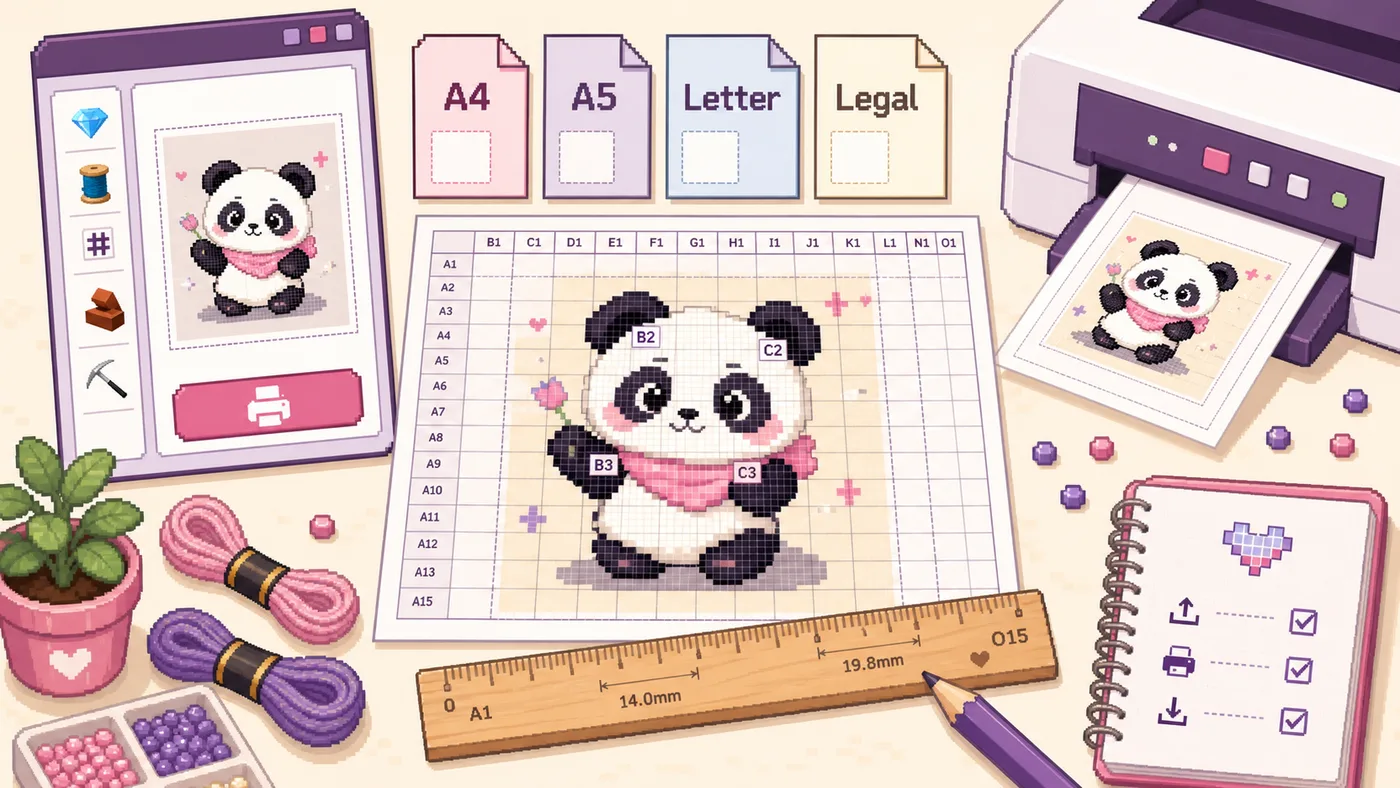
This guide explains how to print a drawing grid printable on A4, A5, Letter and Legal paper, when to use Actual Size instead of Fit, and how to test a 1 cm or 1 inch square before you waste paper.
For the fastest workflow, create your image grid in BeadPattern Grid Maker. If your reference is for counted stitch or embroidery planning, use Cross Stitch Grid Maker instead.
Choose the Paper Size First
Paper size controls the physical spacing of your grid. A 10 by 10 grid on A5 is much tighter than the same 10 by 10 grid on Legal paper.
If you are searching for an A4 grid maker, start with A4 in the tool, not in the print dialog. The file should be designed for the same paper size you plan to load into the printer.
Understand Rows, Columns and Physical Spacing
Rows and columns decide how many sections the image is split into. Paper size decides how large those sections become after printing.
The basic logic is simple: cell width is usable page width divided by columns, and cell height is usable page height divided by rows.
For example, a 10-column grid on a page with 200 mm of usable width gives cells about 20 mm wide. A 20-column grid on the same page gives cells about 10 mm wide.
BeadPattern's paper format feature helps here because it lets you choose paper presets while adjusting row and column spacing visually.
Actual Size vs Fit to Page
Actual Size, 100% Scale, or No Scaling means the file prints at its designed size. Use this when the physical grid spacing matters, such as a 1 cm grid, 1 inch grid, or any reference that must match measured marks on your drawing paper.
Fit, Fit to Page, or Scale to Printable Area changes the output so it fits inside the printer's printable region. This prevents clipping, but it also changes the physical size of every grid cell.
Use Actual Size when:
Use Fit only when exact measurement does not matter and avoiding clipping is more important.
Printable Area and Margins
Most home printers cannot print to the absolute edge of the paper. They need margins, often called the printable area.
That means a full-page grid may be clipped if the lines reach the edge. Leave a small margin around the grid so outer lines, labels, and notes remain visible.
Test with a 1 cm or 1 Inch Square
Before printing a final drawing grid printable, print a test page with one known square. Use a 1 cm square if you work in metric, or a 1 inch square if your drawing surface is marked in inches.
Practical Grid Settings by Paper Size
For A5, keep the grid simple. Try 6 to 10 columns for small sketches, thumbnails, faces and simple shape practice.
For A4, start around 10 to 15 columns for general drawing. This is a good balance for portraits, pets, classroom worksheets and photo references.
For Letter, use similar settings to A4, but remember that Letter is a little wider and shorter. If your image was prepared as A4, check the preview before printing on Letter.
For Legal, take advantage of the extra height. It works well for full-body poses, vertical compositions, costume references, long lettering and tall mural studies.
Do Grid Squares Need to Be Perfect Squares?
Not always. For many drawing references, the important rule is consistency: the printed reference and your drawing surface must use the same proportional divisions.
Use square cells when you are measuring real-world units, practicing graph paper drawing, or transferring to a surface where each unit must stay equal.
Step-by-Step Printing Checklist
Common Printing Mistakes
Final Thoughts
Printing a drawing grid is not complicated, but it is unforgiving. Pick the correct paper size, control the rows and columns, leave printable margins, and test scale before the final print.