Free Online Grid Maker: How to Add a Printable Grid to Any Photo
A good grid maker is not just a visual effect. It is a practical way to turn a photo into a reference you can draw from, teach with, scale onto a wall, or import into a digital art app.
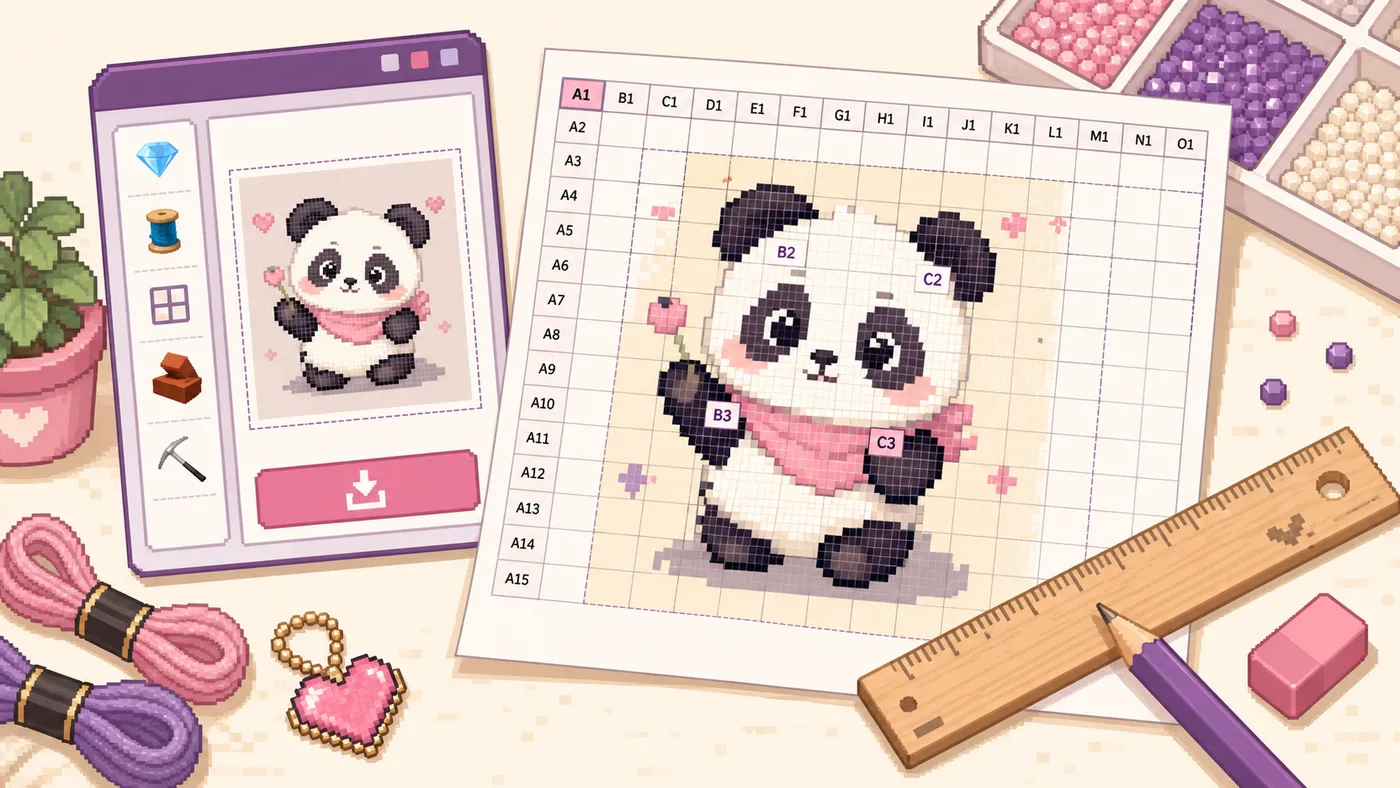
If you need to add grid to photo without installing software, use the BeadPattern Grid Maker to create an image grid overlay, adjust rows and columns, show A1/B2-style labels, and download a printable gridded PNG.
The point is simple: the grid breaks one difficult image into smaller decisions. Instead of guessing where an eye, roofline, pet ear, or shadow edge belongs, you compare one square at a time.
When a Printable Grid Helps
This is different from a collage-style photo grid. For drawing, the grid is a measuring tool. The important output is a readable reference image, not a social media layout.
How to Add a Grid to a Photo
Start with a clear photo. A high-contrast image with one main subject usually works better than a busy background.
1. Crop Before You Add the Grid
Match the image shape to the drawing surface as early as possible. If your paper is portrait A4 but the photo is a wide landscape, decide whether to crop, rotate, or leave blank space before printing.
This prevents the classic mistake: making a clean grid on the photo, then stretching it onto a surface with a different shape.
2. Choose Rows and Columns
Use fewer squares for large shapes and more squares for detail. A 4 x 6 or 5 x 7 grid is enough for broad placement. A 10 x 10, 12 x 16, or denser grid gives more reference points for portraits and complex images.
Do not make the grid dense just because the tool allows it. Too many lines can hide the image and slow the drawing process.
3. Adjust Line Color, Opacity, and Width
Choose a grid line that is visible but not louder than the photo. Dark photos usually need light lines. Pale photos usually need gray or black lines. For classroom printing, slightly thicker lines are safer because cheap printers can make thin pale lines disappear.
If you plan to draw from a black-and-white print, test the grid in grayscale before committing. A color line that looks perfect on screen may become weak when printed.
4. Turn On A1/B2 Labels When You Need Coordination
Coordinate labels are useful when more than one person is looking at the same reference. A teacher can say, look at B3, and a mural team can split work by labeled sections.
Labels also help beginners avoid losing their place. If the drawing goes wrong, it is easier to check one square than to rejudge the whole image.
5. Download the Printable Gridded PNG
After the overlay looks right, download the PNG. Keep the file as your master reference. You can print it, import it into a drawing app, or attach it to a classroom handout.
Because the tool runs in the browser, the workflow stays light: upload the image locally, adjust the grid, export the result, and move on.
How to Pick the Right Grid Density
If the subject only looks right with a very dense grid, the source image may be too detailed for the intended drawing size.
Printing: A4, A5, Letter, Legal, and the Mistakes to Avoid
Printing is where many good grids fail. The overlay can be perfect on screen and still come out wrong if the paper or scaling setting changes the size.
A4 is common in most countries, while Letter is common in the United States and Canada. A5 is smaller and better for quick references. Legal is longer and can help with tall compositions or extra notes.
The paper format affects the physical size of each square. More columns on the same paper means smaller squares. The same row and column count on A5 will be harder to read than on A4 or Letter.
Use Actual Size When Accuracy Matters
If you need predictable spacing, print at 100% or Actual Size. Avoid Fit to Page when you are trying to preserve measured grid spacing, because it can shrink or enlarge the image to fit printer margins.
Fit to Page is only acceptable when exact physical spacing does not matter and you only need a proportional visual reference.
Keep Paper Settings Consistent
The file, print dialog, and loaded printer paper should agree. Designing for A4 and printing on Letter can change margins, crop the border, or scale the whole grid.
If the drawing surface must match the printout, print one test page and measure several grid cells before drawing the final grid.
Mural Scaling Workflow
Classroom and Digital Art Tips
For teachers, the best printable grid is the one students can actually read. Use clear line contrast, visible labels, and a row count that matches the skill level of the class.
For digital artists, download the gridded PNG and import it as a temporary reference layer. Lower the layer opacity if needed, but keep the crop ratio unchanged.
Quick FAQ
What kind of free grid maker is good for drawing?
It should add a grid to a photo, control row and column count, adjust line visibility, add coordinate labels, and export a printable image.
How dense should a portrait grid be?
Start around 8 x 10, 10 x 10, or 12 x 16. The grid should locate the features without covering the face structure.
Should I print with Fit to Page or Actual Size?
Use Actual Size or 100% when physical spacing matters. Use Fit to Page only when the grid is a visual reference and exact measurement is not important.
Why did my printed grid become smaller?
The usual causes are Fit to Page, automatic printer margin correction, a wrong paper size, or printing an A4 layout on Letter paper.
Final Thoughts
A good drawing grid maker should reduce proportion mistakes, not create new ones. Crop first, choose a readable grid density, keep the lines clear, turn on labels when coordination matters, and print with the correct paper size.