If you are searching for how to iron Perler beads, the real problem is usually not the iron itself. It is uneven heat, the wrong paper, or checking the design too early. Once you fix those three things, your melts become much more predictable.
The short version is simple: use a flat household iron on medium heat, keep steam off, cover the design with parchment or proper ironing paper, and fuse in slow circular passes. For more bead workflow tips, the BeadPattern blog is a useful next stop once you are ready to turn ideas or photos into printable patterns.
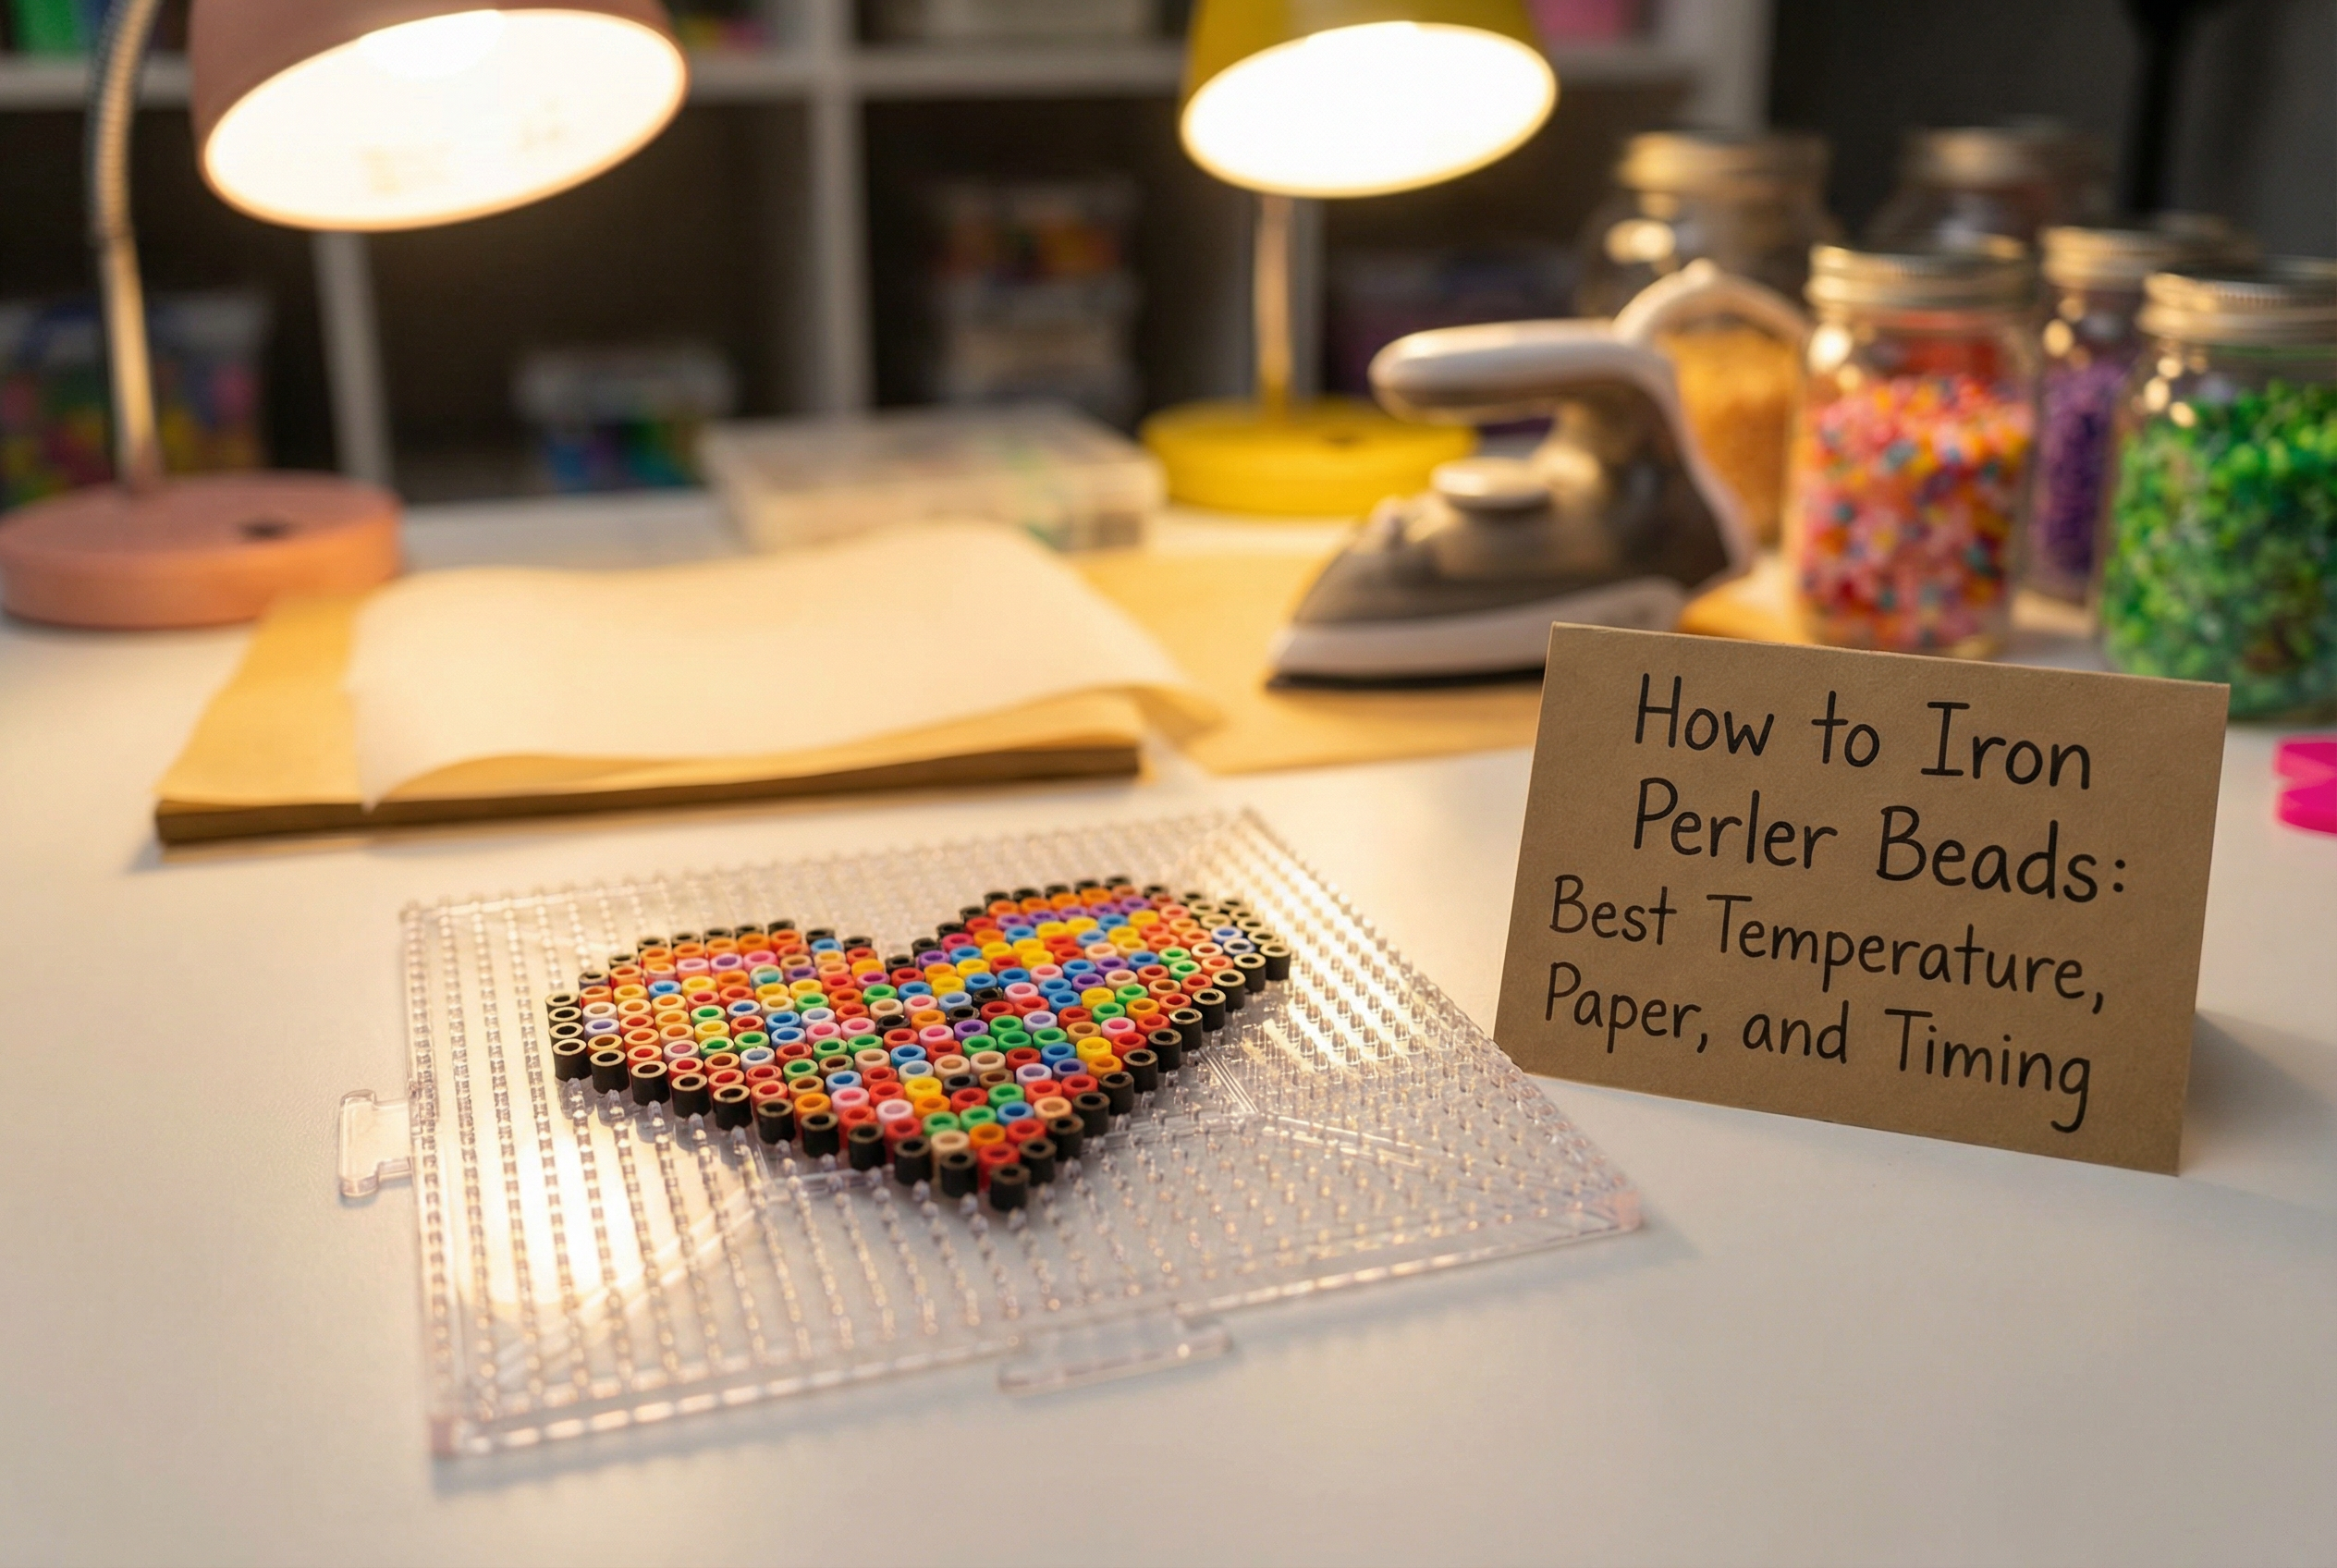
A close-up hero image reinforces the main idea of how to iron perler beads: best temperature, paper, and timing and gives the article a visual entry point.
What Iron Setting for Perler Beads Works Best?
Official Perler project guides repeatedly point to a medium household iron setting rather than a high-heat blast. That matters because high heat can close holes too fast, warp boards, or leave parts of the design over-fused while other areas still separate.
For most standard midi beads, start with:
If you are using a mini iron or craft iron, test on a small project first. Different irons run hotter than their labels suggest.
How Long to Iron Perler Beads
Perler's own keychain instructions say beads usually need about 10 to 20 seconds per side to fuse evenly, with extra time added only if sections are still loose. That is a better starting point than guessing by feel on your first project.
A practical method is:
1. Cover the design with parchment paper or proper ironing paper.
2. Move the iron in small circles so one zone does not get all the heat.
3. Check whether the beads are connecting, not whether they are fully flattened.
4. Flip and repeat on the other side after the first side holds together.
If the centers are still open but the design is staying intact, you are usually in a good range.
Can You Use Parchment Paper for Perler Beads?
Yes. Parchment paper is the safe default and is consistently recommended in official projects and beginner guides. It handles heat well and releases cleanly once the piece cools.
Can You Use Wax Paper for Perler Beads?
No. Wax paper is the classic beginner mistake because the wax can transfer to the beads and create a sticky mess. If you only remember one rule from this article, remember that parchment paper and wax paper are not interchangeable.
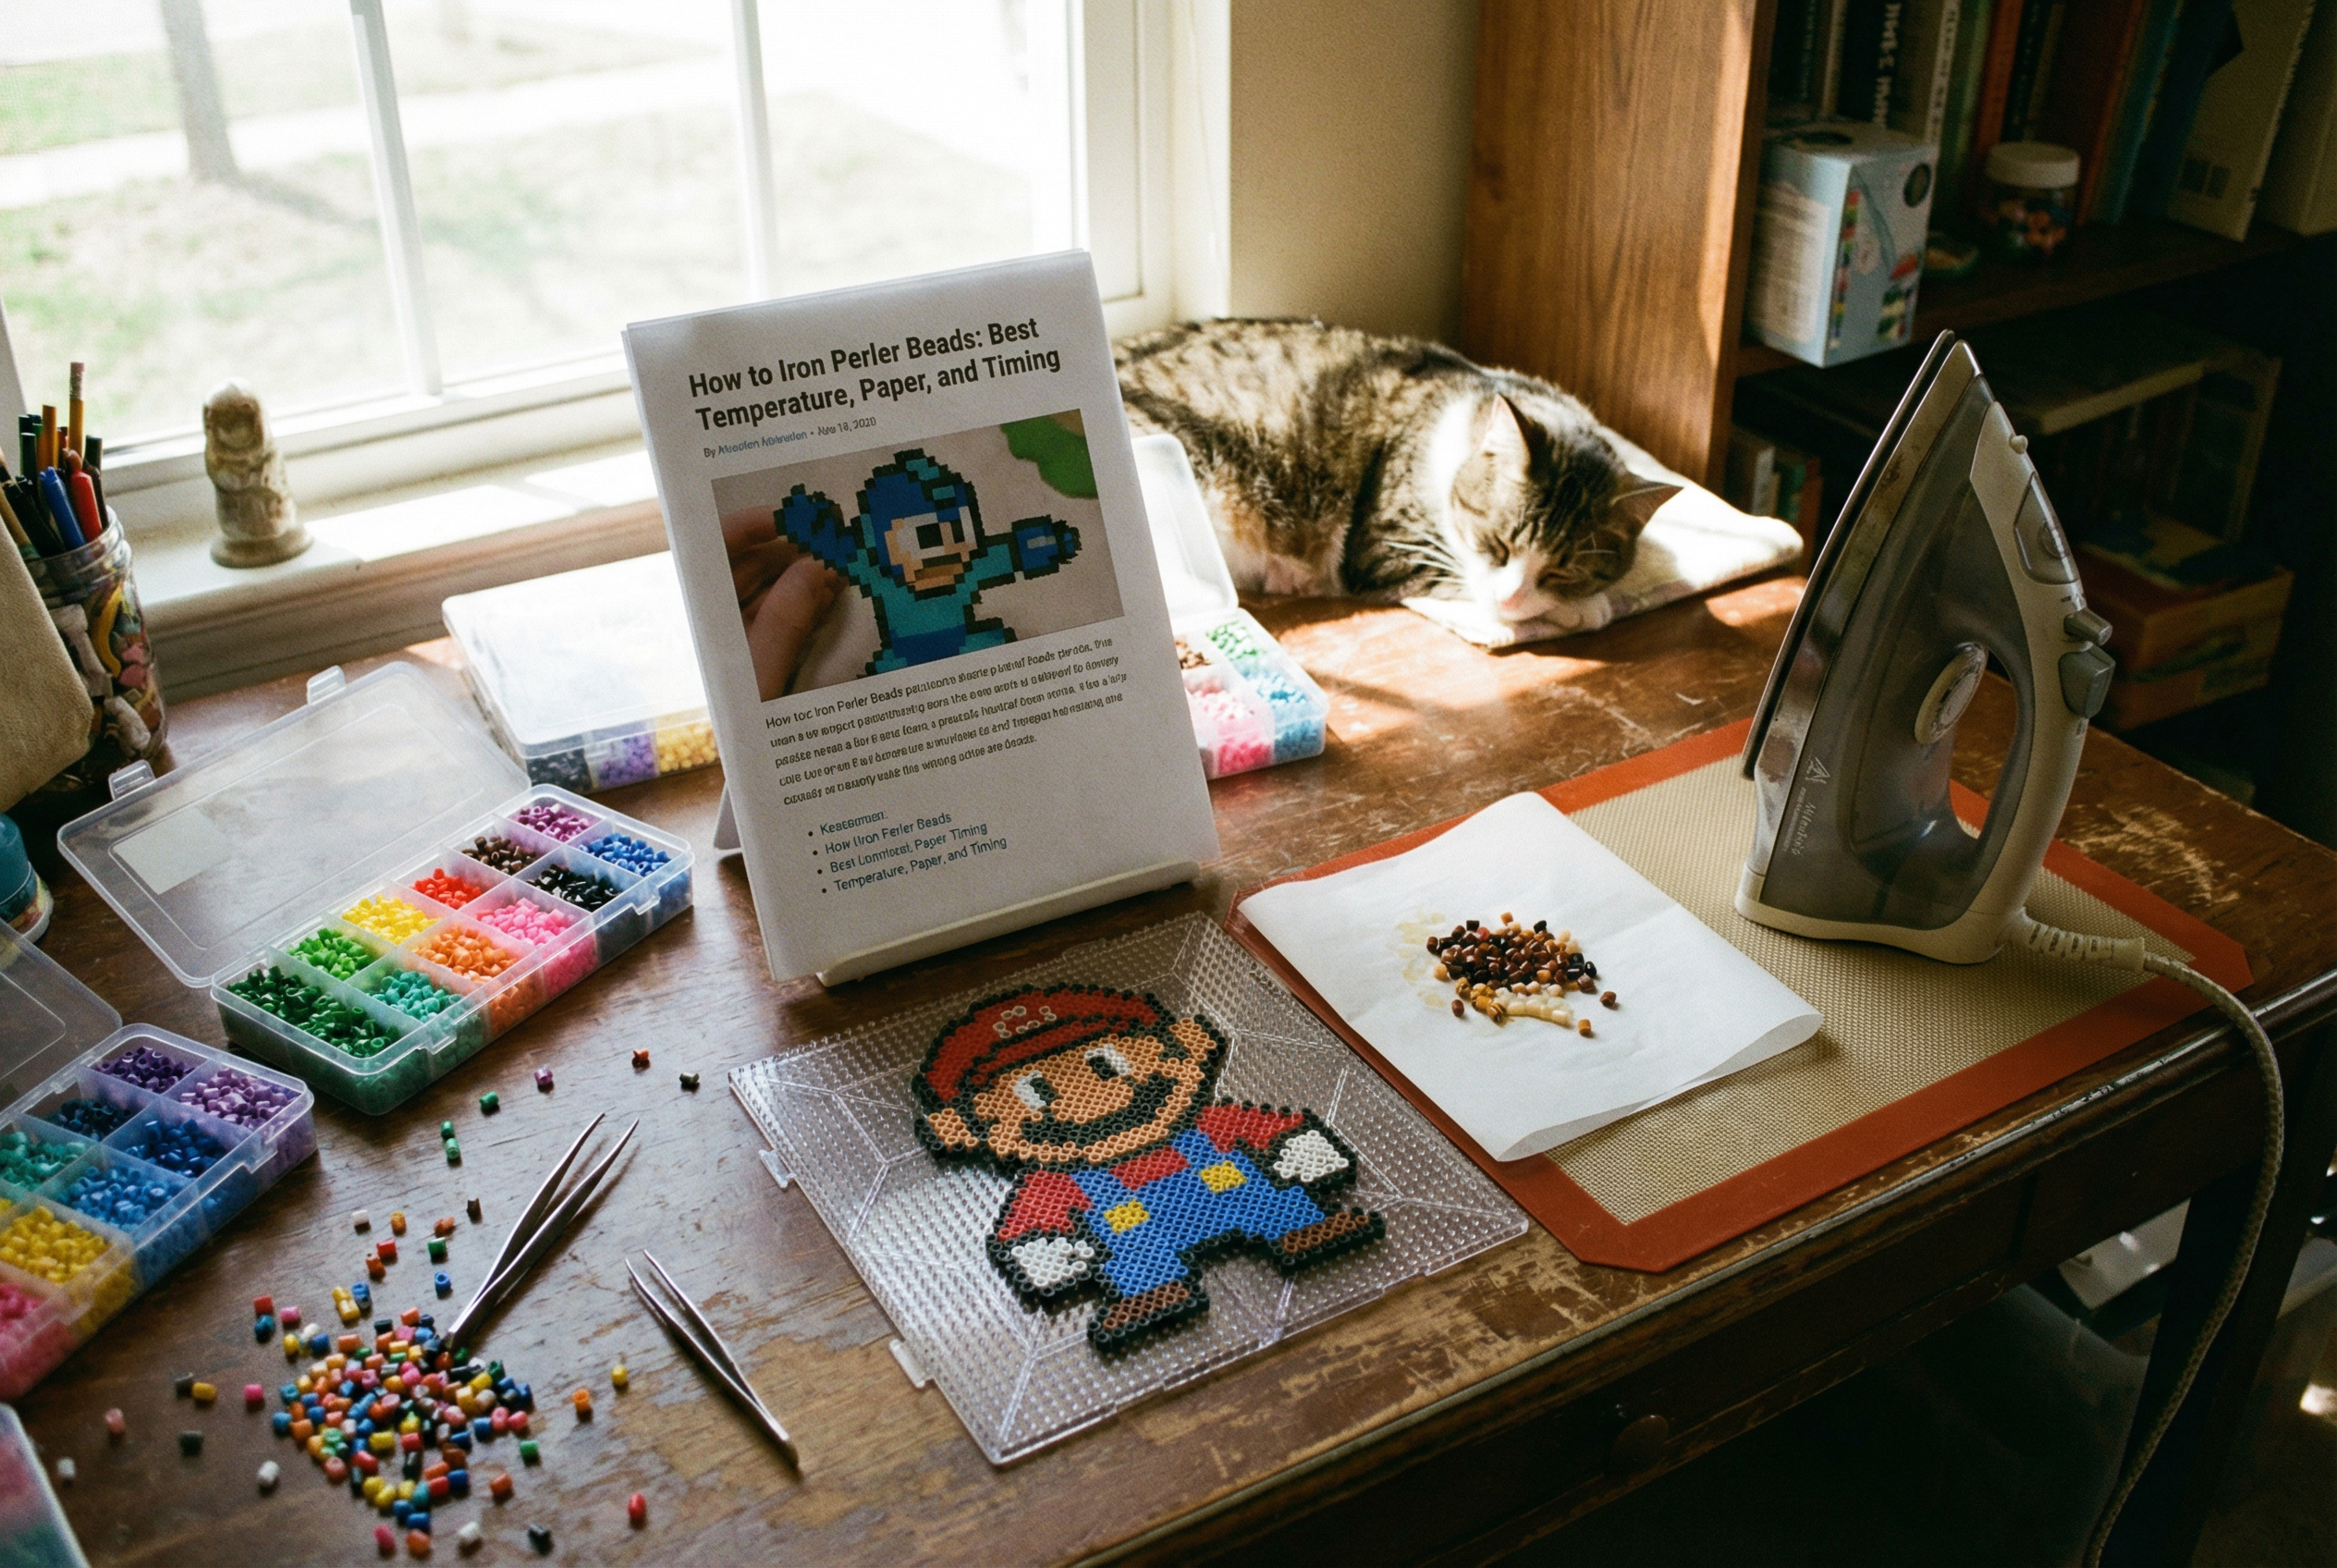
A workspace scene adds process context and makes the tutorial feel more actionable for readers.
A Simple Ironing Workflow That Prevents Warping
The cleanest routine for most projects looks like this:
1. Finish the bead design on a flat pegboard.
2. Cover with parchment paper.
3. Iron with medium heat in steady circular passes.
4. Flip the design and fuse the back side.
5. Let it cool fully before bending, hanging, or attaching hardware.
Large pieces may need slower passes and more patience. Small pieces usually fail because people rush the cooling step.
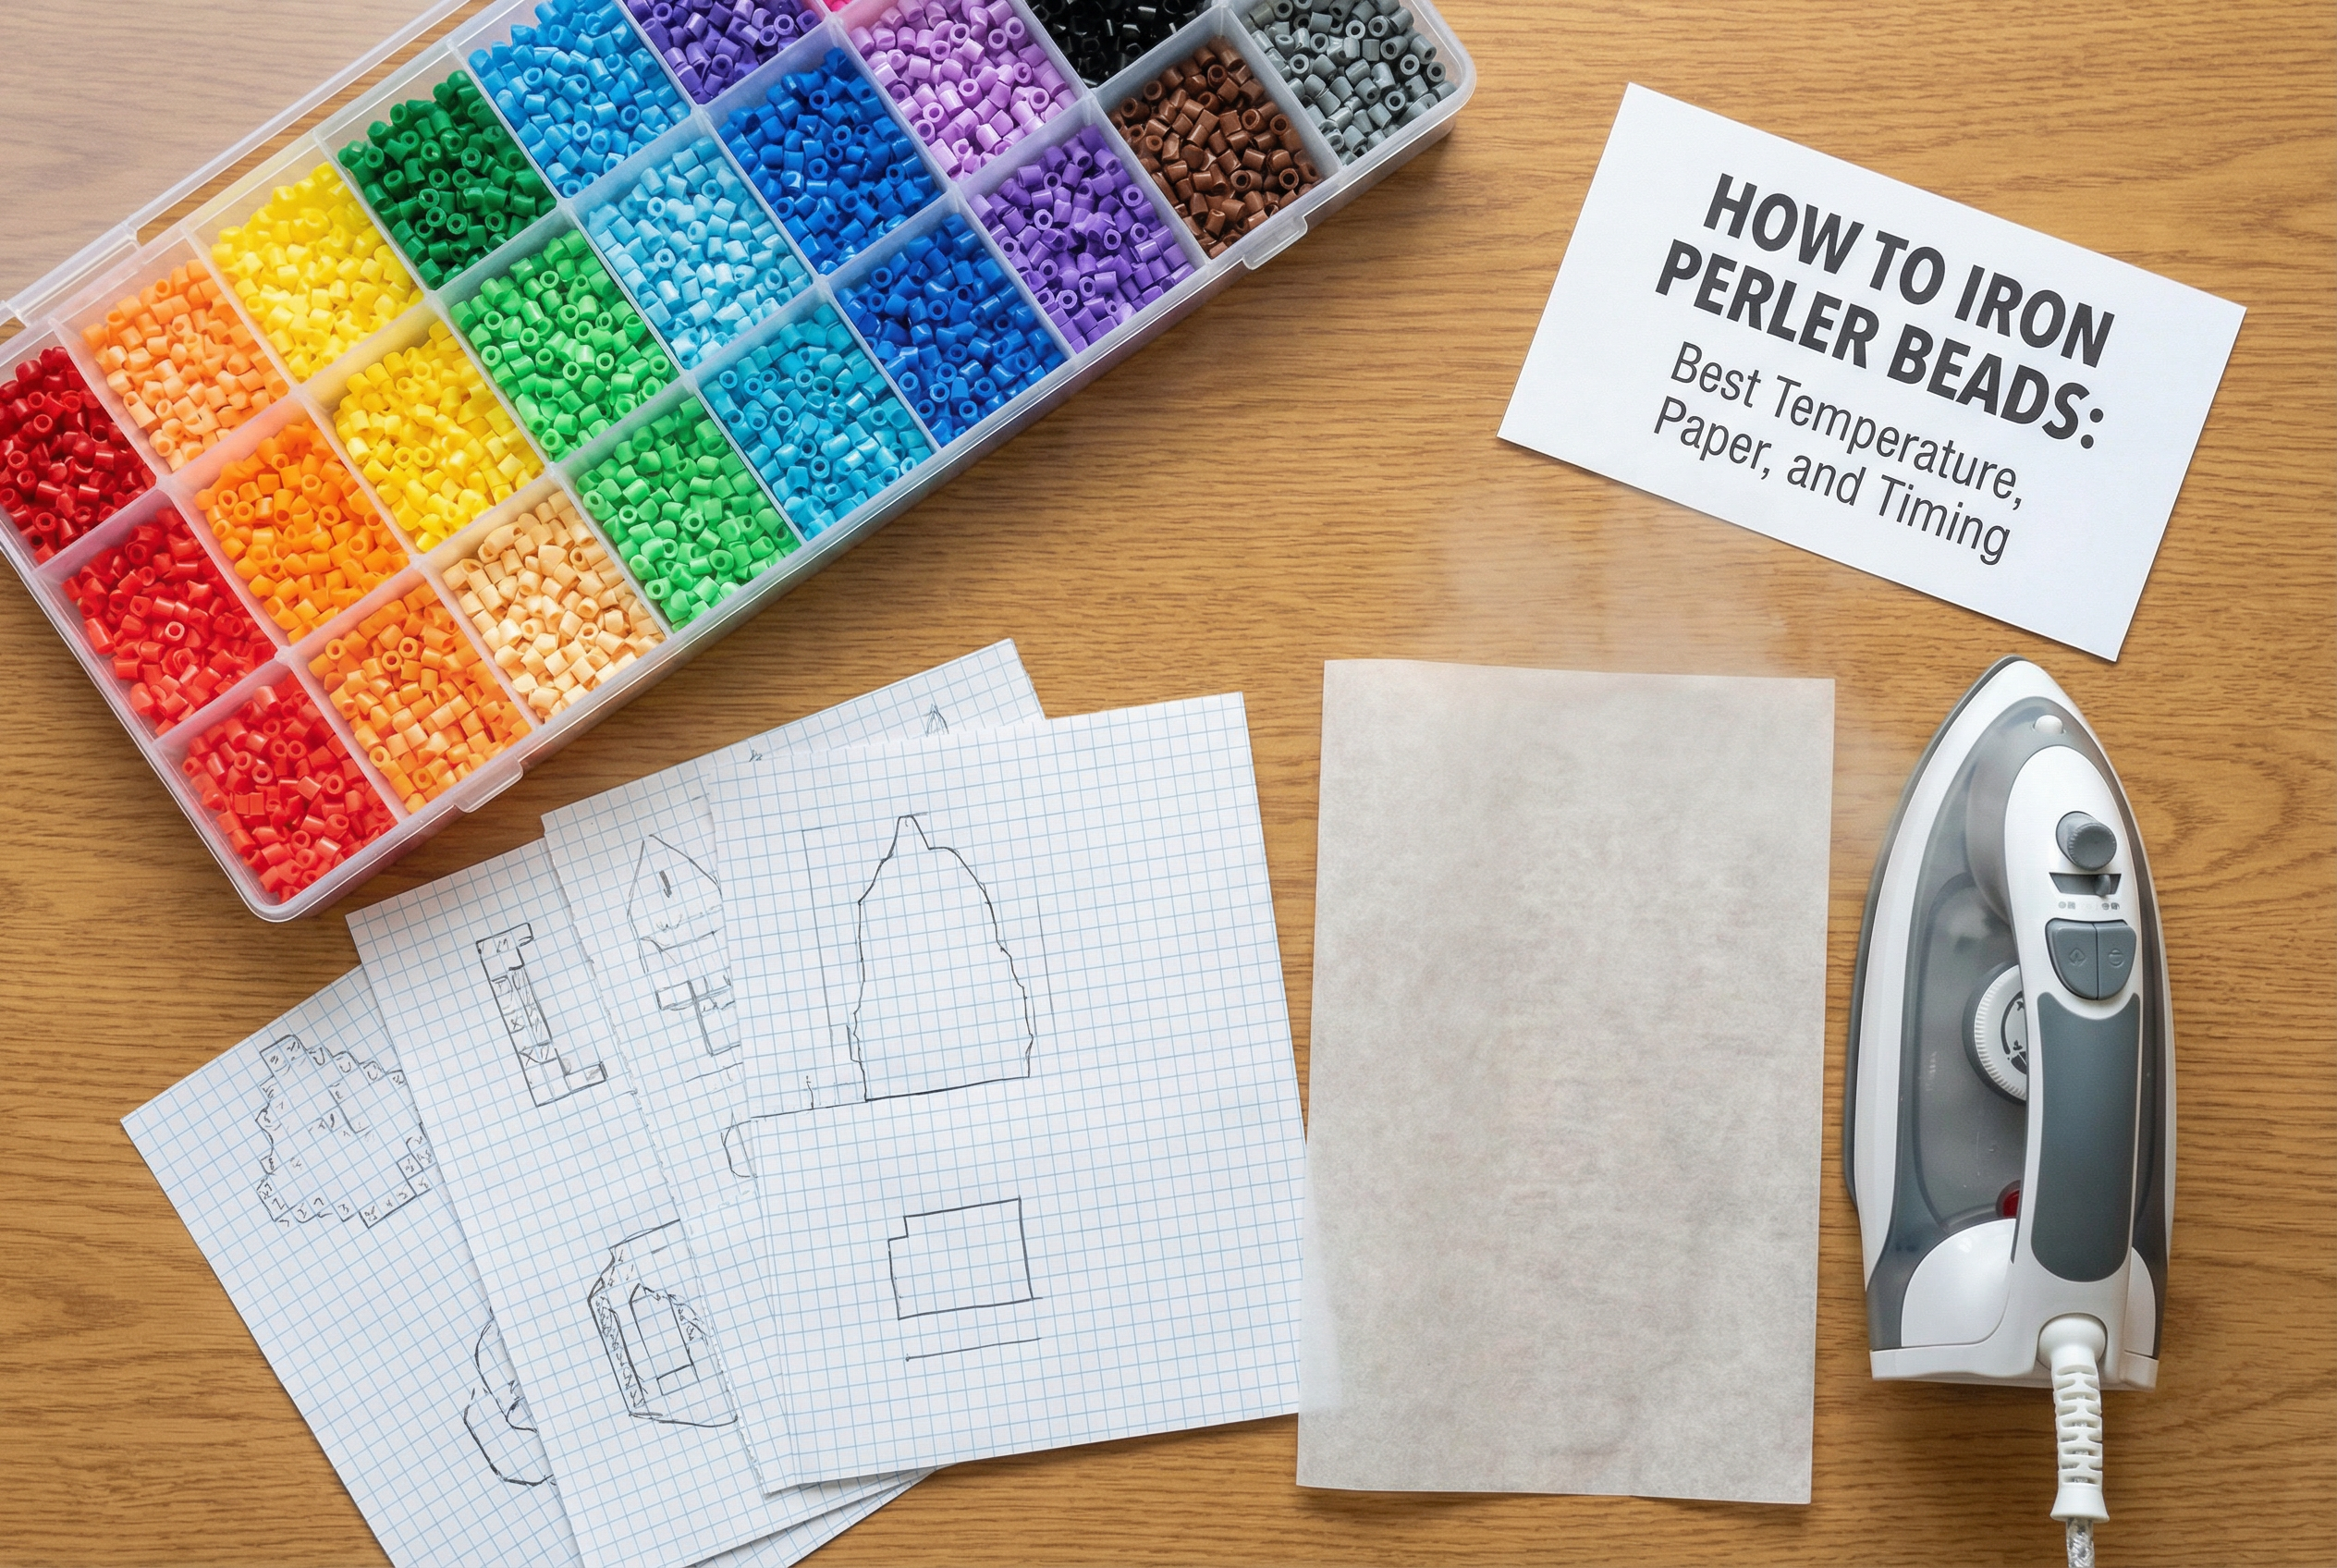
A planning flatlay supports the article's practical guidance with a clear materials-and-pattern visual.
FAQ
Do you iron both sides of Perler beads?
Usually yes. Official Perler project guides and beginner tutorials both describe fusing one side, flipping, and repeating on the back.
How do I know when the beads are fused enough?
They should hold together as one piece without large gaps, while still keeping a clean shape.
Why did my project stick to the paper?
That usually means the section needed a little more even heat, or the piece was handled before it cooled.
The Bottom Line
The safest answer to "how to iron Perler beads" is medium heat, no steam, parchment paper, and slow circular passes. Aim for even fusion, not maximum melt, and give the piece time to cool before you judge the result.