Master the ironing step that makes or breaks every perler bead project with a foolproof technique that prevents common melting disasters.
I spent three hours on a detailed Mario sprite last month, only to watch it turn into a warped mess when I pressed the iron down too hard. The holes closed up, the edges curled, and my careful color placement became a blob of melted plastic. That's when I realized most beginners fail at the final step—not because ironing is hard, but because we rush through it without understanding the process.
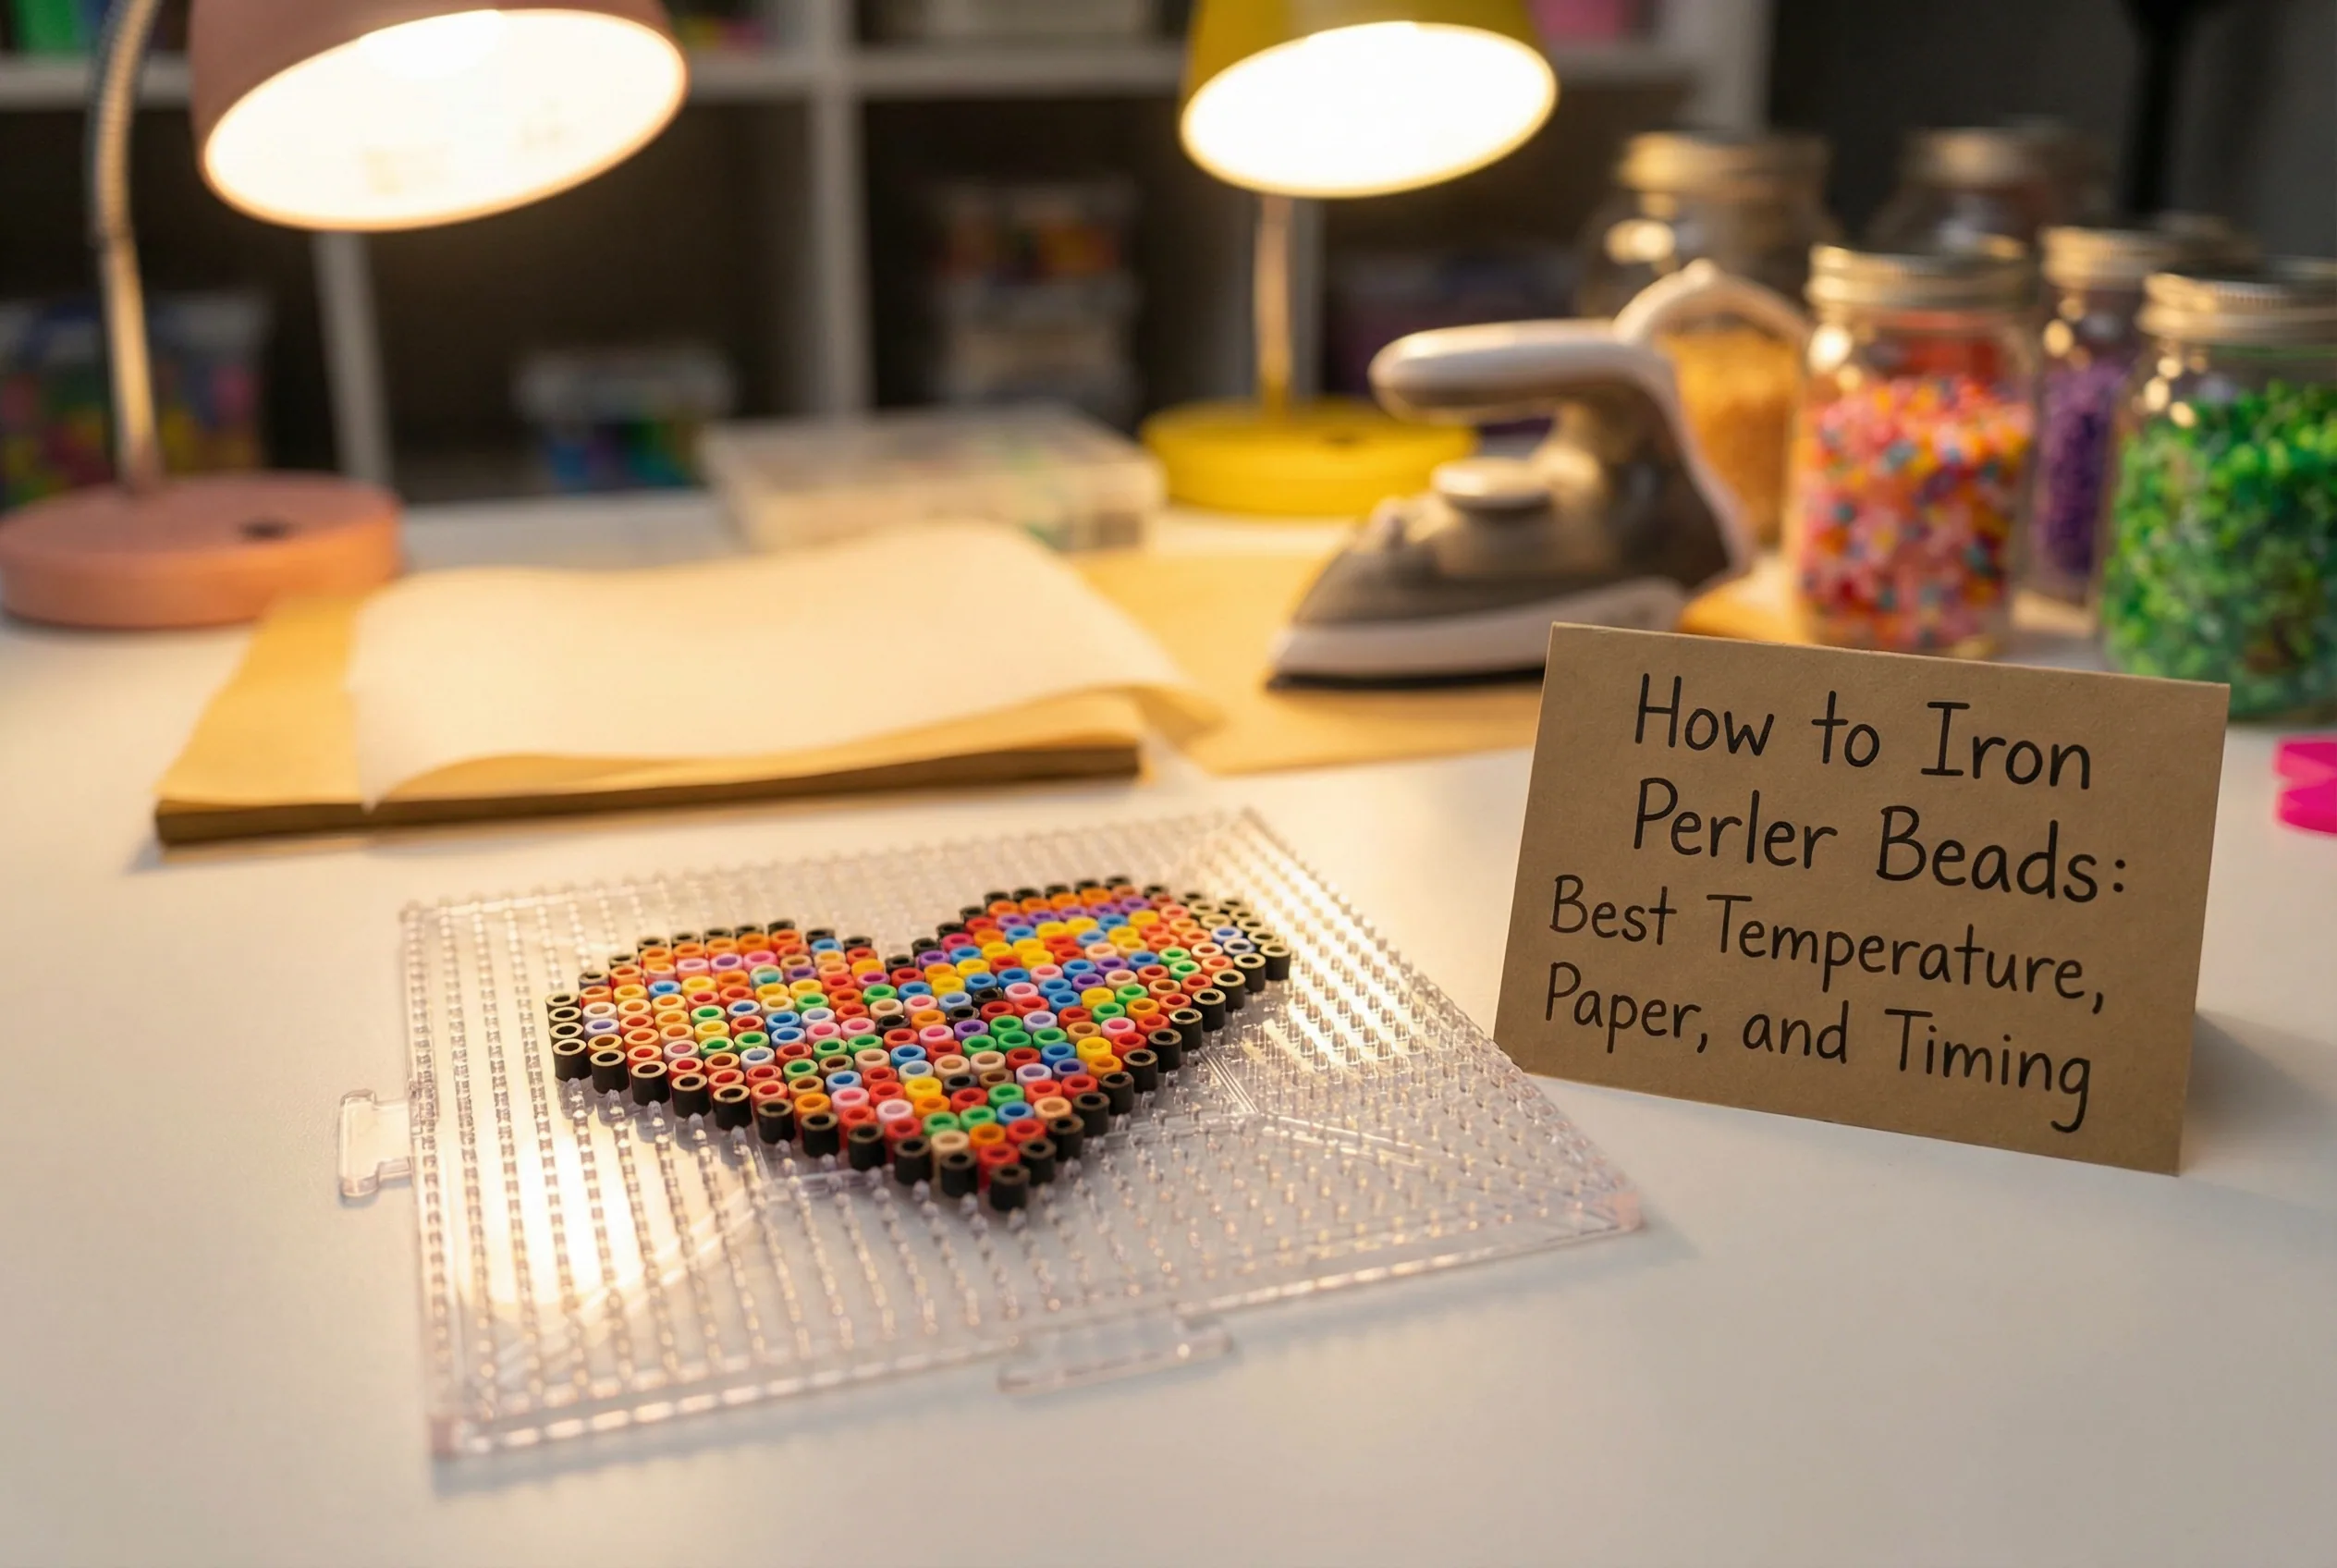
A close-up hero image reinforces the main idea of how to iron perler beads: practical guide for cleaner results and gives the article a visual entry point.
Why Most Perler Bead Projects Fail at the Iron
The ironing step transforms loose beads into a solid piece, but it's also where everything can go wrong. Too much heat closes the signature holes. Too little heat leaves beads that fall apart. Uneven pressure creates warped sections that won't lay flat.
The key is controlled, consistent heat application that melts just the touching surfaces while preserving the bead structure.
The Step-by-Step Ironing Method
1. Set Up Your Ironing Station
Place your completed bead design on a flat, heat-resistant surface. Cover it completely with ironing paper—parchment paper works, but official perler ironing paper gives better results. Set your iron to medium heat with no steam. The iron should be hot enough to melt plastic but not so hot that it scorches the paper.
2. Start with Light, Circular Motions
Place the iron gently on the paper and move it in small circles for 10-15 seconds. Don't press down—let the iron's weight do the work. You'll hear a subtle crackling sound as the beads begin to fuse. This initial pass warms the beads evenly without shocking them into rapid melting.
3. Apply Steady, Even Pressure
After the warm-up pass, press the iron down with moderate pressure and hold it steady for 10-20 seconds per section. Move systematically across your design, overlapping slightly to ensure even coverage. The beads should flatten just enough that their edges touch and fuse, but the center holes remain visible.
4. Check Your Progress Through the Paper
Lift one corner of the ironing paper to peek at your progress. Properly fused beads will stick together when you gently lift the paper, but individual beads should still be recognizable with open centers. If beads are still completely round, continue ironing. If they're completely flat, you've gone too far.
5. Cool and Flip for Both-Side Fusing
Let your piece cool for 2-3 minutes, then carefully flip it over. Remove the pegboard and repeat the ironing process on the back side. This creates a stronger, more durable piece that won't break apart with handling.
Before you start your next project, consider planning it properly. Upload your image to BeadPattern to generate a clean, buildable pattern with accurate color mapping—it's much easier to iron a well-planned design than to fix a poorly planned one.
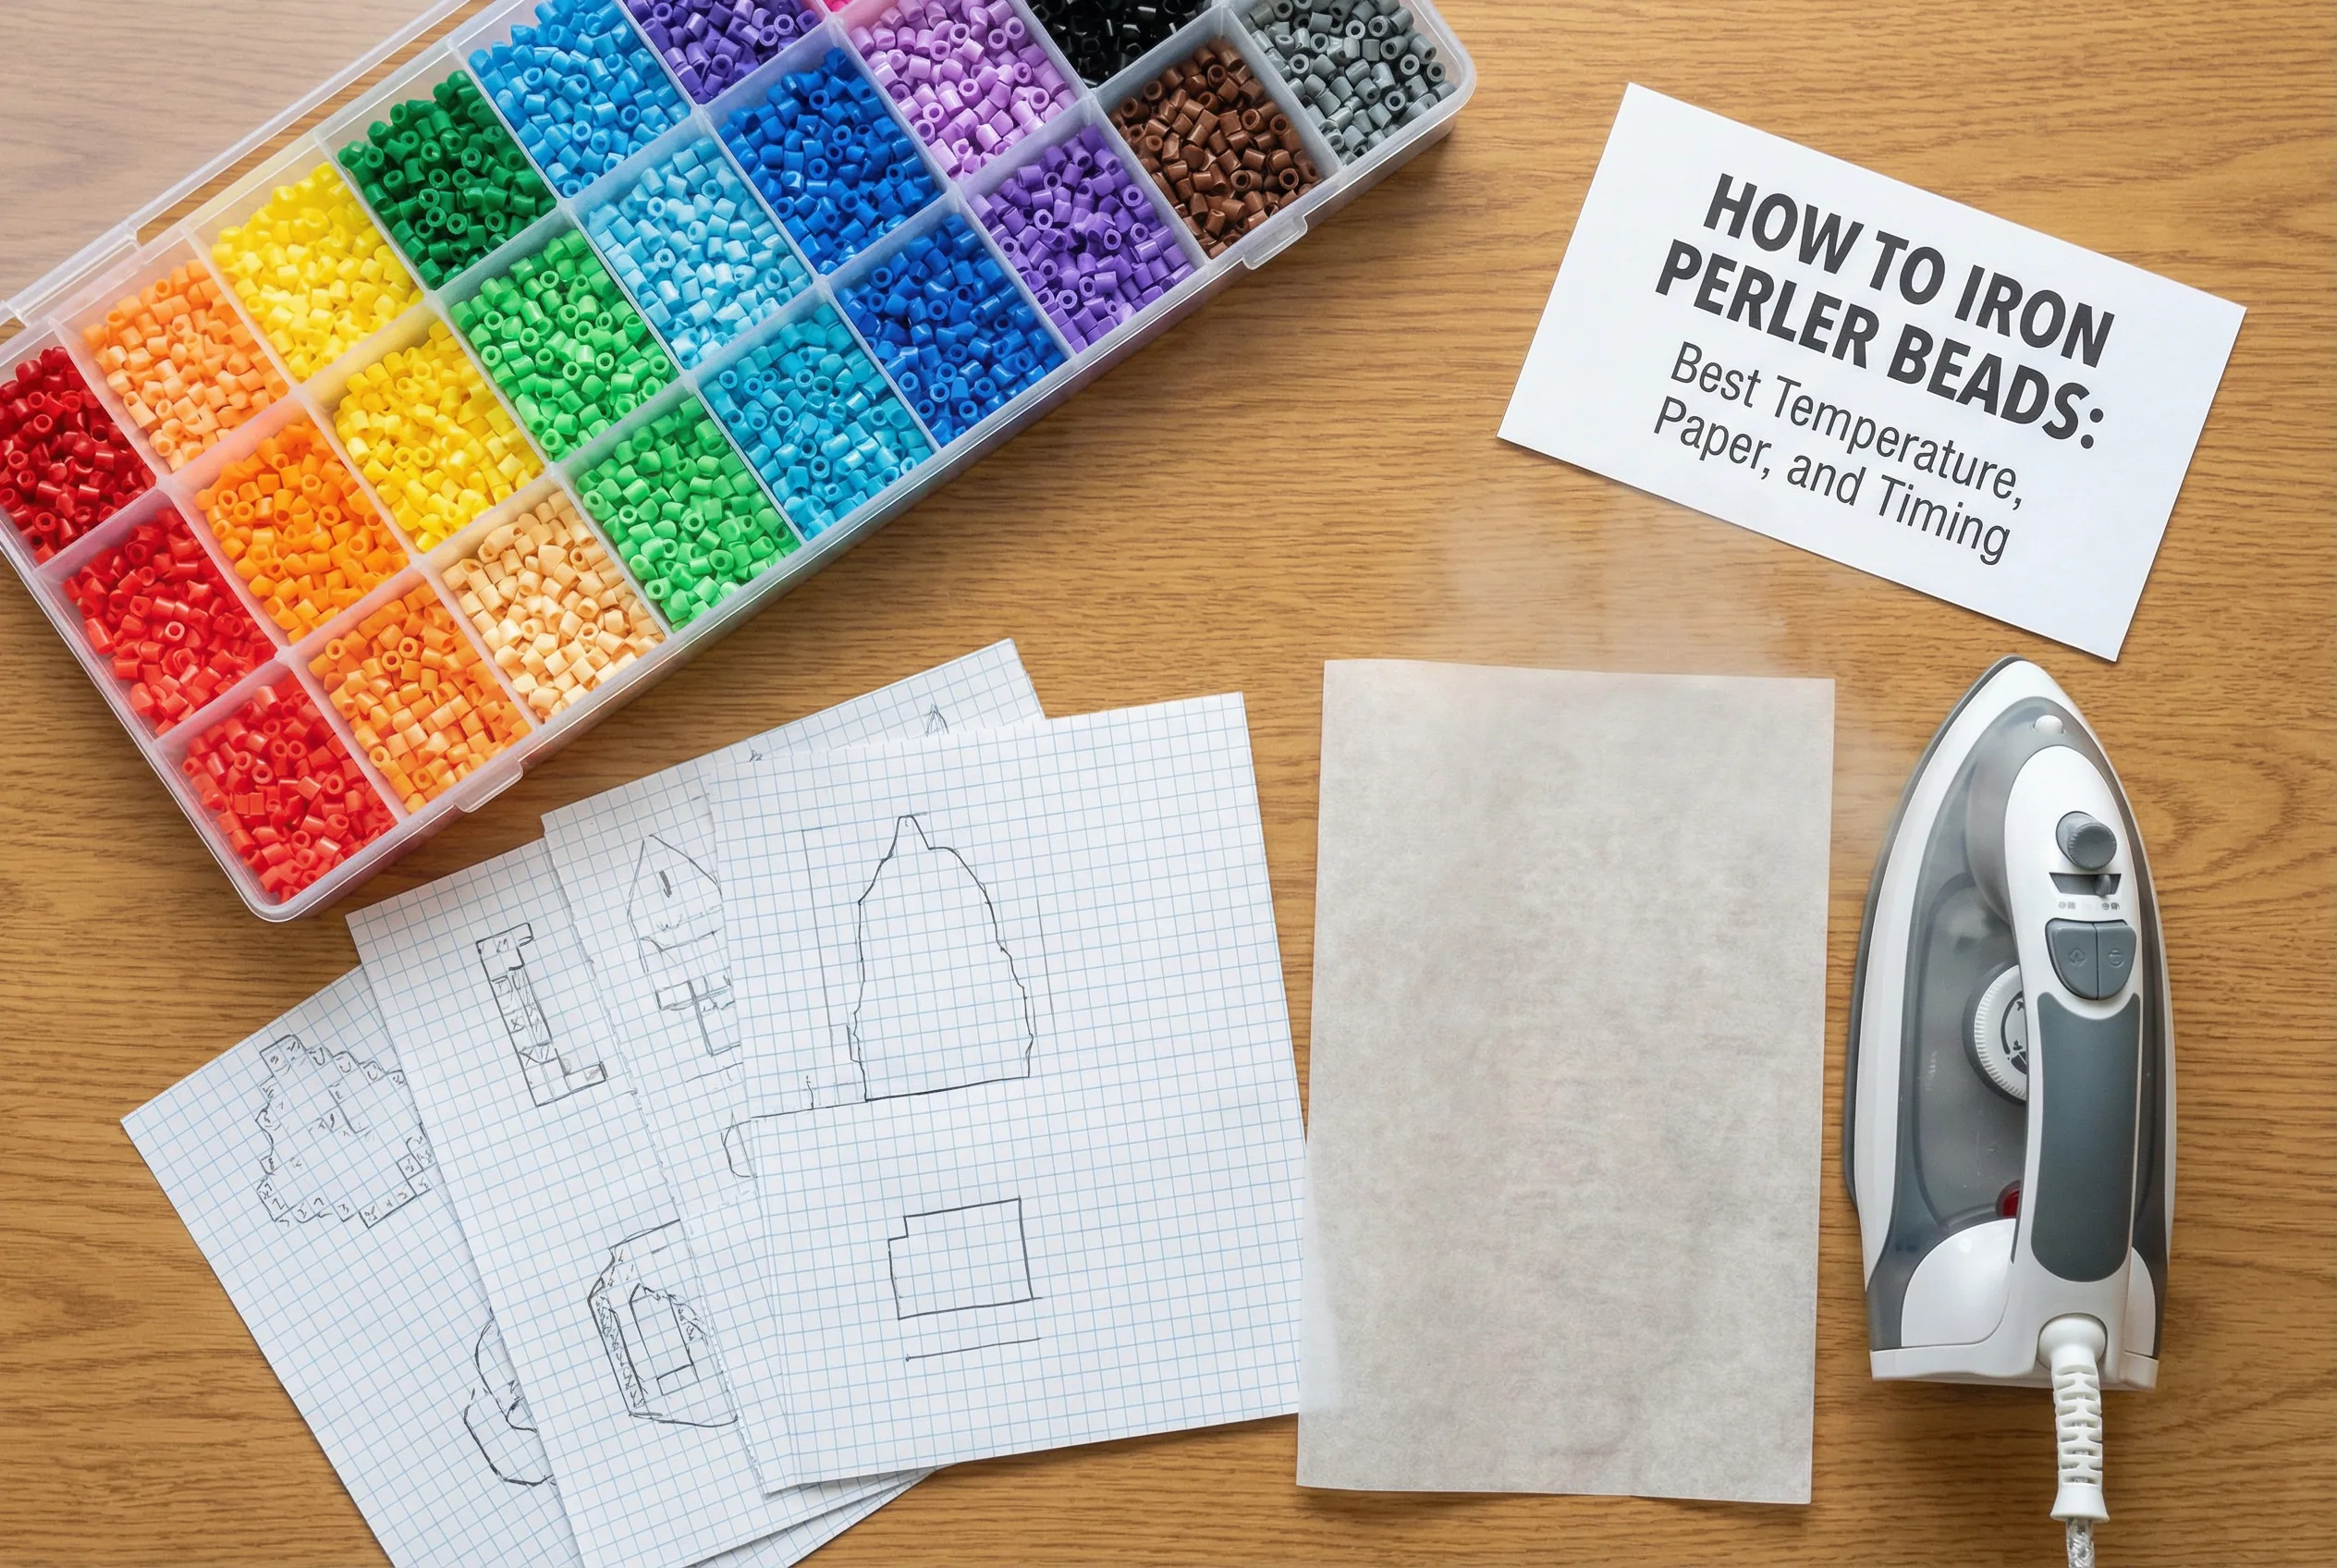
A planning flatlay supports the article's practical guidance with a clear materials-and-pattern visual.
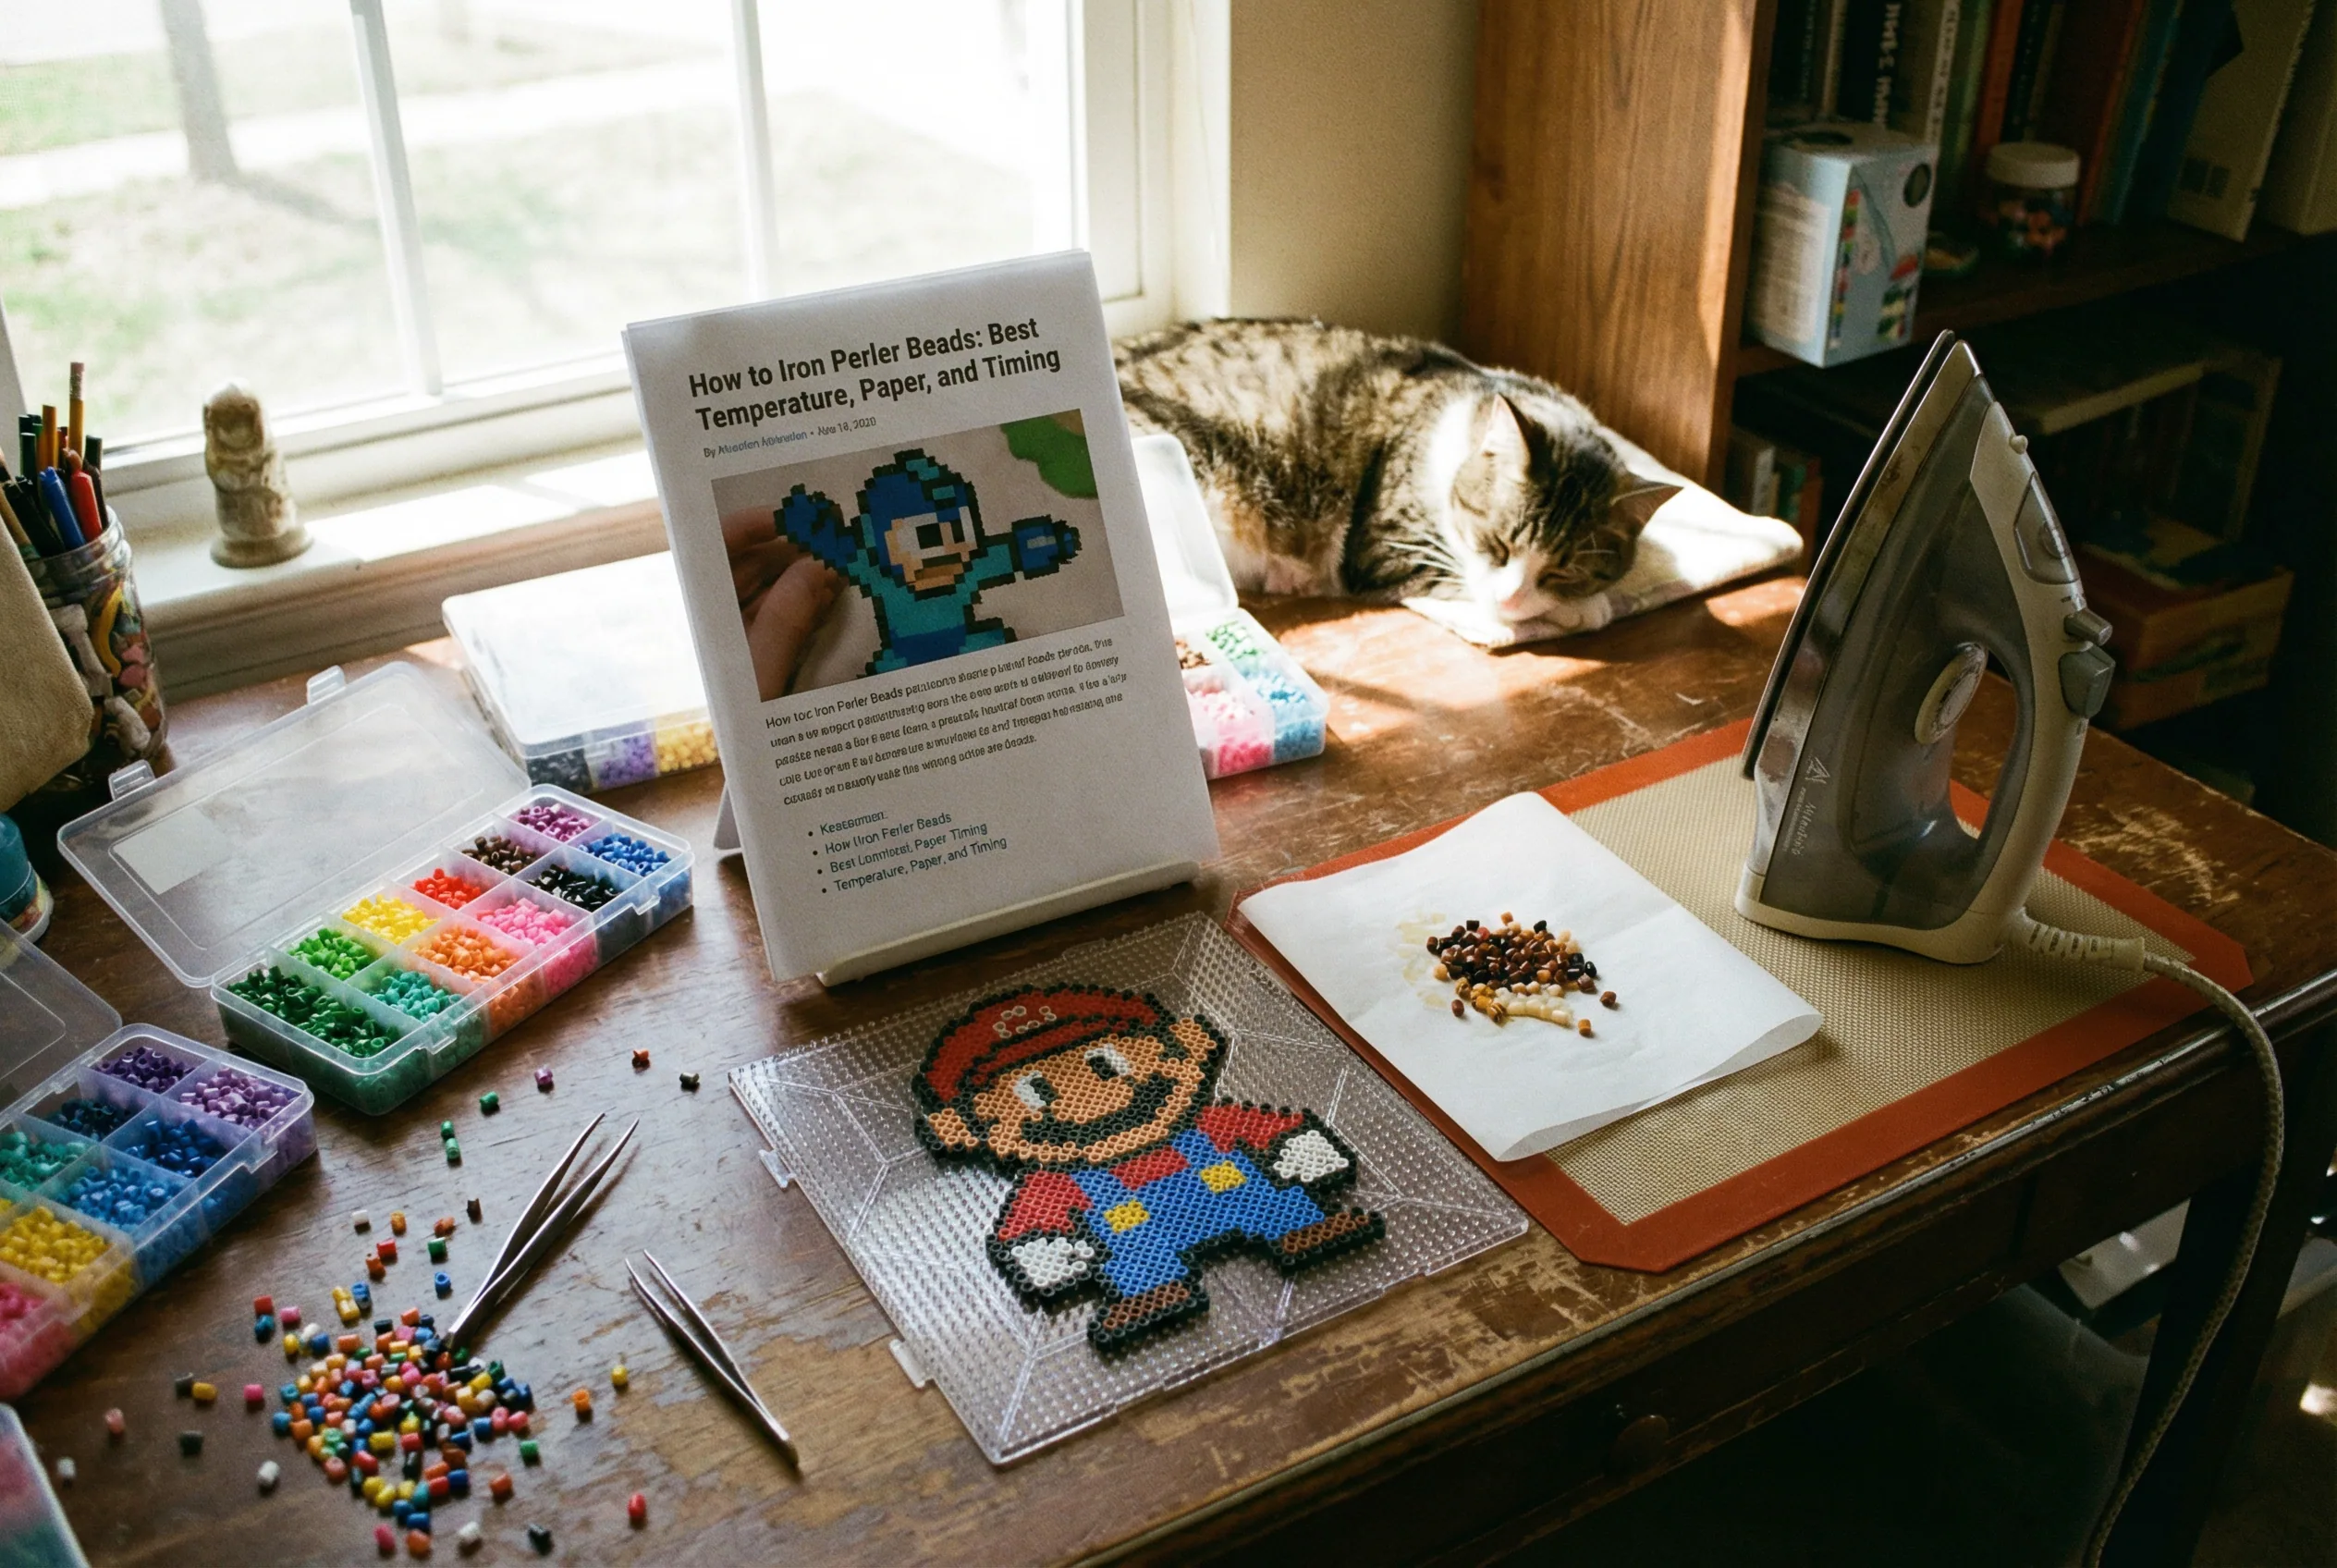
A workspace scene adds process context and makes the tutorial feel more actionable for readers.
FAQ
How long should I iron each section?
Iron for 10-20 seconds per section with steady pressure. The exact time depends on your iron's heat setting and the thickness of your design.
What if my beads won't stick together?
Increase the heat slightly or iron for a few more seconds. Some bead colors require more heat to fuse properly.
Can I fix over-melted beads?
Unfortunately, no. Over-melted beads with closed holes can't be restored. Prevention is your best strategy.
Should I iron both sides?
Yes, for projects you'll handle frequently. Single-side ironing works for wall decorations or pieces that won't see much use.
The Bottom Line
Perfect perler bead ironing comes down to patience and consistent technique—warm the beads gradually, apply steady pressure, and check your progress frequently. Start your next project with a clean pattern from BeadPattern to ensure your careful ironing work showcases a design worth the effort.