3D Perler bead projects look advanced, but the structure is usually simpler than people think. Most successful builds rely on flat panels that lock together through tabs, slots, or layered joins. Once you understand that principle, the jump from flat sprites to 3D shapes becomes much easier.
If you want to combine custom artwork with practical build planning, the BeadPattern blog is a useful companion because it helps you start from a pattern that is actually buildable.
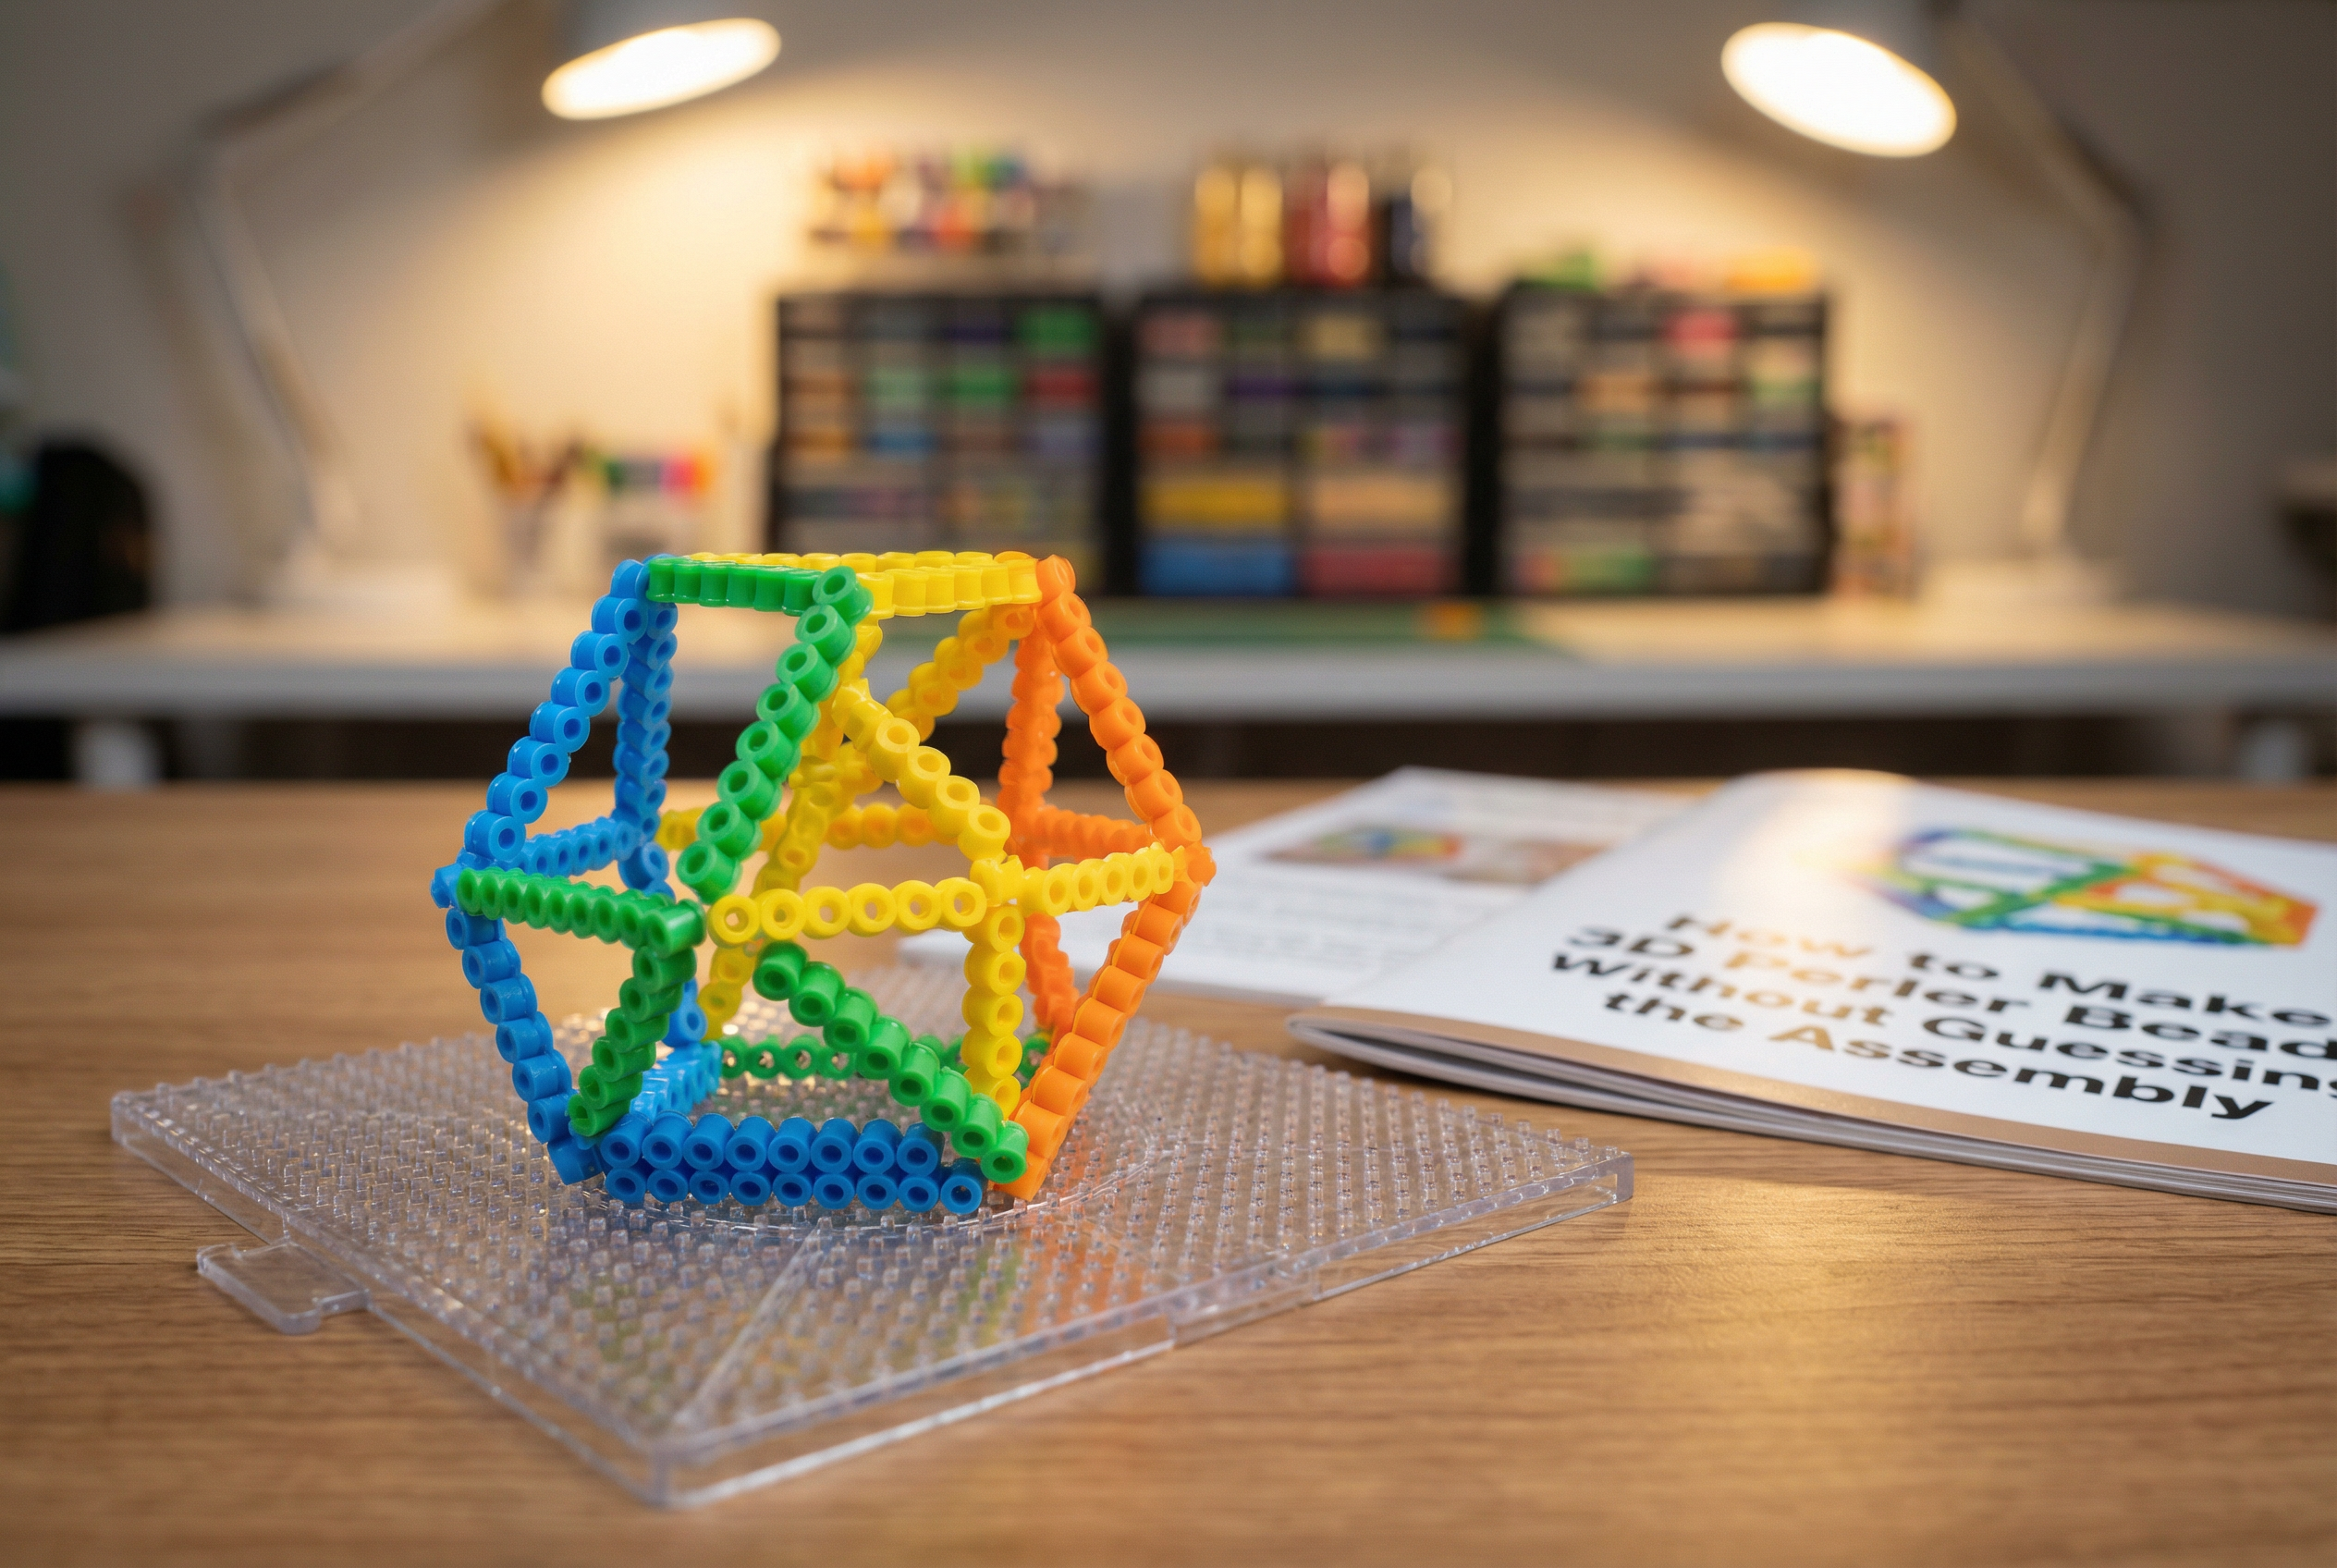
A close-up hero image reinforces the main idea of how to make 3d perler beads without guessing the assembly and gives the article a visual entry point.
Think in Panels, Not Sculptures
The most common mistake beginners make is treating a 3D piece like a sculpture made bead by bead. In practice, most 3D Perler designs are built from separate flat pieces.
You usually create:
That is the exact idea described in classic 3D Perler tutorials: the join is what makes the object three-dimensional, not a special bead type.
Plan the Slots Early
One of the clearest tutorial rules is to decide where the pieces will connect before you melt anything. If a leg, wall, or top section needs to slide into another part, the opening must be designed into the pattern ahead of time.
A safe beginner workflow is:
1. Draw the shape in flat views.
2. Mark where each panel connects.
3. Leave openings that match the connector width.
4. Test the fit on paper before you build.
Even a rough sketch will save you from rebuilding later.
Good First 3D Projects
Start with shapes that are naturally modular:
Official Perler project listings also show that 3D projects often stay beginner-friendly when they use clear tab-and-slot assembly instead of lots of loose layering.
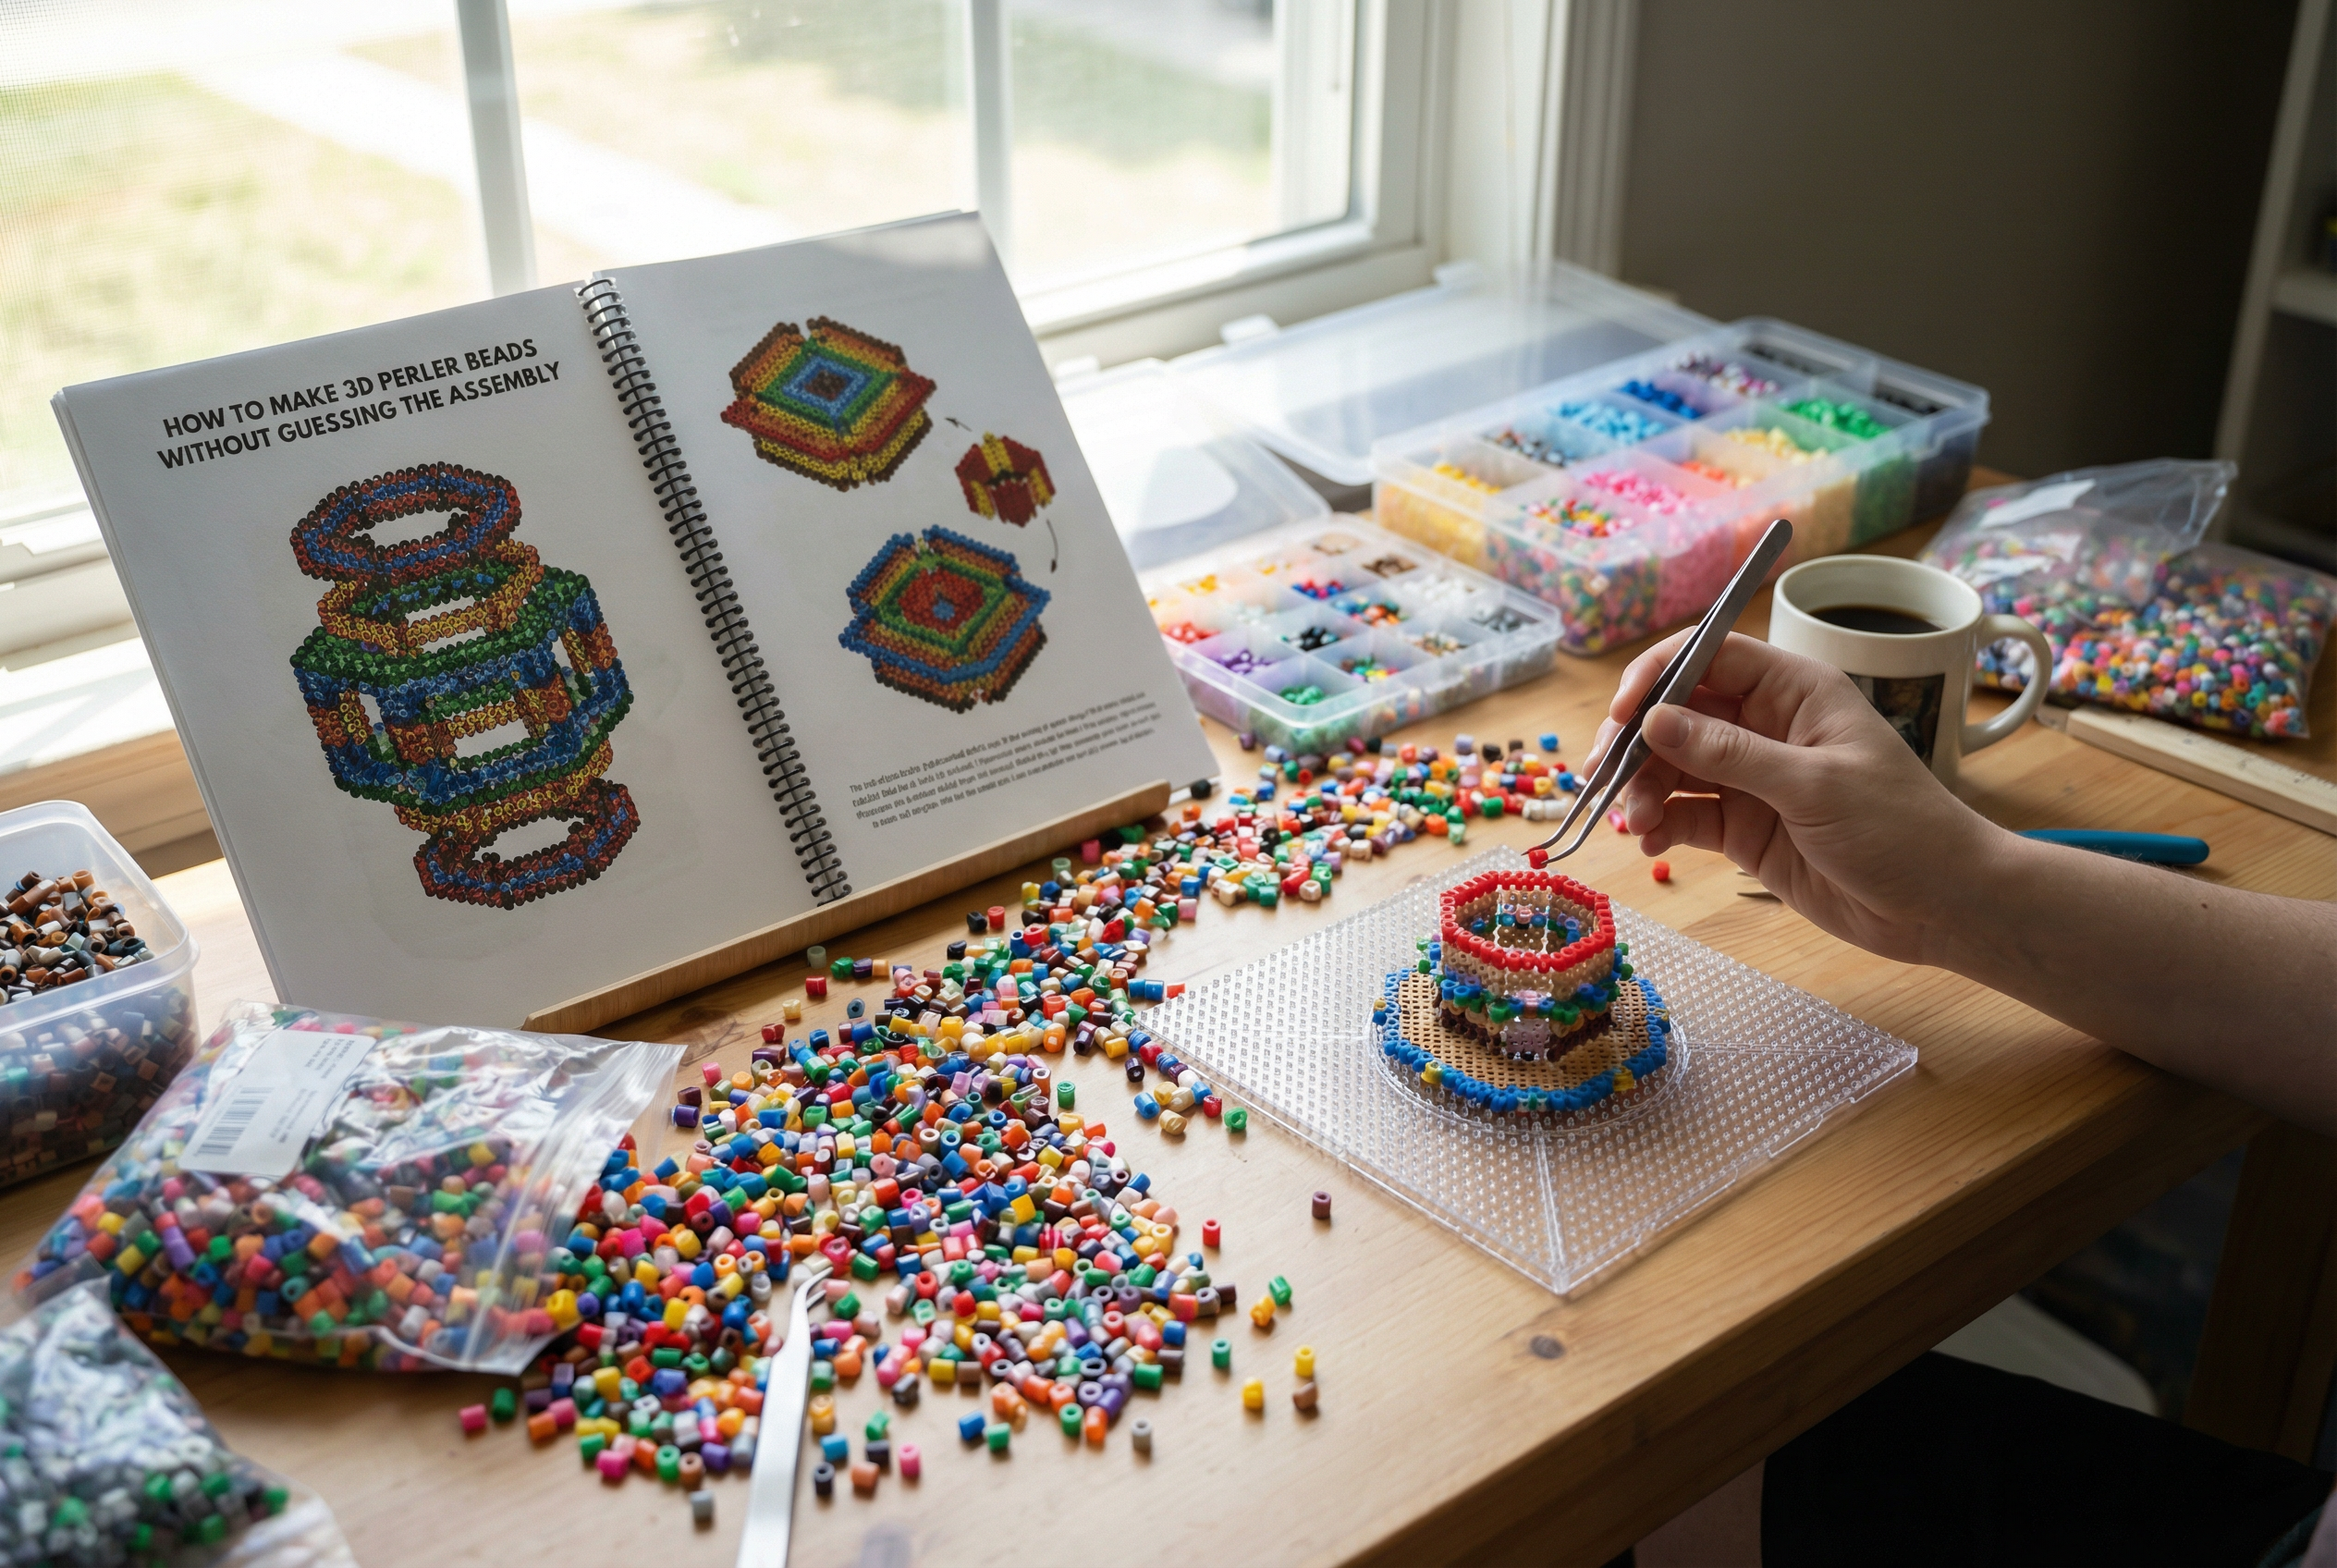
A workspace scene adds process context and makes the tutorial feel more actionable for readers.
Fuse Carefully
3D pieces need to fit together, so over-melting can ruin the joins.
That means:
A slightly lighter melt is often better for parts that need to slide into each other.
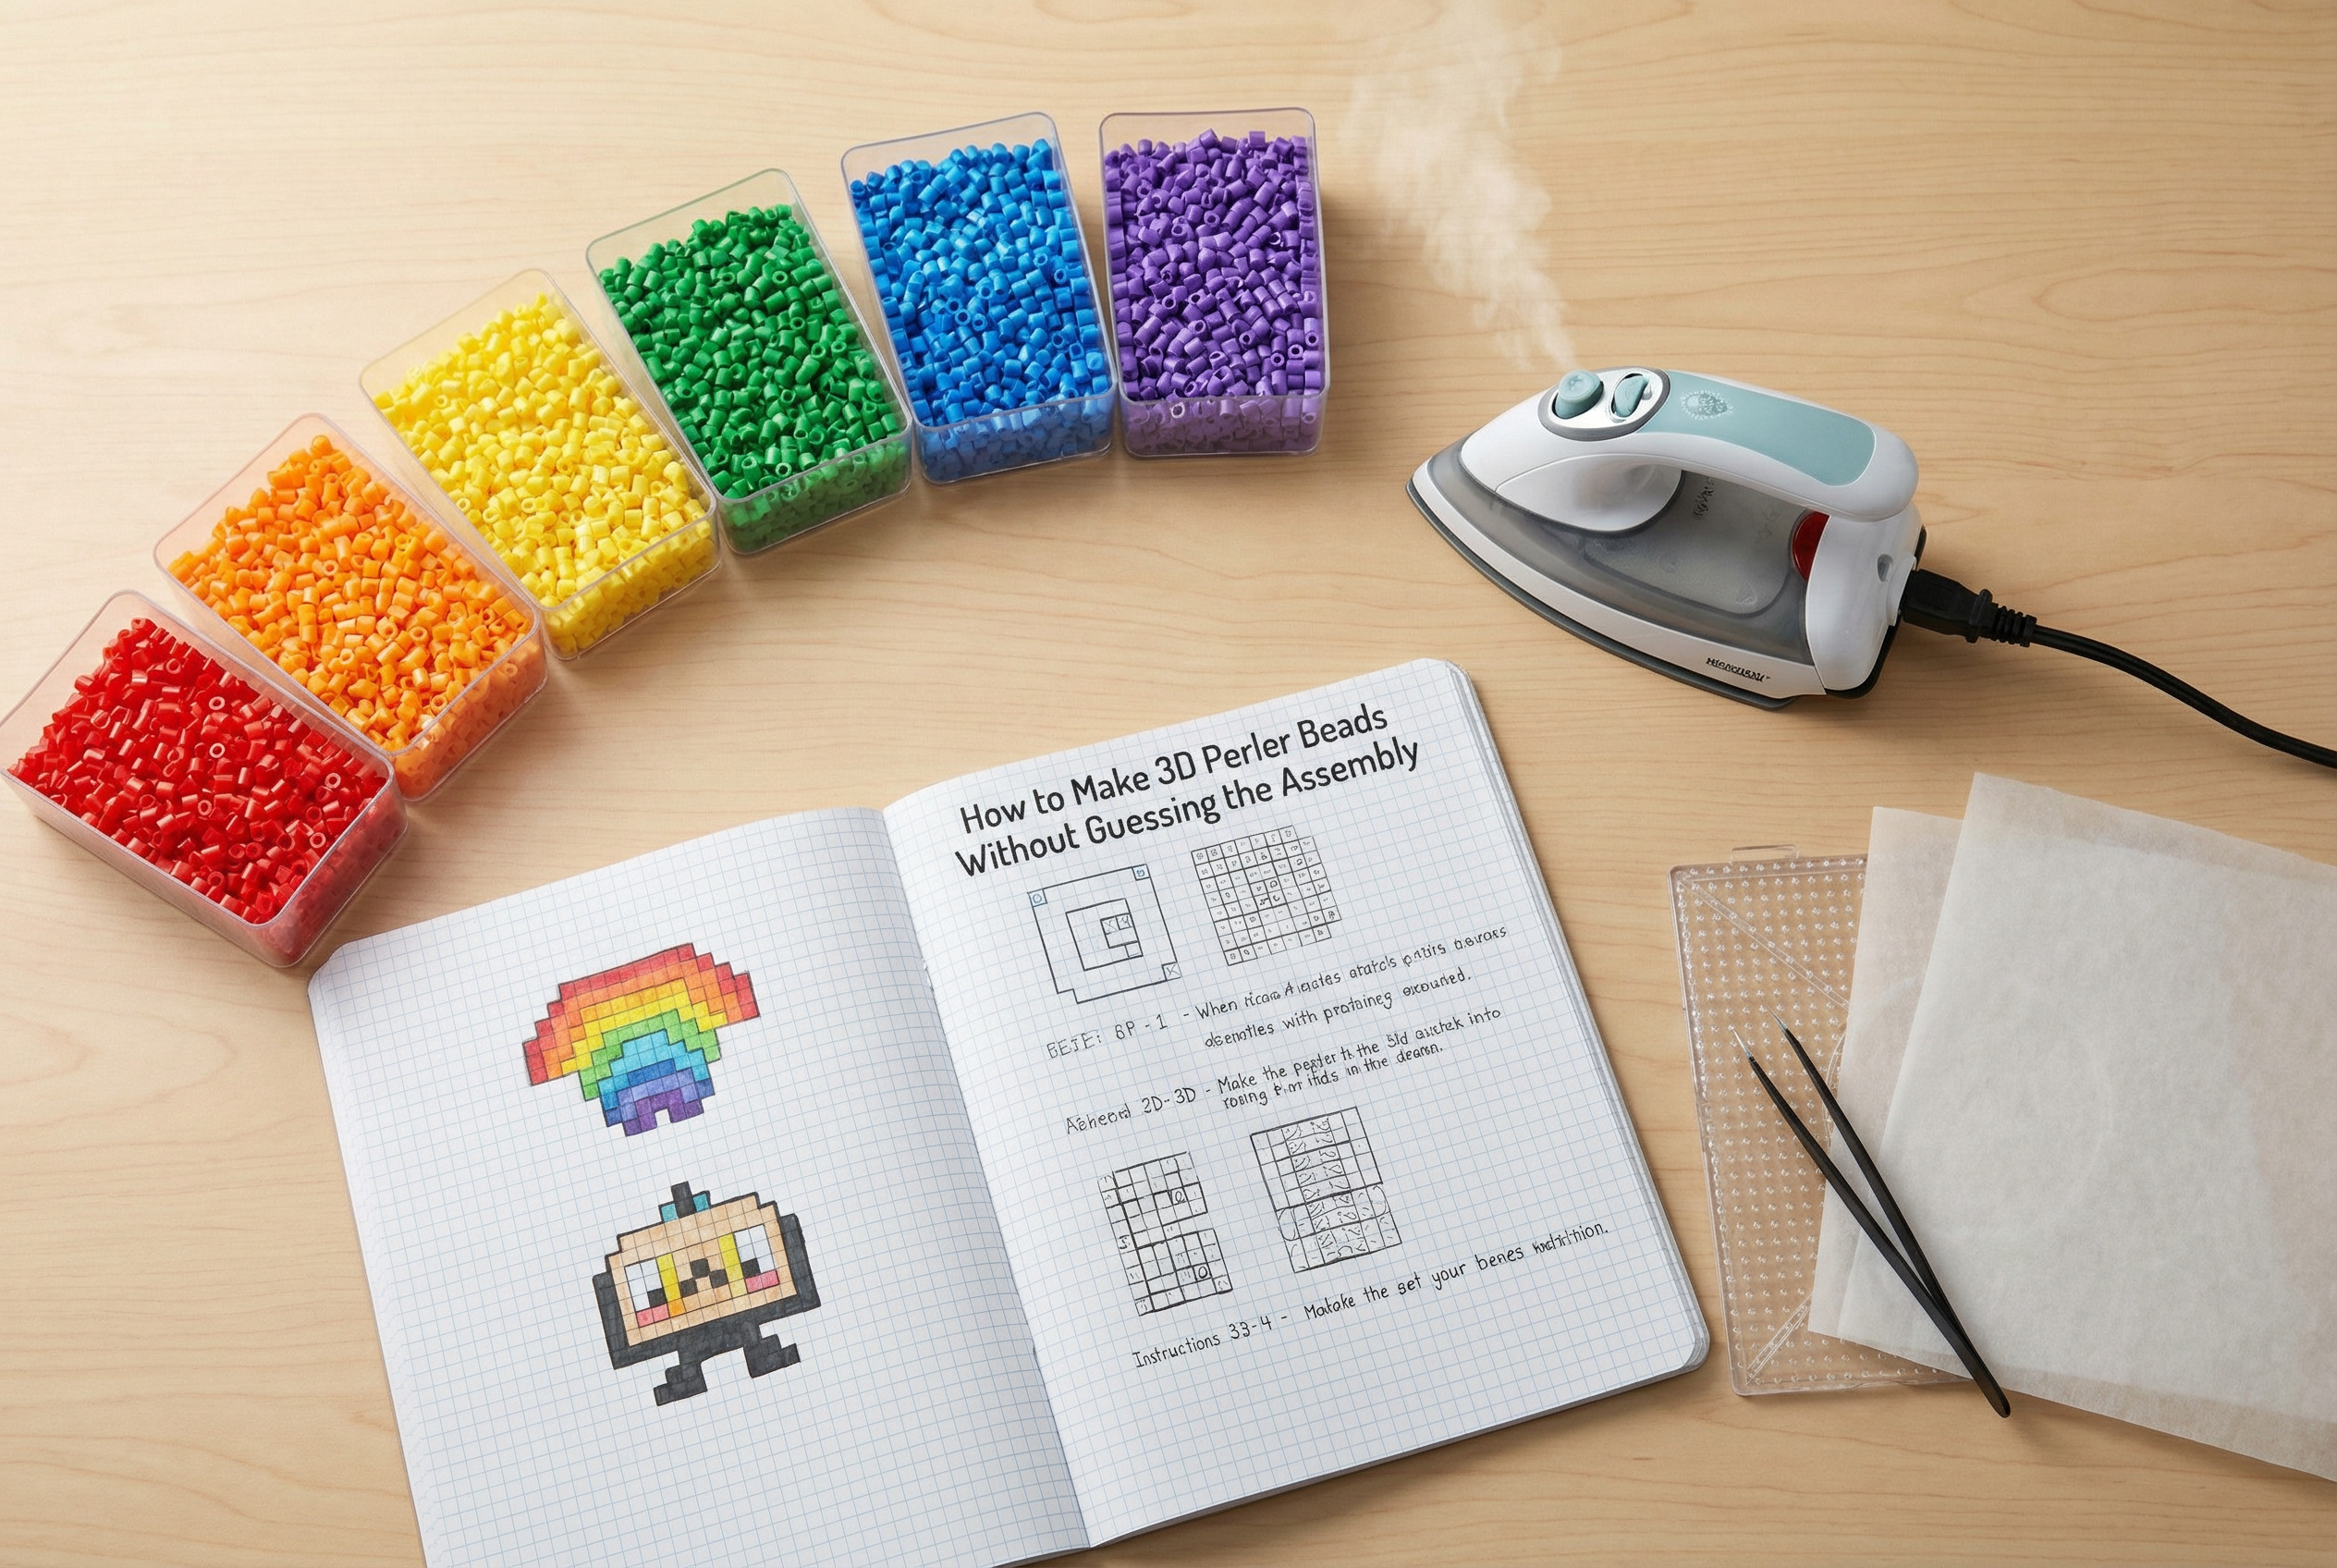
A planning flatlay supports the article's practical guidance with a clear materials-and-pattern visual.
FAQ
What is the easiest 3D Perler project for beginners?
Simple box-like or mushroom-style designs are easier than character models with many layers.
Do I glue 3D Perler bead projects?
Some designs use glue, but many beginner-friendly builds rely on slots and tabs instead.
Why is my 3D project not fitting together?
Usually because the slots were not planned correctly or the pieces were over-melted and shrank slightly.
The Bottom Line
3D Perler bead projects become manageable when you stop thinking in terms of one complex object and start thinking in terms of flat pieces that lock together. Plan the joins first, melt lightly, and choose a simple structure for your first build.