Master 3D perler bead construction by thinking in panels, not complex shapes. This guide breaks down the assembly process into manageable flat pieces that connect with simple slots and tabs.
I used to stare at those amazing 3D perler bead sculptures online and assume they required some kind of spatial genius I didn't possess. Turns out, I was overthinking it completely. The secret isn't visualizing complex 3D shapes - it's understanding that every 3D build is just flat panels connected with smart joints.
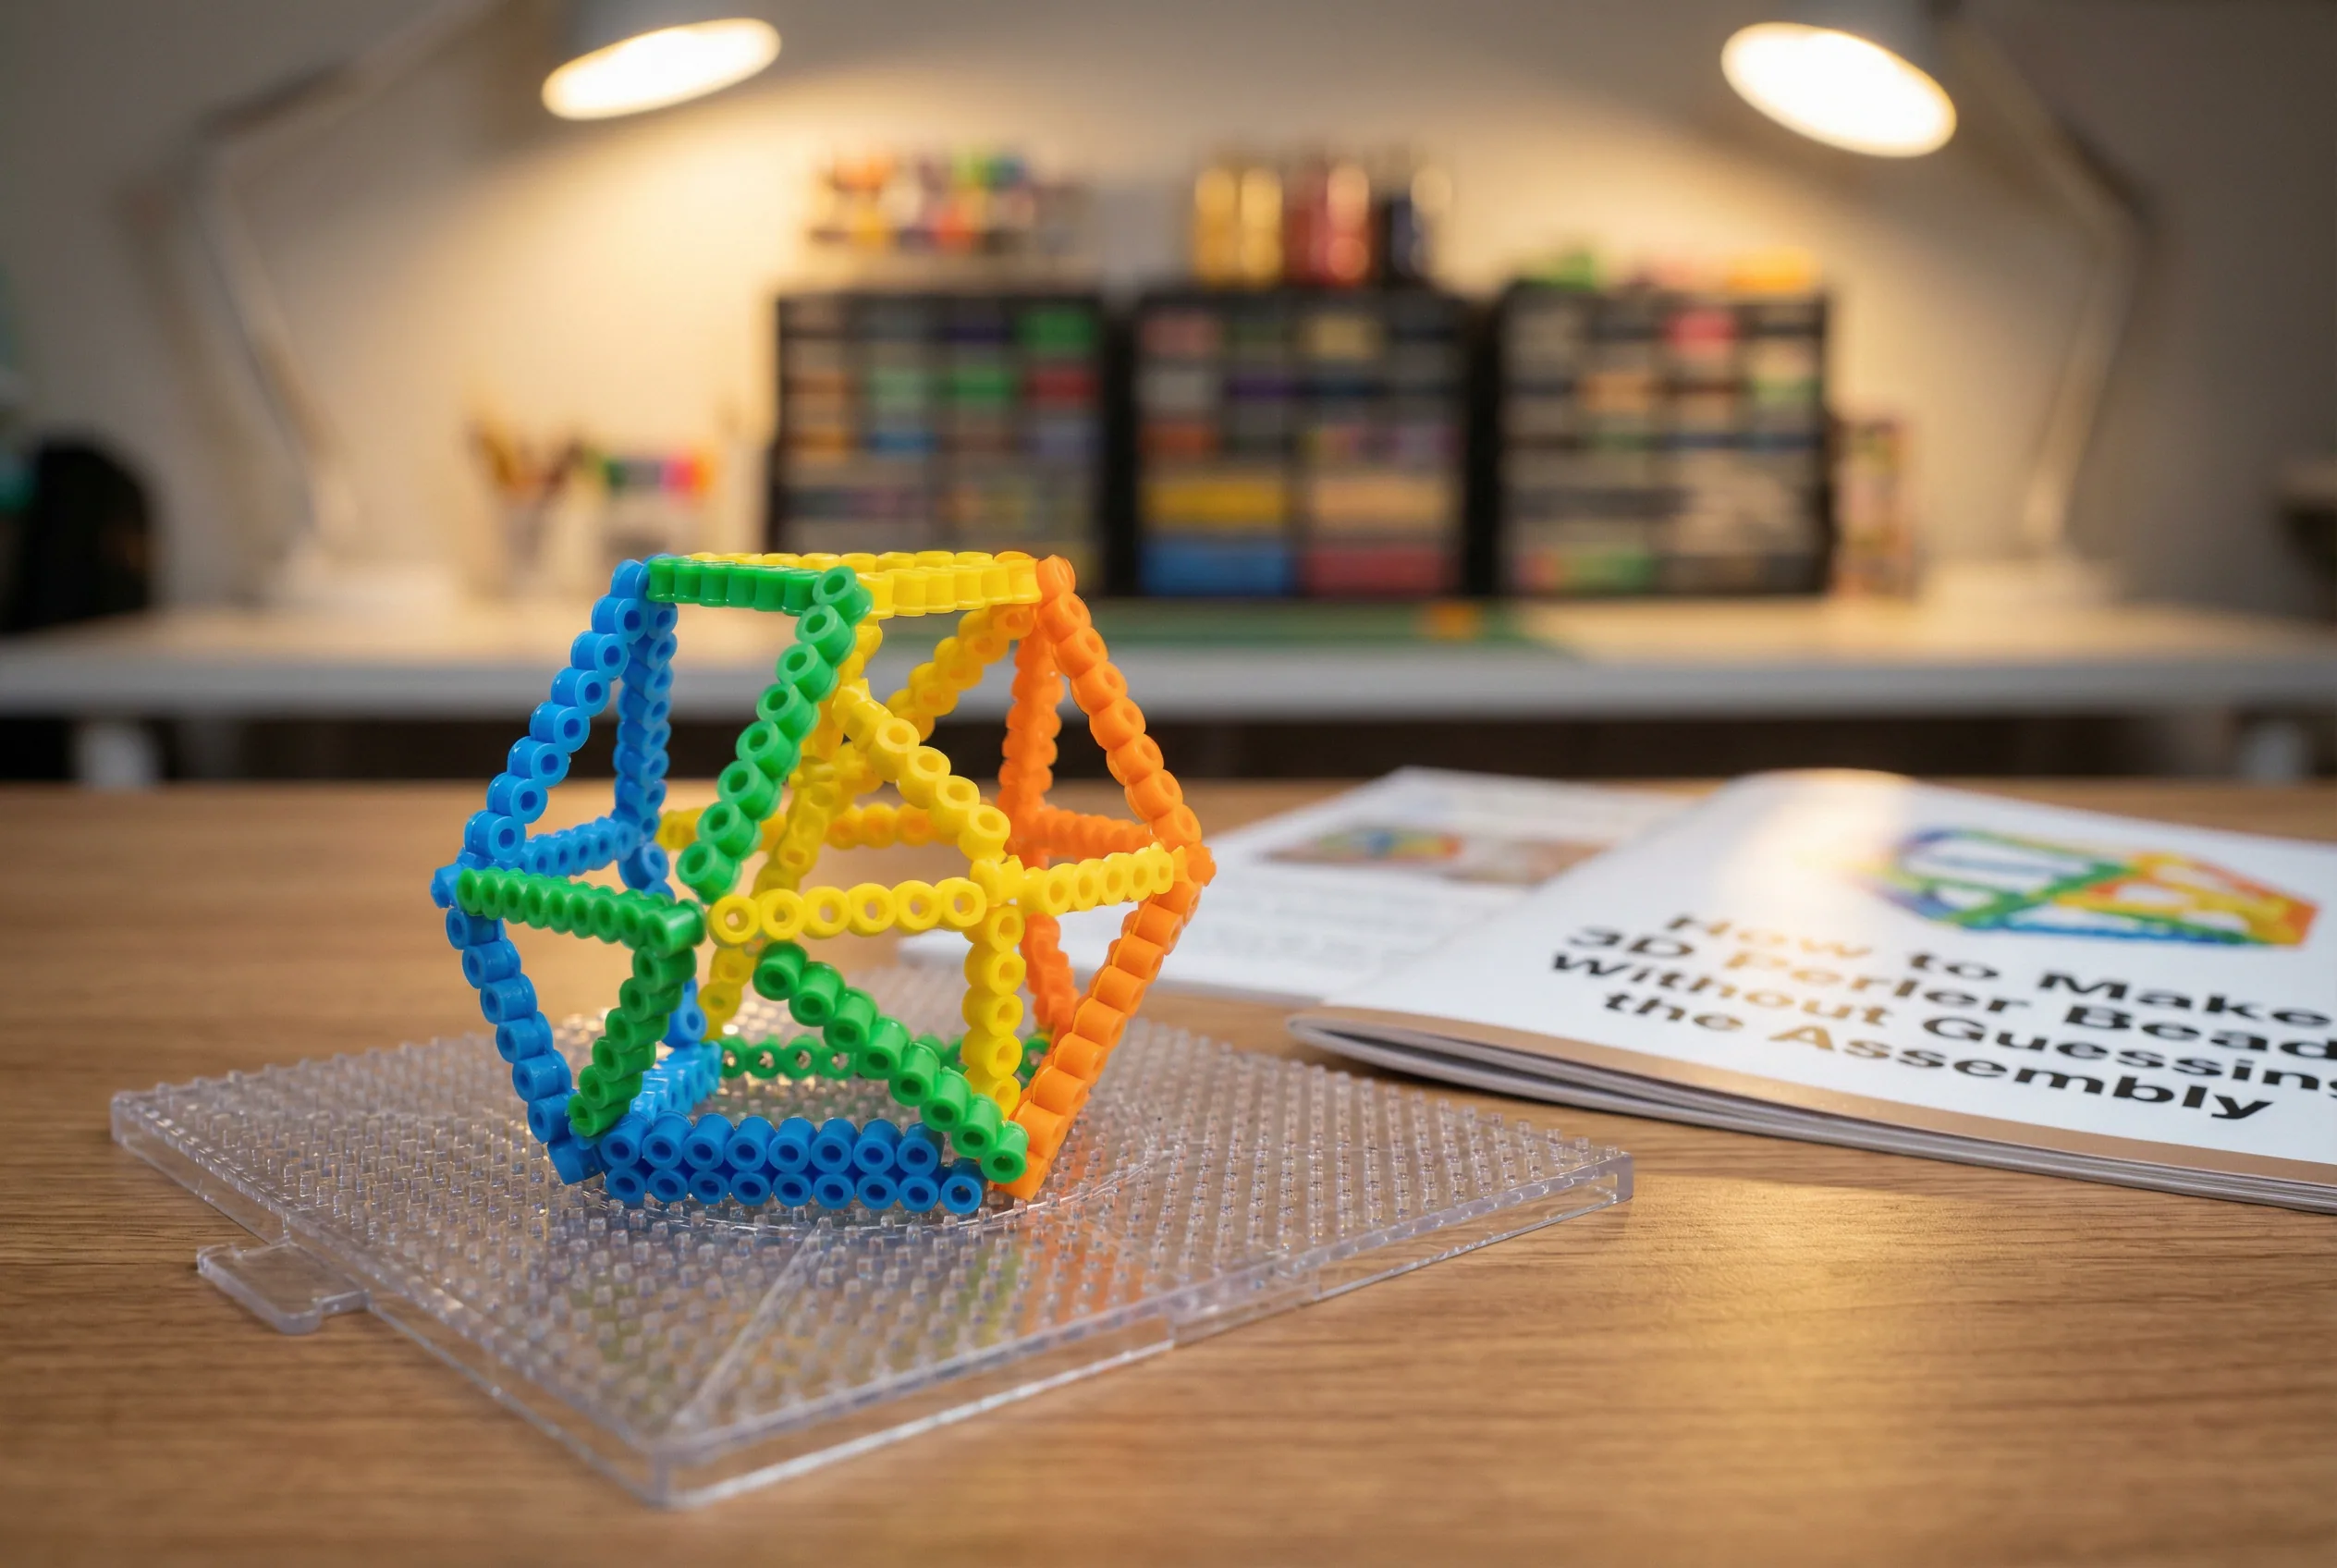
A close-up hero image reinforces the main idea of how to make 3d perler beads: practical beginner guide and gives the article a visual entry point.
Why 3D Perler Beads Aren't Actually That Hard
The intimidation factor around 3D perler beads comes from seeing the finished product without understanding the construction method. Every cube, pyramid, or character figure starts as separate 2D panels that you fuse individually, then assemble while the plastic is still warm and flexible.
Think of it like building with cardboard boxes. You don't try to mold a box from one piece - you cut flat panels and fold them together. 3D perler beads work the same way.
Essential Supplies for 3D Assembly
Before diving into construction, gather these specific items:
The key difference from flat projects is planning your panel sizes to match perfectly when assembled.
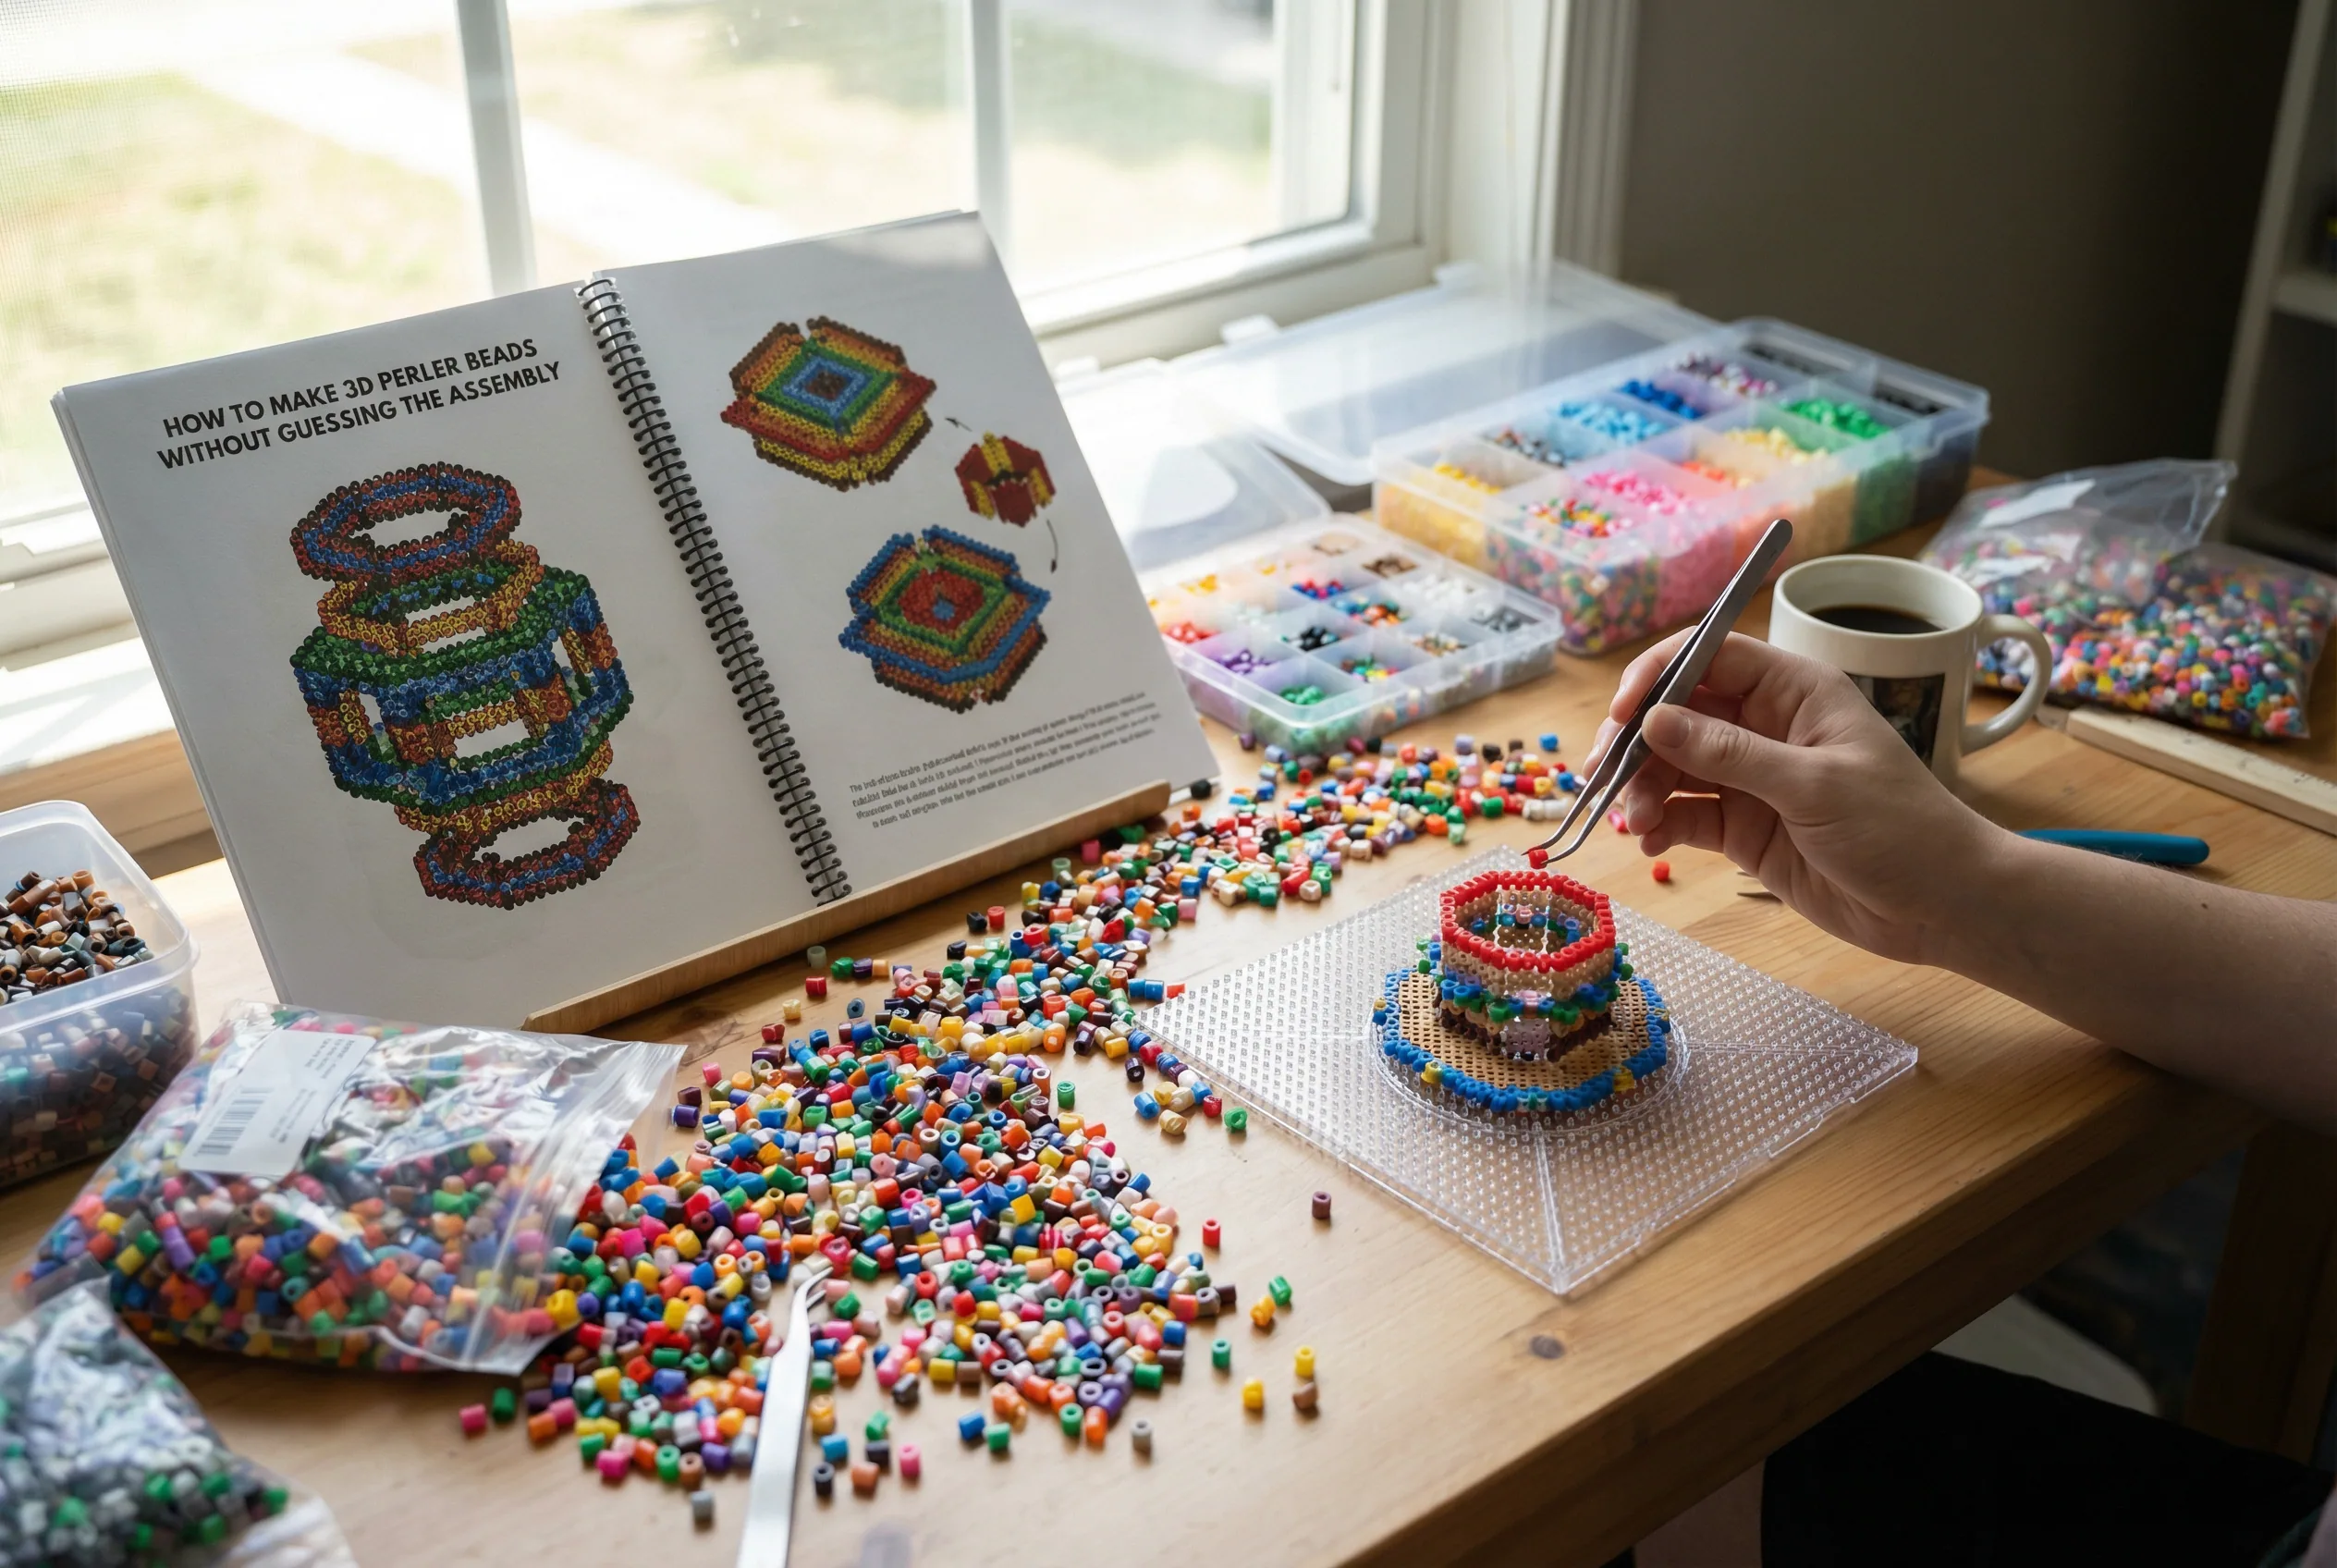
A workspace scene adds process context and makes the tutorial feel more actionable for readers.
Step-by-Step 3D Construction Process
1. Design Your Panels on Paper First
Sketch each face of your 3D shape as a separate rectangle or square. For a simple cube, you need six identical squares. For a house shape, you need four walls, a floor, and two triangular roof pieces.
Mark where each panel will connect to others. These connection points become your slots and tabs during assembly.
2. Create Your Base Pattern
Start with digital planning to avoid costly mistakes. Upload your artwork to BeadPattern to generate precise, buildable perler bead patterns with accurate color counts and panel dimensions. This eliminates the guesswork around bead quantities and ensures your panels will fit together properly.
3. Build Panels with Connection Points
Place beads on your pegboard to create each panel, leaving strategic gaps for assembly tabs. For connecting edges, create small rectangular extensions (usually 3-5 beads long) that will slide into corresponding slots on adjacent panels.
Make tabs slightly narrower than the slots they'll fit into - about half a bead width of clearance prevents forcing pieces together.
4. Fuse Panels Individually
Iron each panel separately using medium heat and steady pressure. Fuse one side completely, flip carefully, then lightly fuse the other side. You want the panels sturdy but not brittle.
Let each panel cool for 30 seconds before handling, but don't wait too long - you need some flexibility for assembly.
5. Assemble While Warm
Connect your panels while they're still slightly warm from ironing. The plastic remains flexible for about 2-3 minutes, making it easier to slide tabs into slots without cracking.
Work systematically - connect two panels, let that joint cool, then add the third panel, and so on.
6. Reinforce Critical Joints
For panels that bear weight or stress, add small perler bead "brackets" on the inside corners. Create tiny L-shaped pieces that bridge two panels and iron them in place for extra stability.
Common Assembly Mistakes to Avoid
Don't try to force cold panels together - you'll crack the plastic. If panels have cooled completely, warm them briefly with the iron before attempting connections.
Avoid making tabs too thick. Oversized connection points create stress fractures when you try to insert them into slots.
Test-fit your panels before final assembly. Dry-fit everything together to identify sizing issues while you can still adjust individual pieces.

A planning flatlay supports the article's practical guidance with a clear materials-and-pattern visual.
The Bottom Line
3D perler bead projects become manageable once you think in terms of flat panel construction rather than complex 3D visualization. Plan your panels, create smart connection points, and assemble while the plastic is still workable. Start with simple geometric shapes like cubes or pyramids to master the technique, then progress to more complex designs as your confidence builds.