Master the art of creating sturdy, giftable perler bead keychains that won't crack or break with daily use.
I learned the hard way that not all perler bead keychains are created equal. My first attempt was an intricate butterfly design that looked amazing—until it snapped in half after three days on my keys. The thin wings couldn't handle the constant jostling, and I was left with colorful plastic shards in my pocket.
That failure taught me the secret to successful keychain making: prioritize durability over complexity. The best beginner keychains use chunky shapes, solid construction, and proper hardware that can actually survive daily use.
A close-up hero image reinforces the main idea of how to make perler bead keychains: practical guide and gives the article a visual entry point.
Why Keychains Are Perfect for Beginners
Perler bead keychains hit the sweet spot for new crafters. They're small enough to finish in one sitting, useful enough to keep or gift, and forgiving enough that minor mistakes won't ruin the project.
Unlike large wall art or complex 3D builds, keychains require minimal supplies and take 30 minutes or less from start to finish. You'll get the satisfaction of completing something functional without the commitment of a weekend-long project.
Essential Supplies for Durable Keychains
Materials You Need
Hardware That Actually Works
Skip the flimsy jump rings that come in craft kits. Split ring keychains—the kind used for car keys—handle daily wear without opening unexpectedly. They cost pennies more but save you from losing your creation.
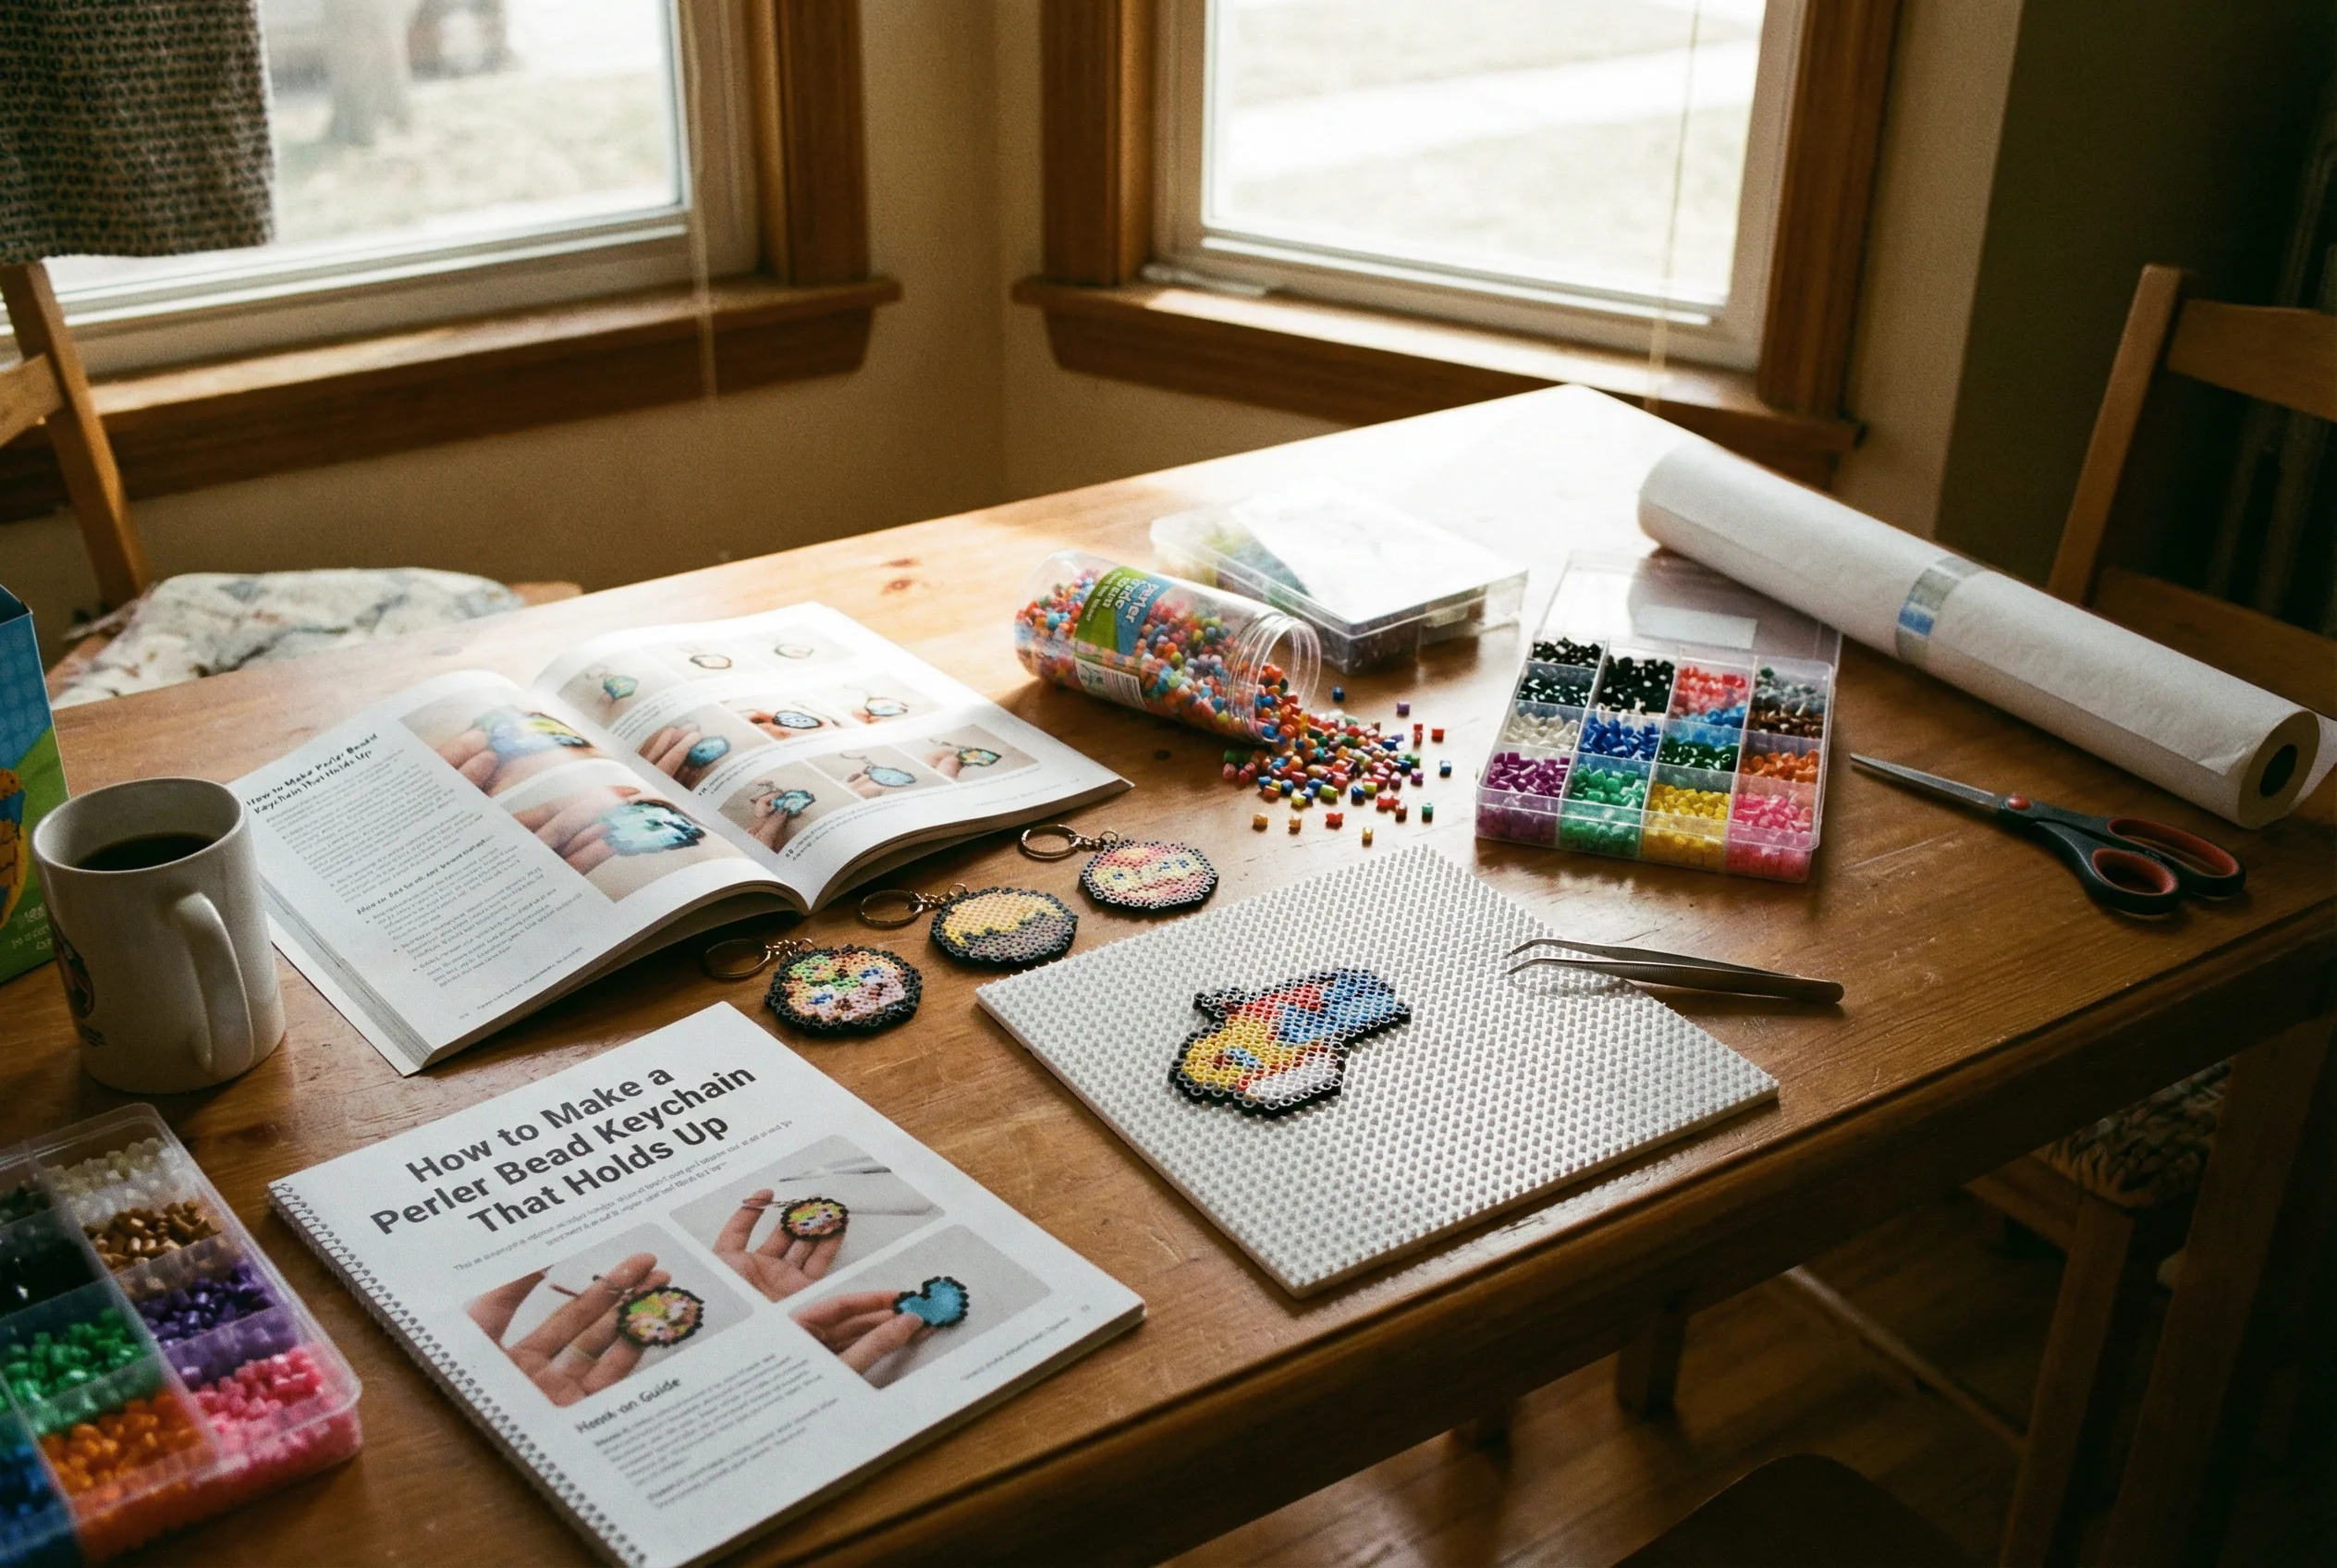
A workspace scene adds process context and makes the tutorial feel more actionable for readers.
Step-by-Step Keychain Construction
1. Choose a Chunky Design
Start with solid shapes like hearts, squares, or simple animals. Avoid thin elements like butterfly wings, stick figures, or delicate patterns. A good rule: if any part is only one bead wide, it's too fragile for keychain duty.
For your first project, try a classic heart shape. It's recognizable, uses about 30 beads, and has no weak points that snap under pressure.
2. Plan Your Pattern
Before placing beads, sketch your design on paper or upload your image on BeadPattern to generate a clean, keychain-friendly pattern. This tool converts photos into buildable perler bead designs and helps you plan your color scheme before buying supplies.
Keep your design under 20 beads in any direction. Larger keychains become unwieldy and more likely to catch on things.
3. Build on the Pegboard
Place beads methodically, starting from one corner and working across. Press each bead firmly onto the pegs—loose beads create weak spots that fail during ironing.
Double-check your pattern before moving to the next step. It's much easier to fix mistakes now than after ironing.
4. Iron Both Sides
Cover your design with parchment paper and iron on medium heat for 10-15 seconds. The beads should fuse but still show individual circles—don't over-iron into a solid plastic sheet.
Flip carefully and iron the back side for another 10-15 seconds. This two-sided fusing creates maximum strength for keychain use.
5. Add the Hardware
Once cooled, drill a small hole near the top edge, at least two beads away from any edge. Thread your split ring through the hole, and your keychain is ready for action.
Position the hole strategically—too close to an edge and it'll tear out, too far in and it affects the design balance.
Common Mistakes That Ruin Keychains
Thin designs break easily. Stick to shapes that are at least 3 beads thick in all directions.
Wrong hardware fails fast. Jump rings open under stress. Split rings stay closed.
Single-side ironing creates weak spots. Always fuse both sides for maximum durability.
Poor hole placement causes tears. Keep holes at least 2 beads from any edge.
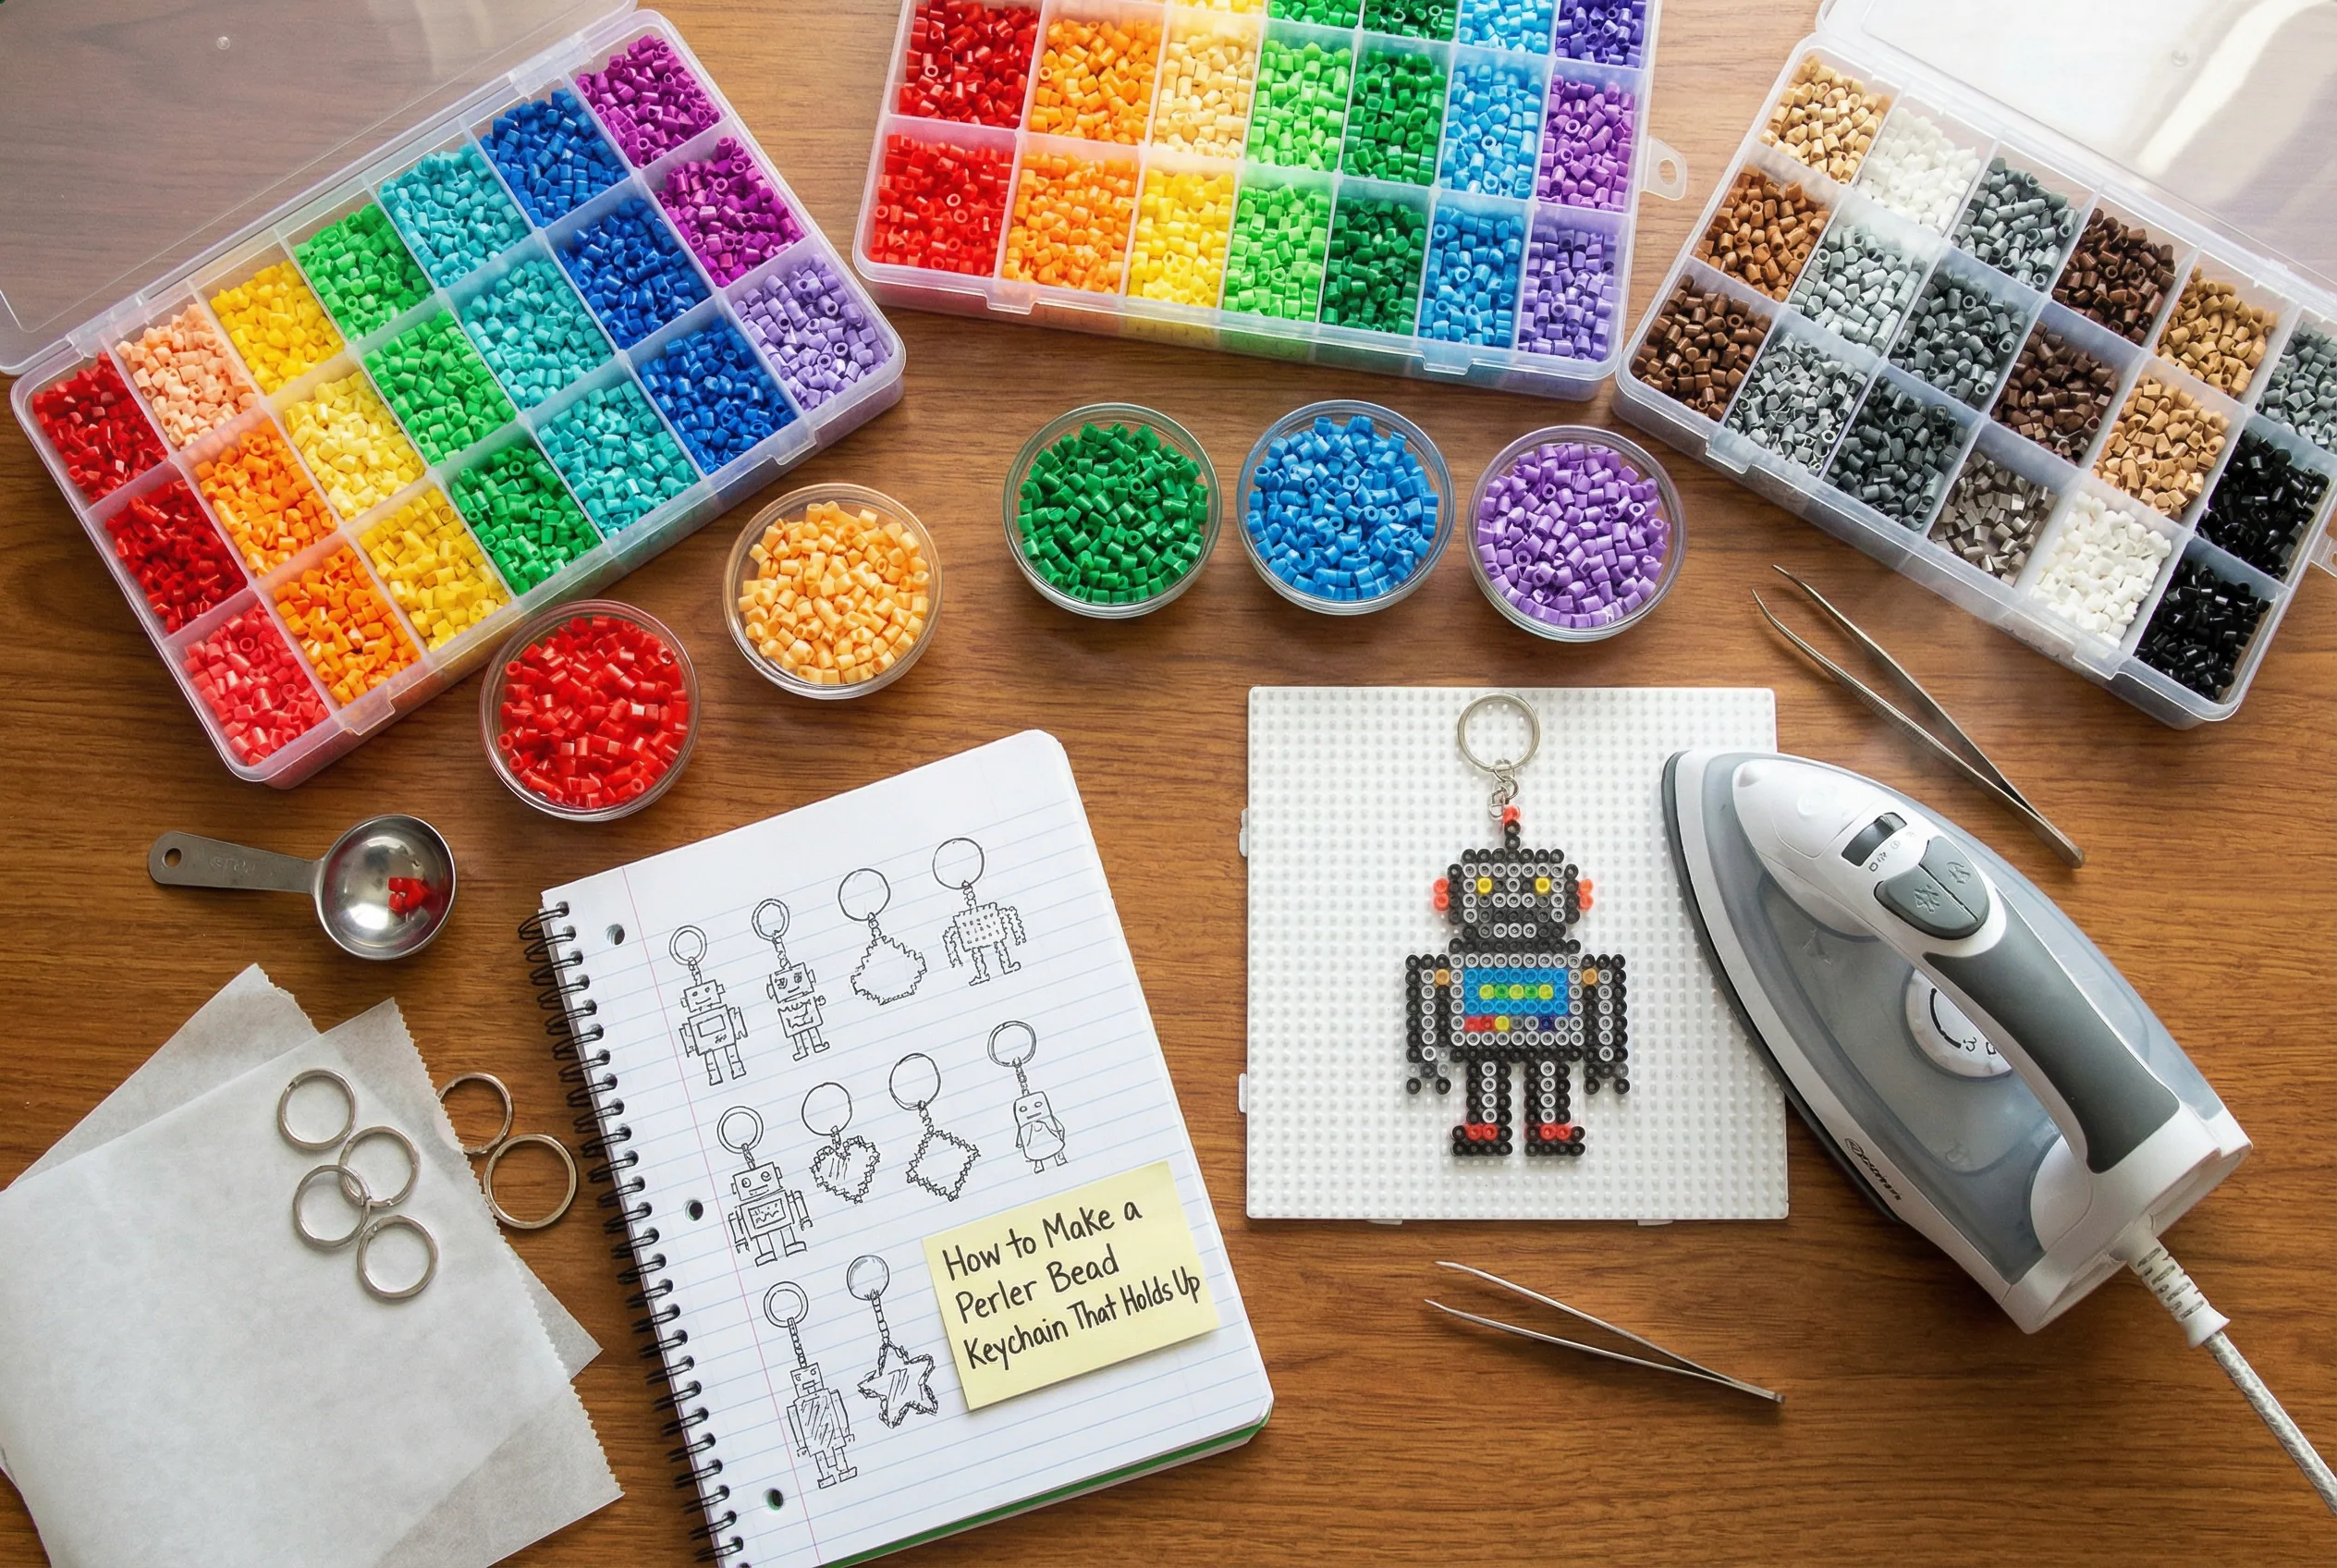
A planning flatlay supports the article's practical guidance with a clear materials-and-pattern visual.
The Bottom Line
The secret to successful perler bead keychains is choosing durability over complexity. Start with chunky, solid designs, use proper split ring hardware, and iron both sides thoroughly. Your first keychain might not win design awards, but it'll survive daily use and make a perfect gift that actually lasts. Ready to create your pattern? Upload a small icon or photo on BeadPattern to generate a clean, keychain-friendly design that's built to last.