The hardest part of making your own Perler bead patterns is not finding a converter. It is turning a picture into something you can actually build. A good pattern needs the right board size, a limited color palette, and enough visual contrast to stay readable once every pixel becomes a bead.
That is why the best pattern workflow starts with simplification. If you want examples of tools and pattern-making guides built specifically for bead crafters, the BeadPattern blog is a strong starting point because it is focused on physical bead projects rather than generic pixel-art effects.
A close-up hero image reinforces the main idea of how to make perler bead patterns from your own images and gives the article a visual entry point.
Start with the Right Image
Simple images are easier to convert than detailed photos. Large facial close-ups, low-contrast scenes, and busy backgrounds usually create muddy patterns unless you spend time editing them afterward.
Begin with:
Older tutorials on pattern makers make the same point: the more complex the source image, the more cleanup work you will do later.
Choose Size Before You Choose Detail
One of the easiest mistakes is generating a pattern at a size you would never want to build. Pattern tutorials and online generators both show that width, board count, and palette size have to be chosen together.
A practical workflow is:
1. Set a small or medium board goal first.
2. Reduce the image until the subject still reads clearly.
3. Limit colors before you obsess over tiny details.
4. Edit only the pixels that matter most.
If the design only looks good at a giant size, it may be the wrong source image for a beginner project.
What a Good Pattern Tool Should Do
The search results surfaced a few recurring features that matter:
That is also where a bead-specific tool helps more than a general image filter. As of March 15, 2026, BeadPattern emphasizes color matching, shopping lists, and printable exports, which are the parts crafters actually need once the image is converted.
Edit After Generation
Even a decent auto-generated pattern usually needs one more pass. Tutorials on pattern makers repeatedly recommend checking:
If a single color appears only once or twice in a random corner, it is often better to merge it into a nearby tone.
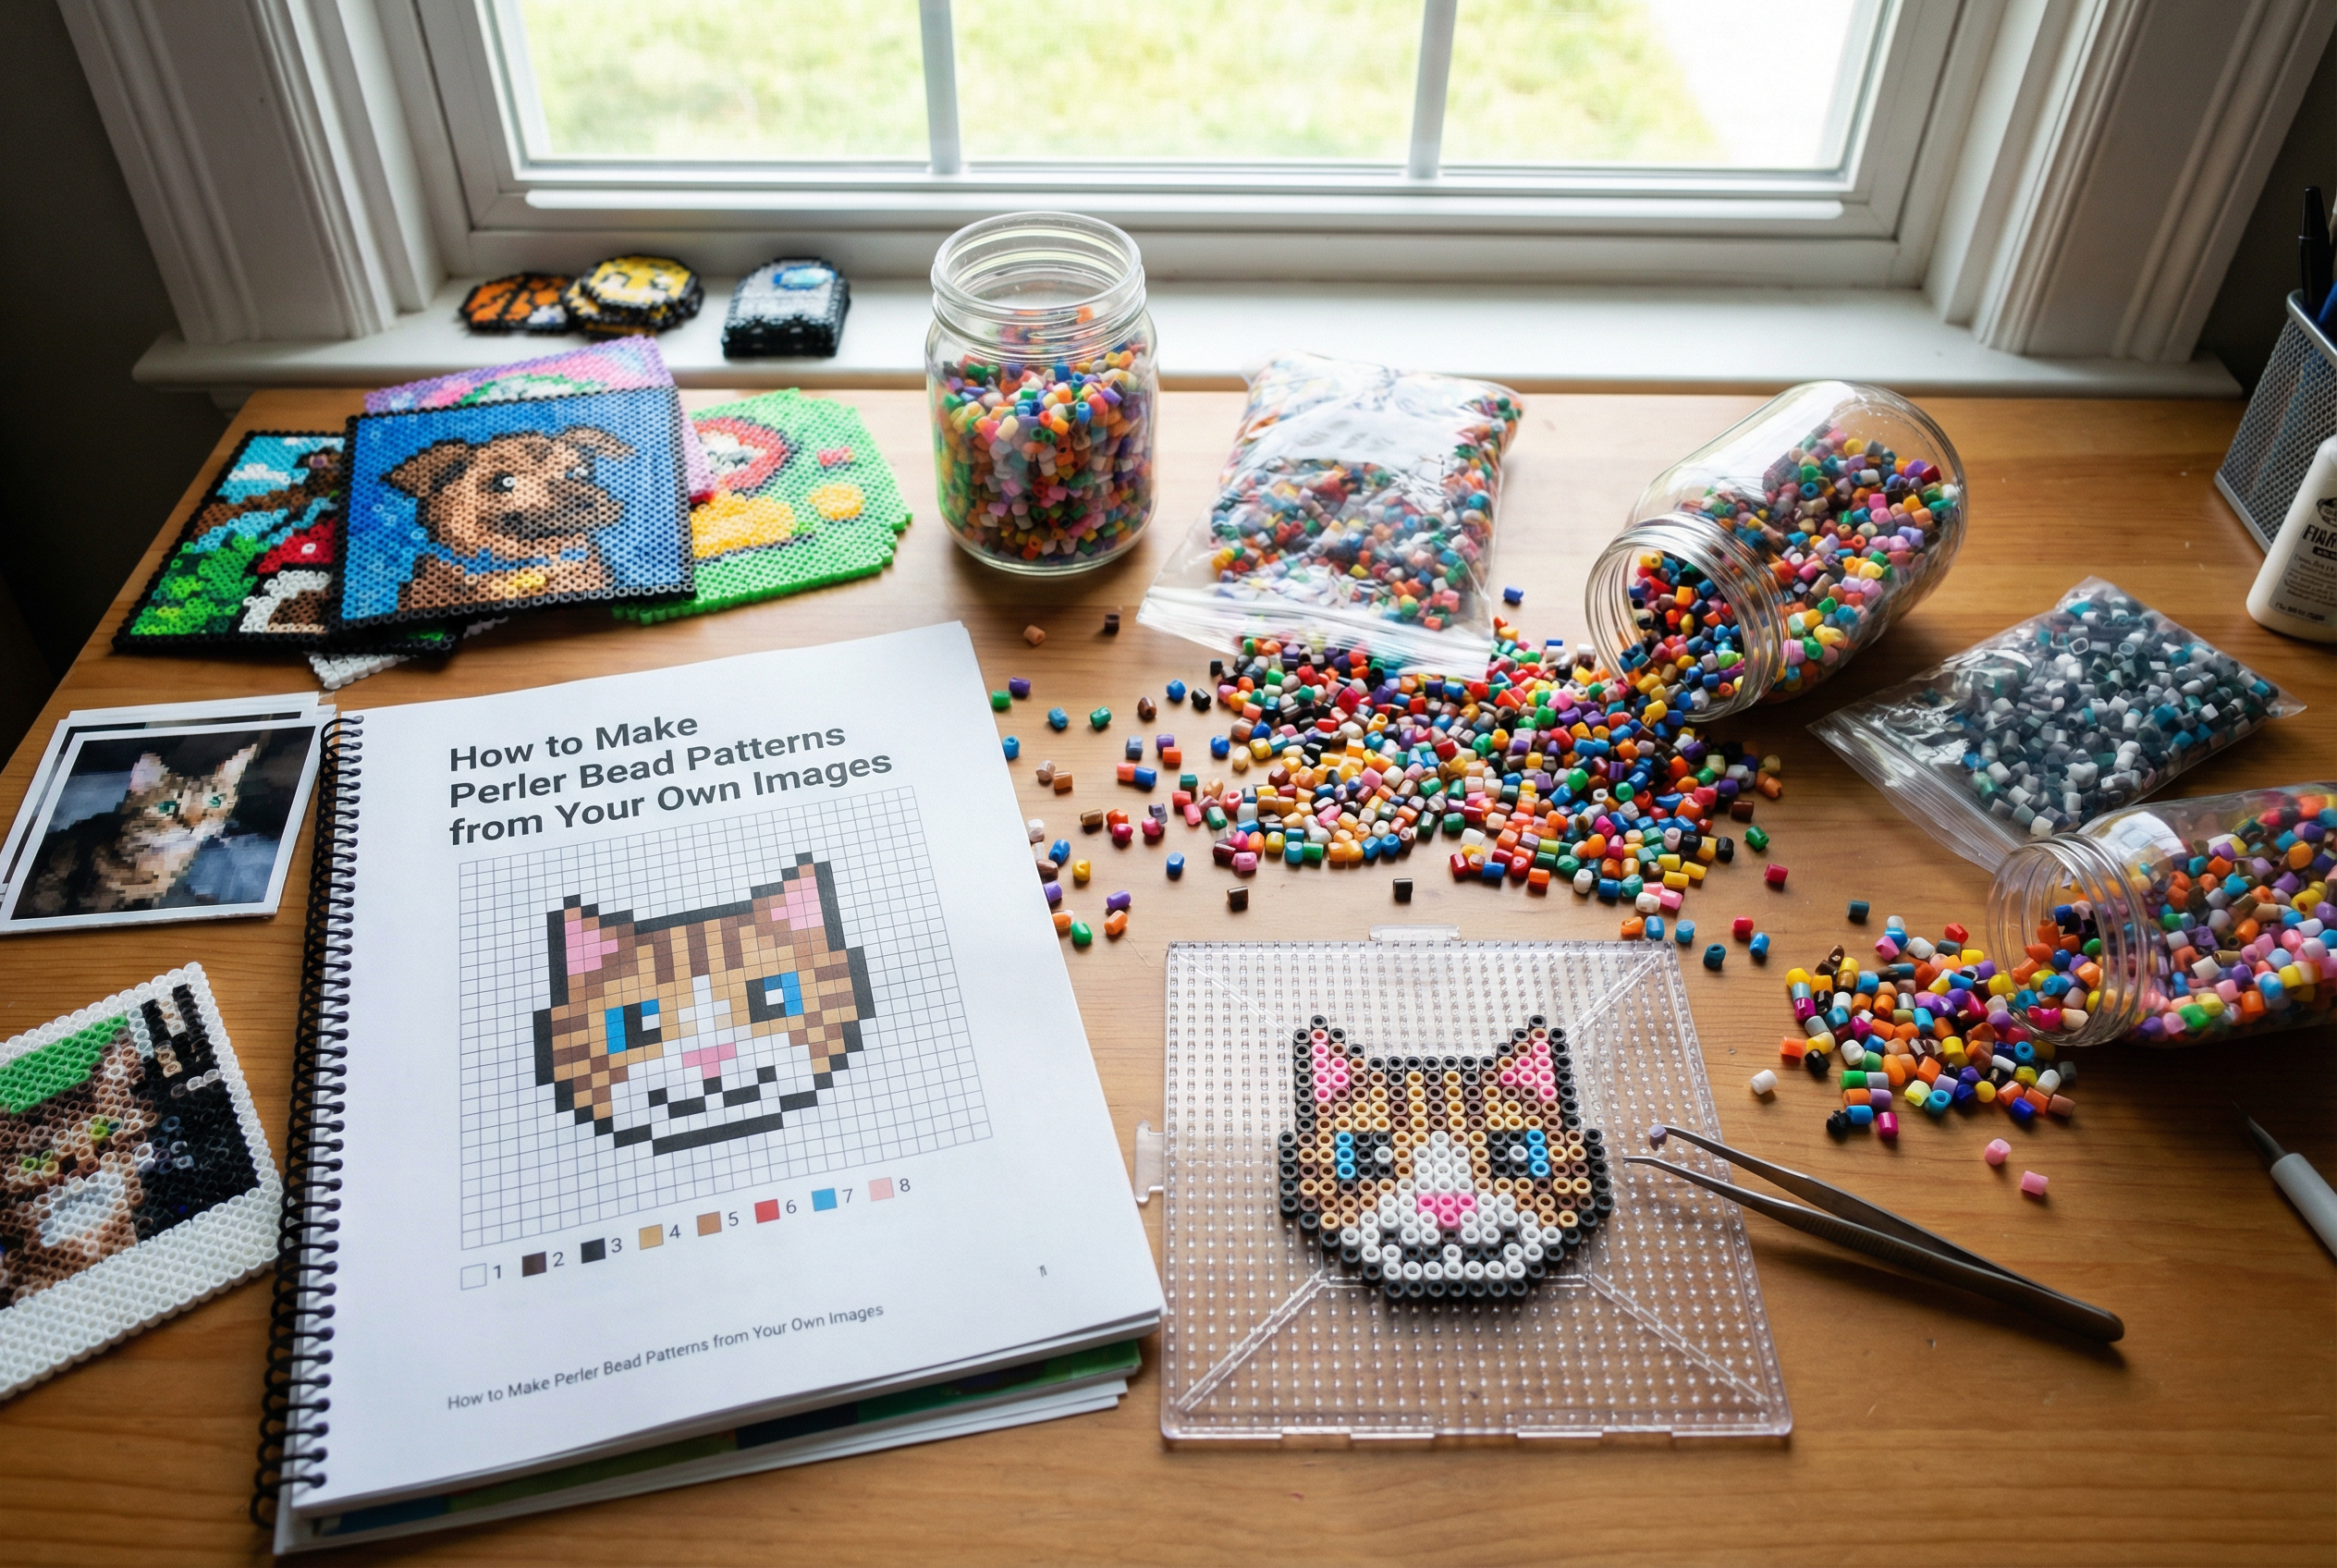
A workspace scene adds process context and makes the tutorial feel more actionable for readers.
Best Use Cases
Homemade patterns work especially well for:
If you are building from a favorite photo, keep your first attempt small. Your second pattern will almost always be better than your first.
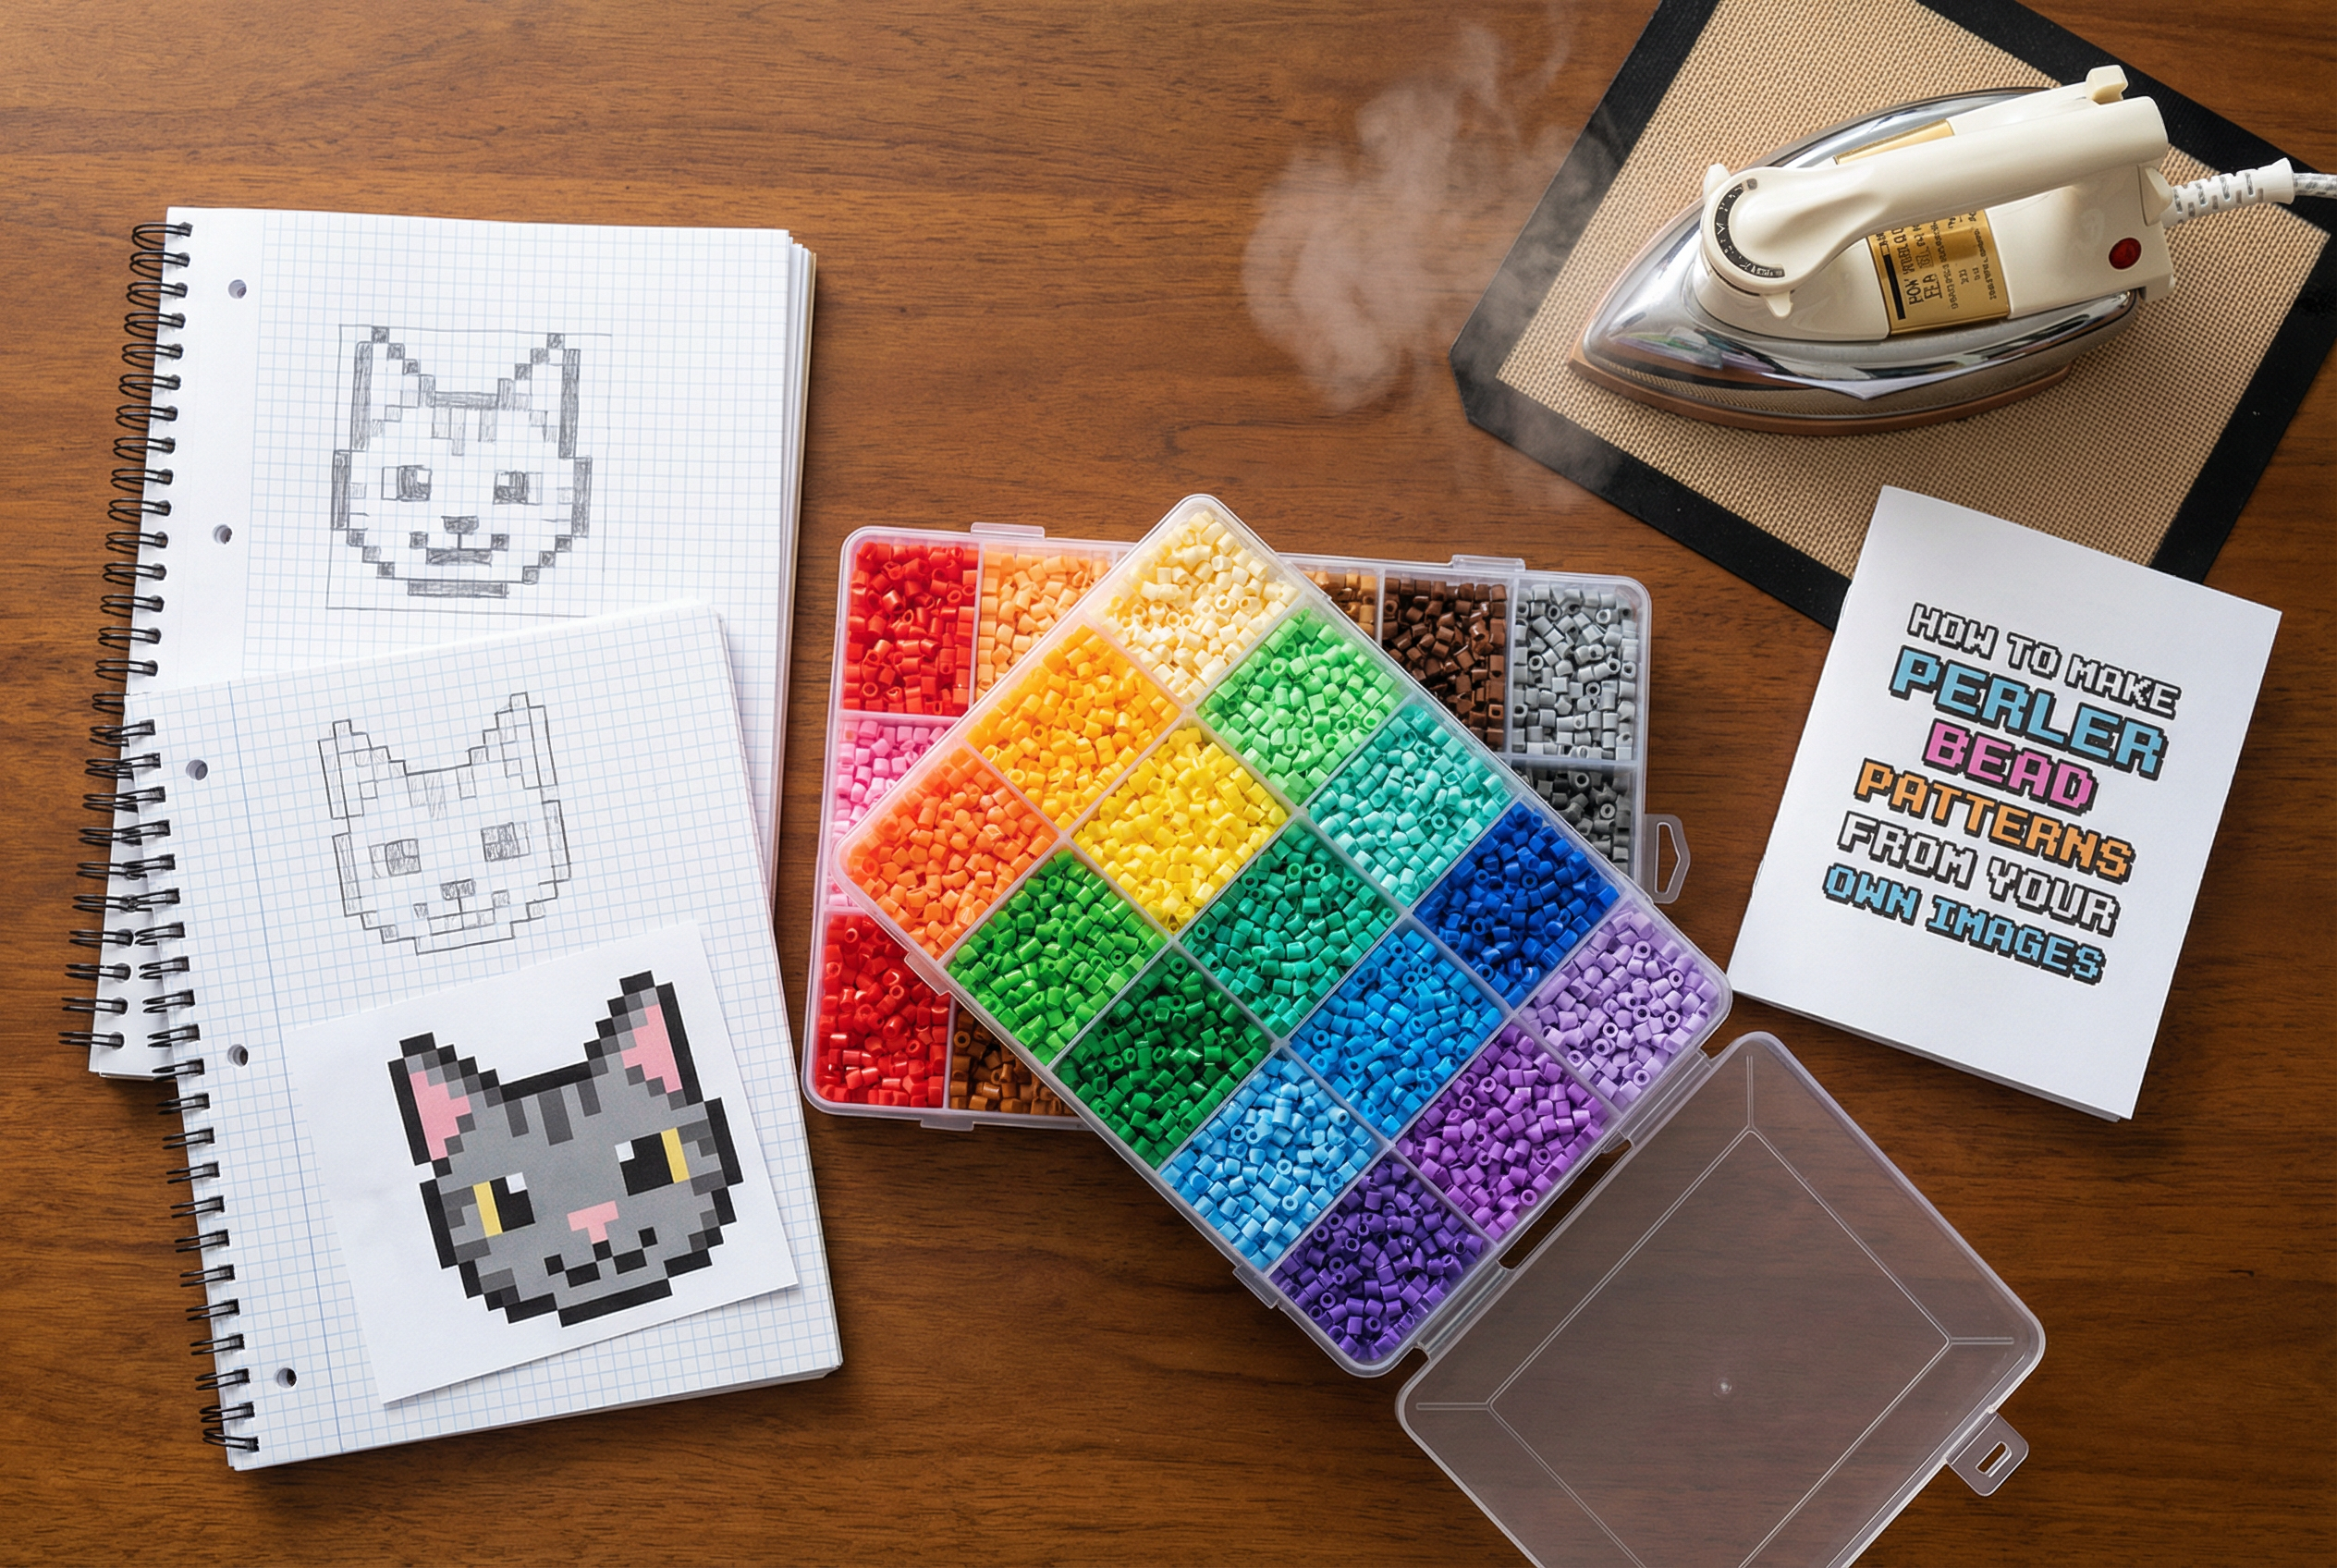
A planning flatlay supports the article's practical guidance with a clear materials-and-pattern visual.
FAQ
Can I make a Perler bead pattern from a photo?
Yes, but simpler photos convert better and need less manual cleanup.
Do I need a dedicated tool?
Not always, but bead-specific tools save time by handling color counts, palette matching, and printable layouts.
Why does my pattern look messy after conversion?
Usually because the source image is too detailed, the color count is too high, or the board size is too small.
The Bottom Line
If you want to make Perler bead patterns that are fun to build, start with a clean image, shrink the design to a realistic size, limit the palette, and edit only what matters. Pattern making is easier when the tool understands bead crafting, not just image filtering.