Many people search for how to melt Perler beads without an iron because they want a shortcut. The truth is that there is no perfect substitute for an iron when you are making a standard pegboard design. There are alternatives, but they work best for specific project types, not every pattern.
If your goal is a clean, flat pixel-art result, the safest path is still traditional ironing. If your goal is decorative melt projects or cookie-cutter shapes, oven-based methods can work. For printable pattern ideas before you start, the BeadPattern blog is a useful place to collect designs and plan the project first.
A close-up hero image reinforces the main idea of how to melt perler beads without an iron: what actually works and gives the article a visual entry point.
Can You Put Perler Beads in the Oven?
Yes, but context matters. Perler's own FAQ says you can flatten Perler beads in an oven for jewelry, garlands, and similar DIY projects. Perler also publishes a cookie-cutter ornament guide that uses a standard oven, parchment paper, a cookie sheet, and a single layer of beads.
That is the key detail: oven melting is most reliable for free-form or shaped single-layer projects, not for a detailed pegboard sprite that needs crisp edges.
When Oven Melting Makes Sense
Use the oven method when you are making:
Perler's ornament guide uses:
That is very different from trying to preserve a detailed character pattern.
Why Standard Patterns Usually Need an Iron
If you are making a pegboard project, you want control. You need to decide how fused the front and back should be, whether the holes stay open, and whether the outline remains sharp. An iron gives you that control; an oven usually does not.
That is why many beginners who search "how to melt perler beads in oven" are actually better served by learning the correct ironing workflow instead of switching tools.
What About Other No-Iron Methods?
Search results and hobby forums are full of improvised methods, but most of them are inconsistent. They may soften the beads, but that is not the same as producing a strong, clean result.
If you do not have an iron available, the best advice is practical rather than clever:
1. Wait until you can use a proper iron.
2. Keep the project assembled on the board or transfer carefully only if needed.
3. Avoid random hacks that make the plastic sticky or uneven.
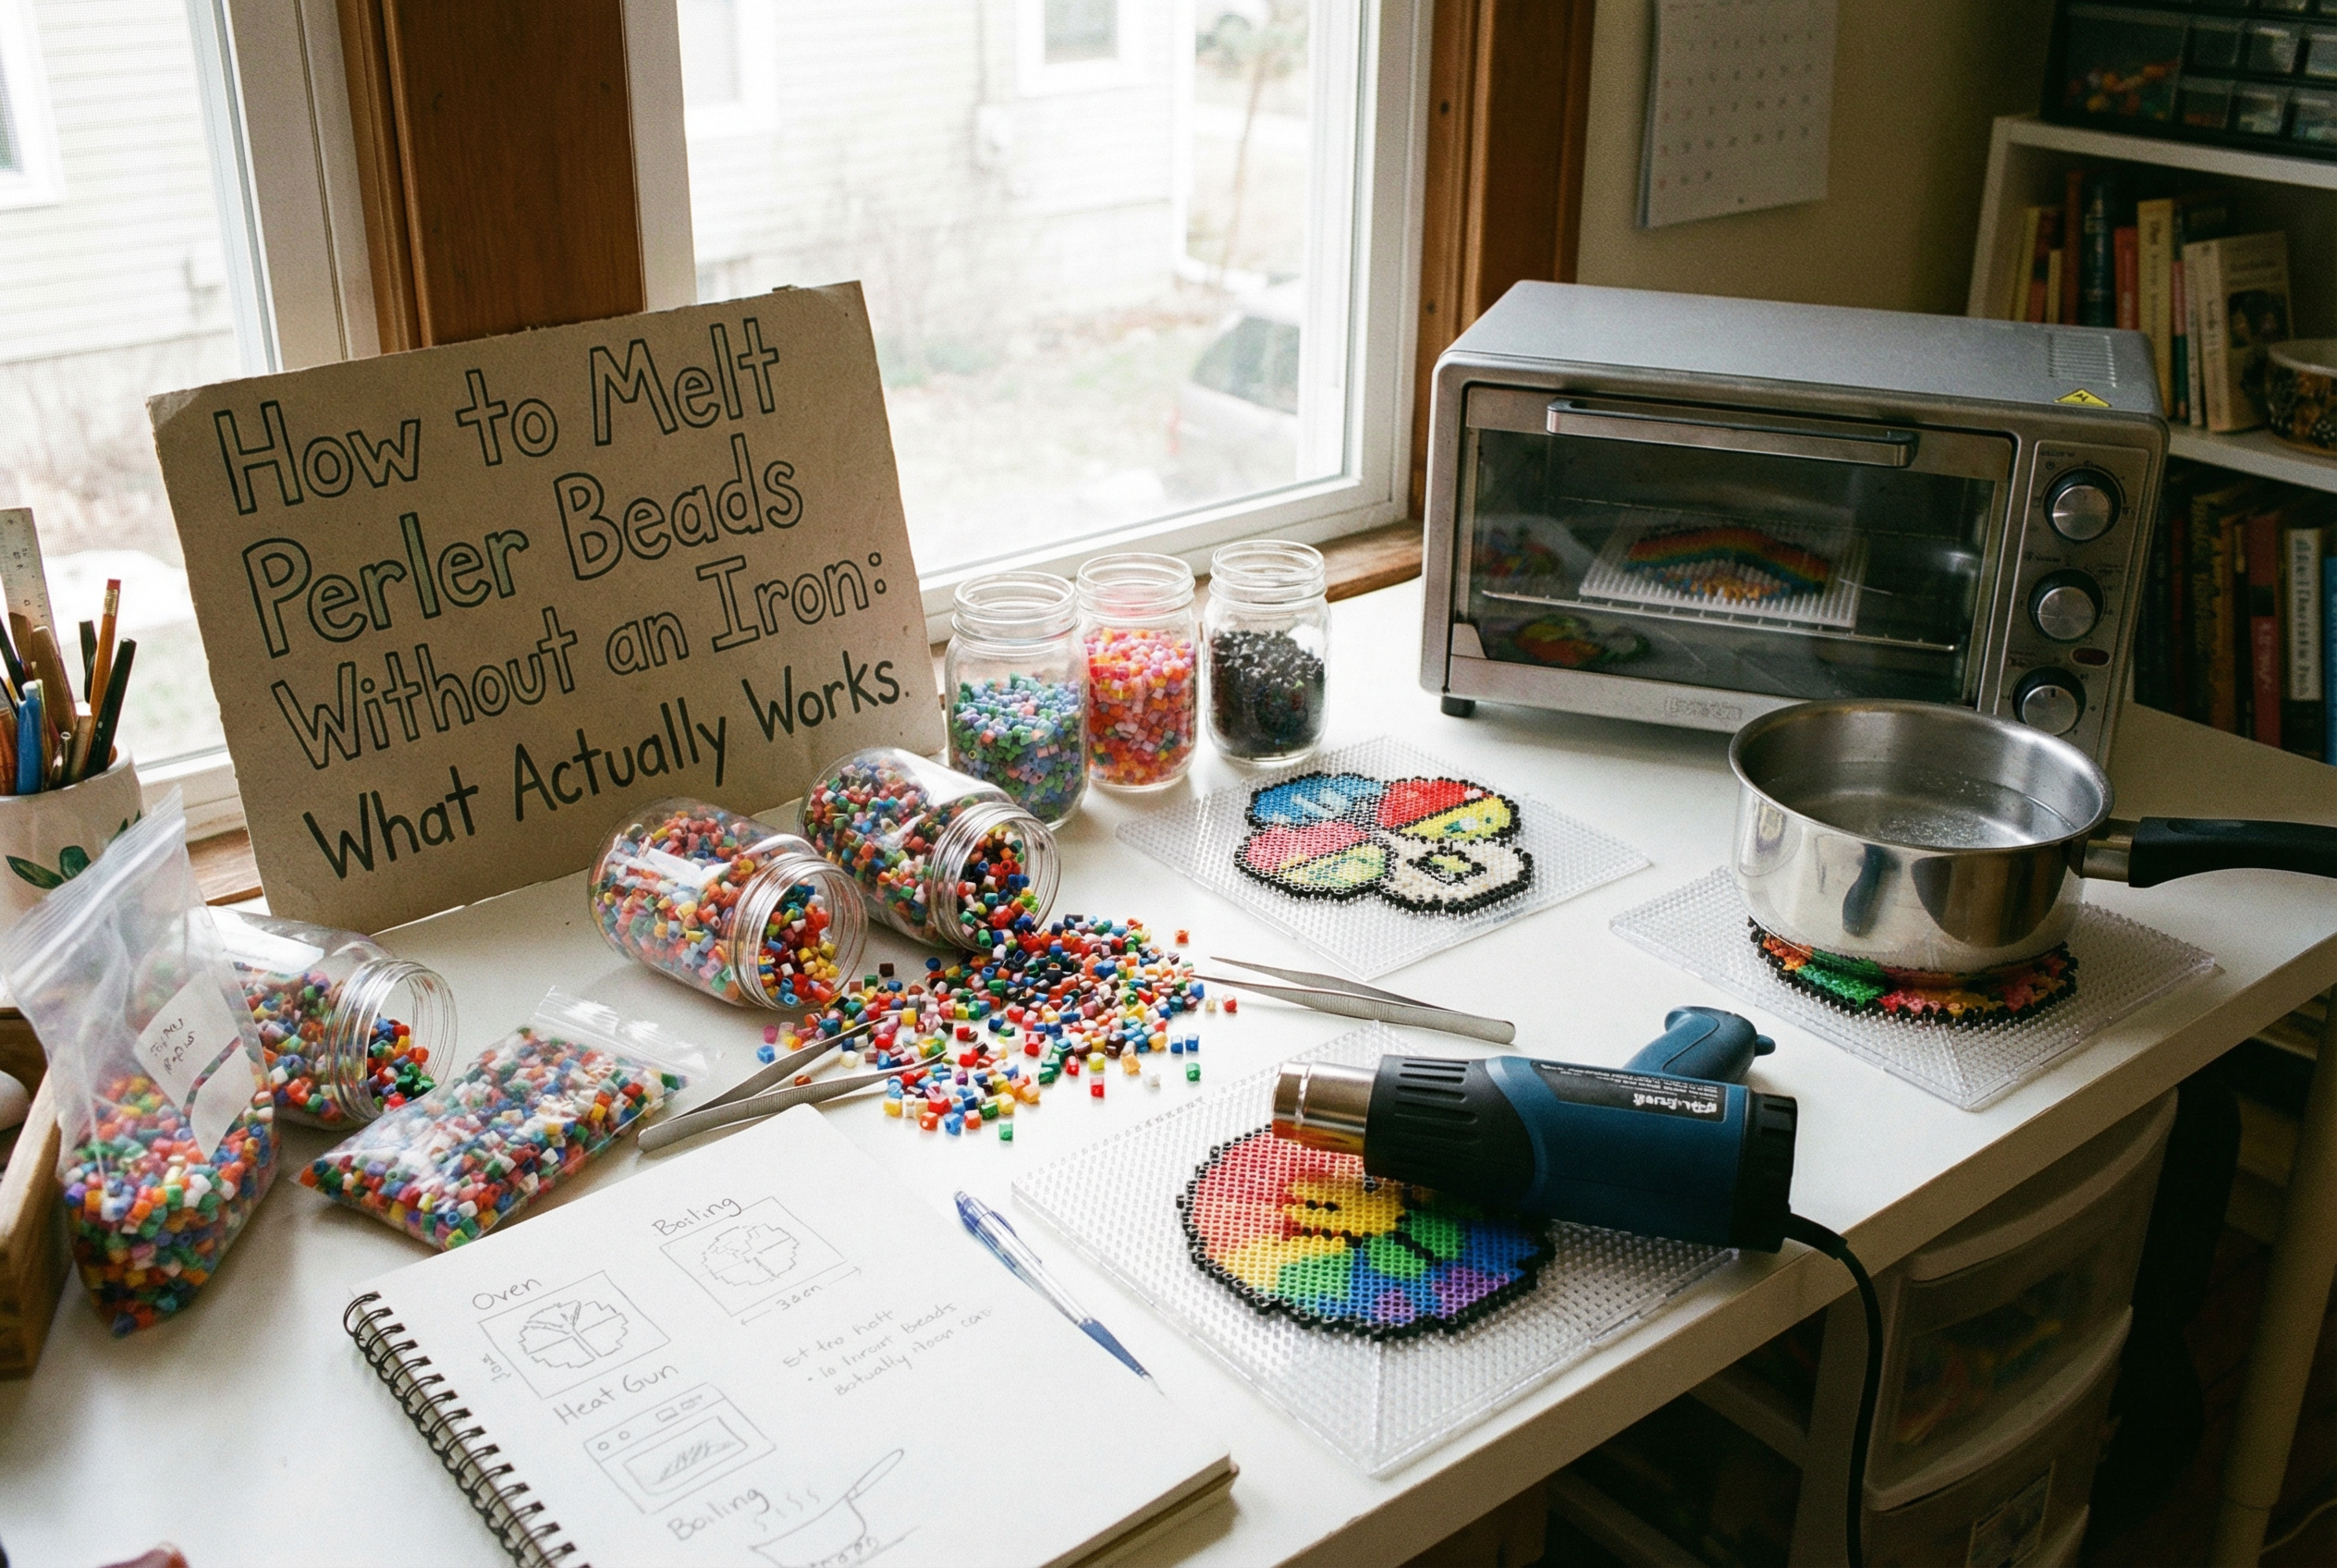
A workspace scene adds process context and makes the tutorial feel more actionable for readers.
The Safer Decision Tree
Here is the simplest rule:
That one distinction will save you a lot of frustration.
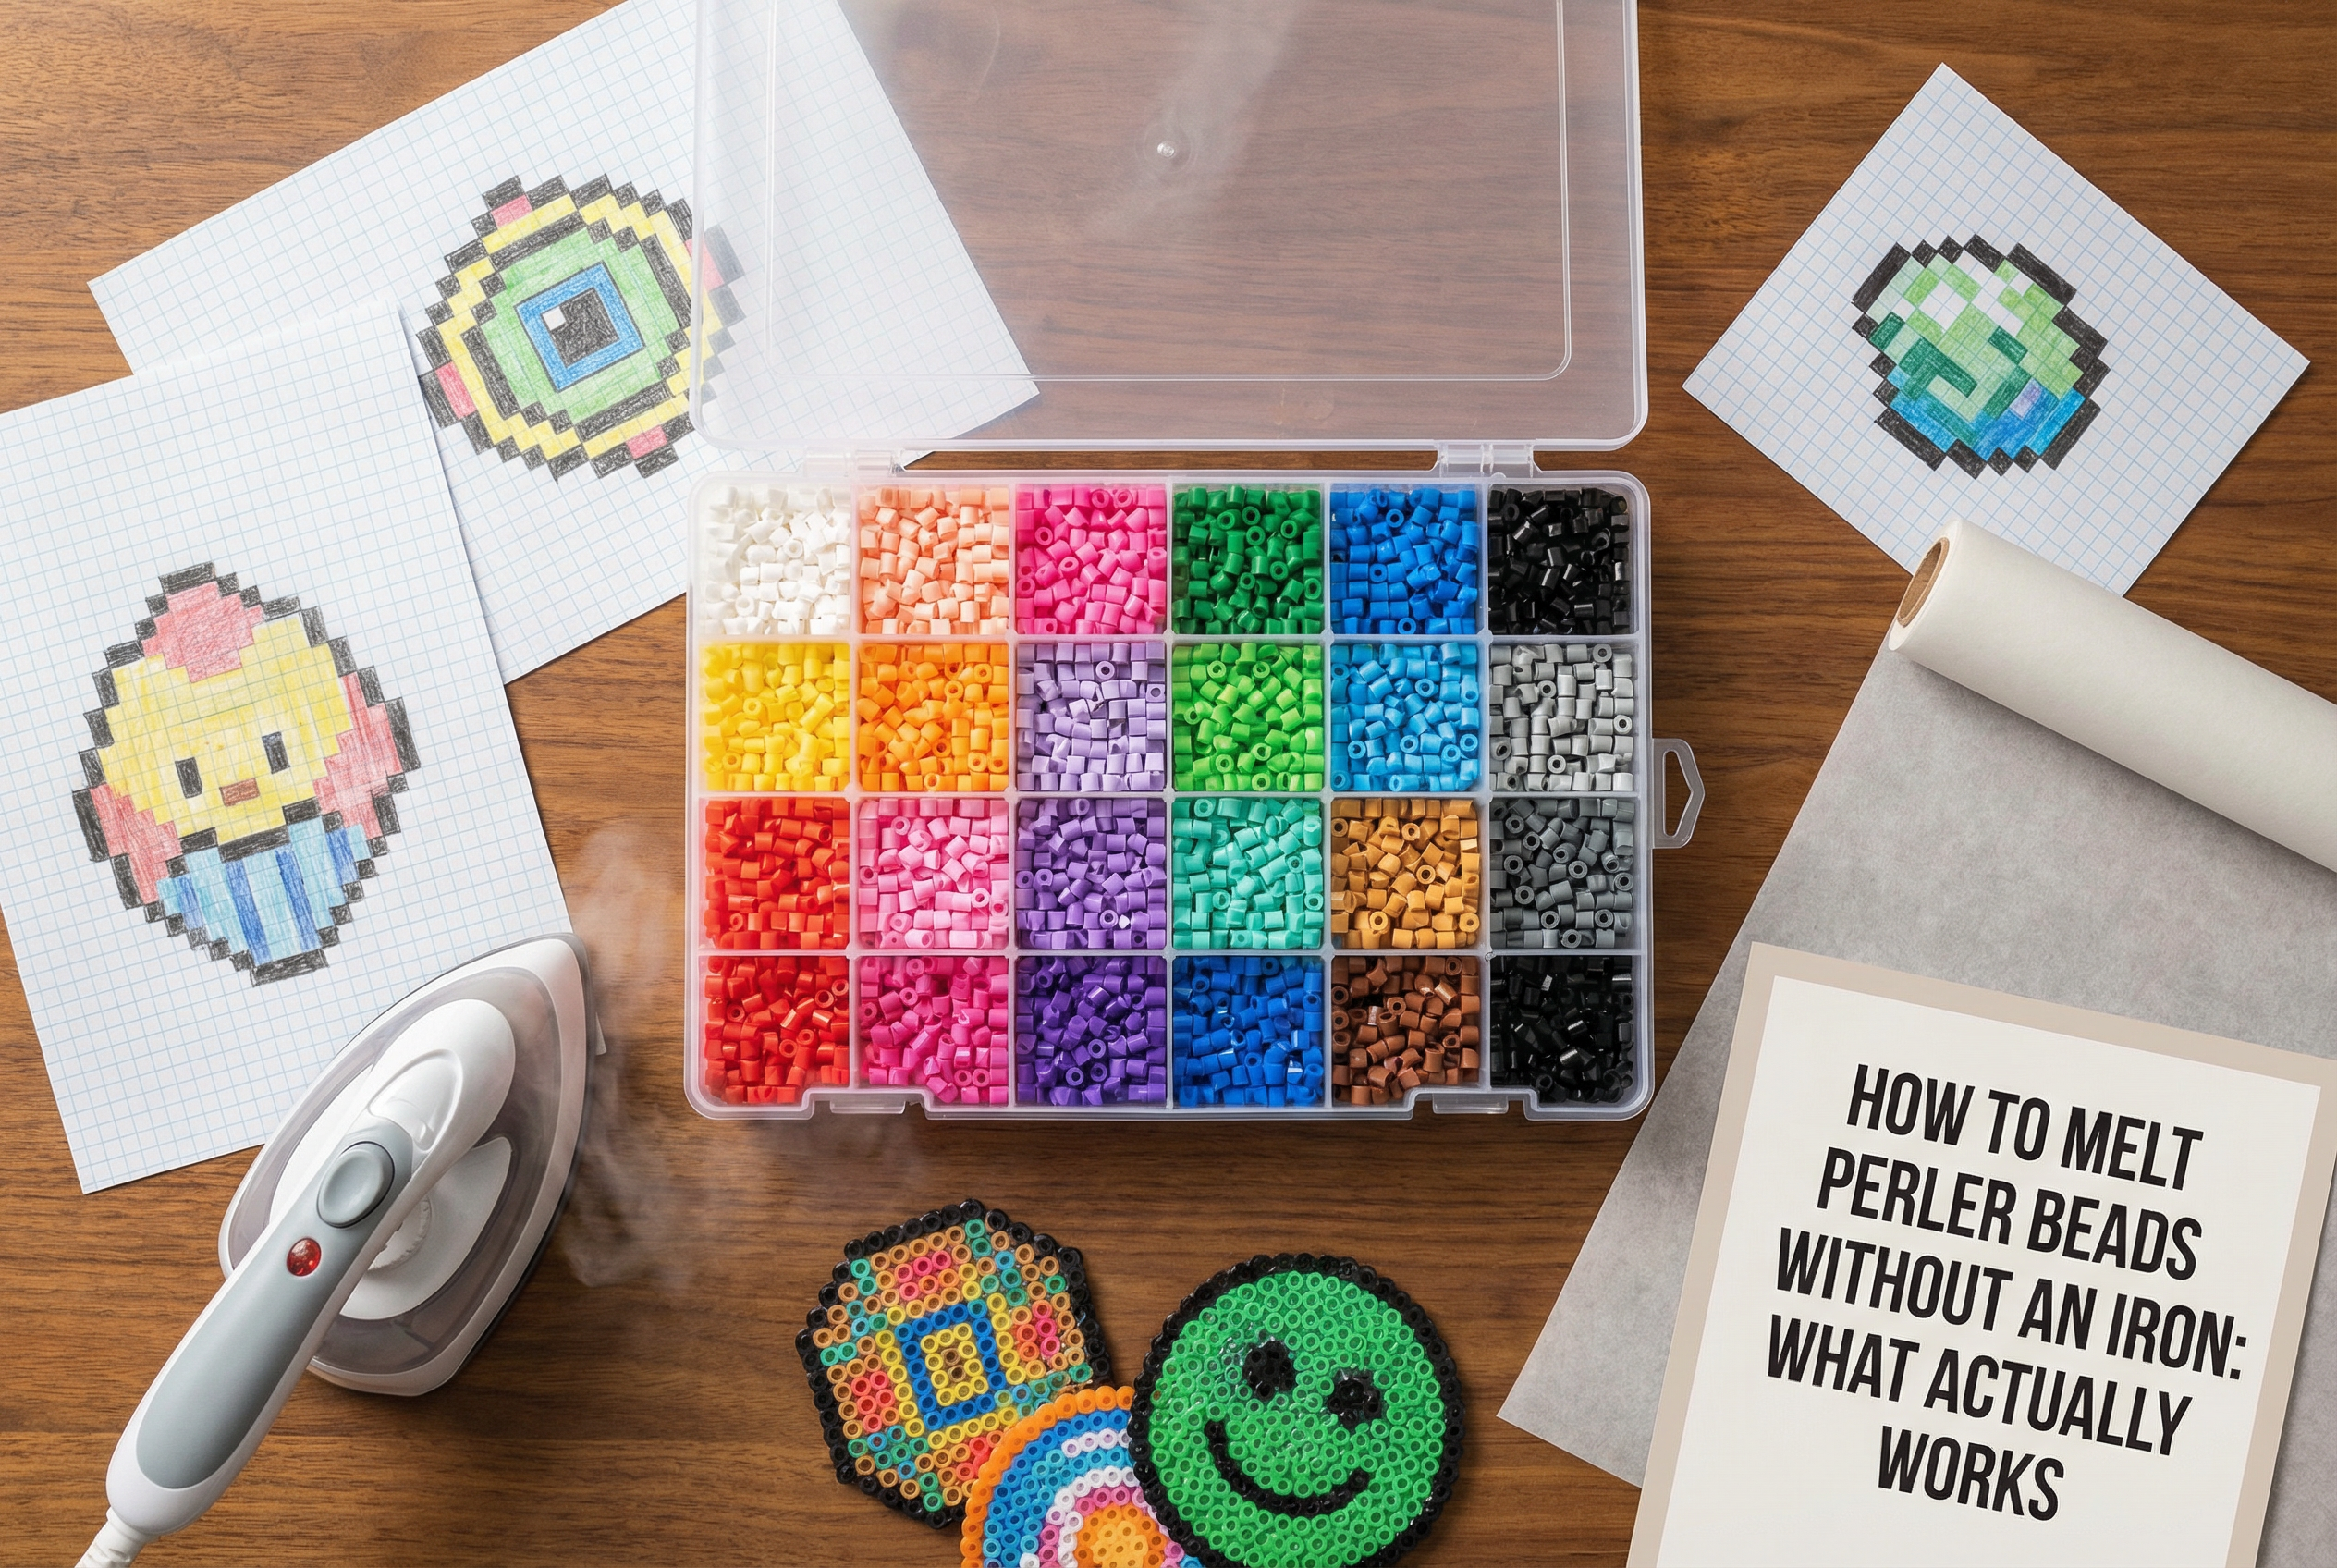
A planning flatlay supports the article's practical guidance with a clear materials-and-pattern visual.
FAQ
Can I use the oven for every Perler project?
No. It is better suited to single-layer decorative projects than precise pegboard sprites.
What paper should I use in the oven?
Parchment paper, not wax paper.
Can I melt Perler beads without heat tools at all?
Not in a way that reliably produces a standard fused-bead finish.
The Bottom Line
Yes, you can melt Perler beads without an iron in certain oven-based projects. But if you want the clean result most people imagine when they search for Perler tutorials, an iron is still the best tool. Use the oven for decorative melts, not as a universal replacement.