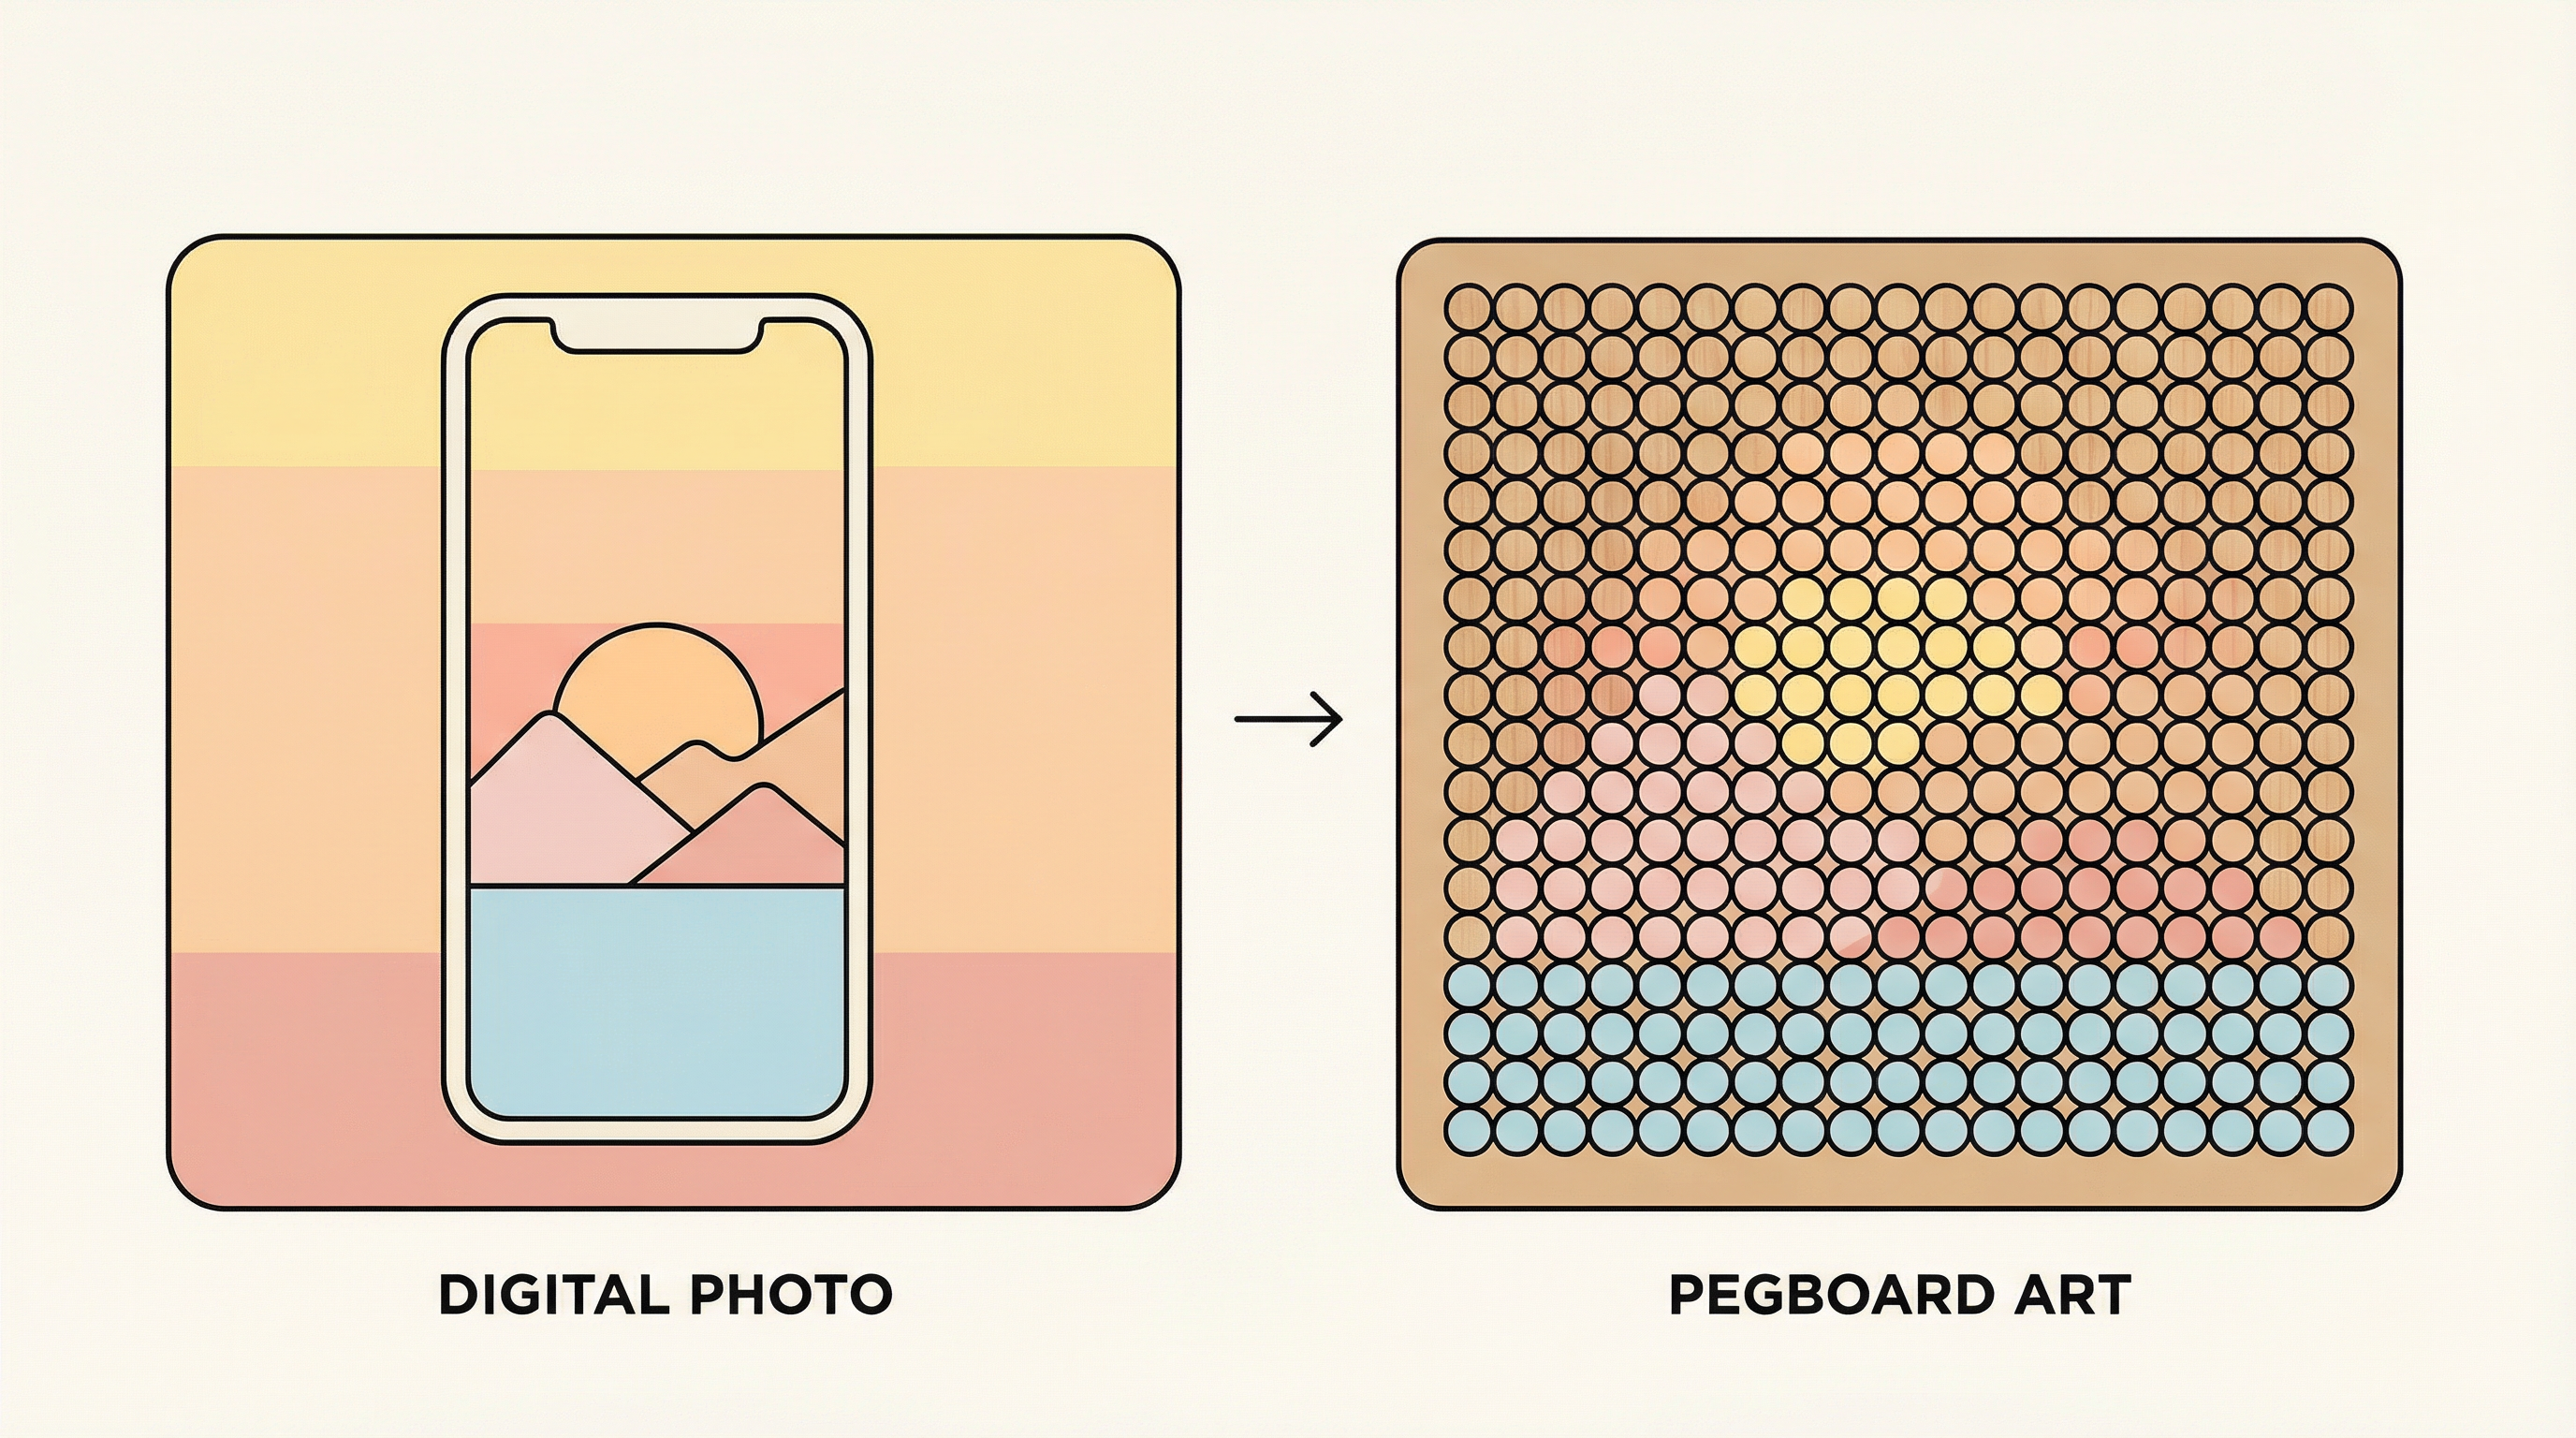
Photo-to-Pattern Workflow: Turn Any Image into a Clean Perler Bead Design
Turning a favorite photo into a bead pattern sounds easy, but the first conversion is usually noisy, muddy, or just too detailed to build.
The fix is a simple workflow: pick a photo that converts well, control the grid size, lock a palette, and then edit only the areas that matter.
This guide walks through a repeatable process you can use in BeadPattern to get crisp, buildable patterns without hours of trial and error.
Why Photos Break into Messy Patterns
Photos contain soft gradients, tiny texture, and lighting shifts that look beautiful on a screen but become chaotic when reduced to a small bead grid.
If you convert first and edit later, you often fight hundreds of tiny color islands that slow you down and blur the design.
Start with the right input and the right settings, and the algorithm will do most of the heavy lifting.
Step 1: Choose a Photo That Converts Well
Pick images with a clear subject, strong contrast, and simple lighting.
You do not need a professional photo, but you do need a readable silhouette.
If the subject blends into the background, crop first or replace the background before you import.
Step 2: Crop and Set Grid Size
Cropping is the fastest way to control complexity.
Aim to fill most of the frame with the subject so the grid is used on what matters.
Grid size controls detail and build time. Larger grids capture more detail but require more beads and longer builds.
If you are unsure, start smaller, then scale up only if the design loses key features.
Step 3: Limit the Palette Early
Color count is the biggest driver of both visual clarity and build complexity.
In BeadPattern, choose your bead brand first so the palette matches real colors.
Then cap the color count before you start editing, so you are not chasing tiny variations.
Fewer colors often look cleaner because the shapes read better from a distance.
Step 4: Reduce Noise Before Manual Edits
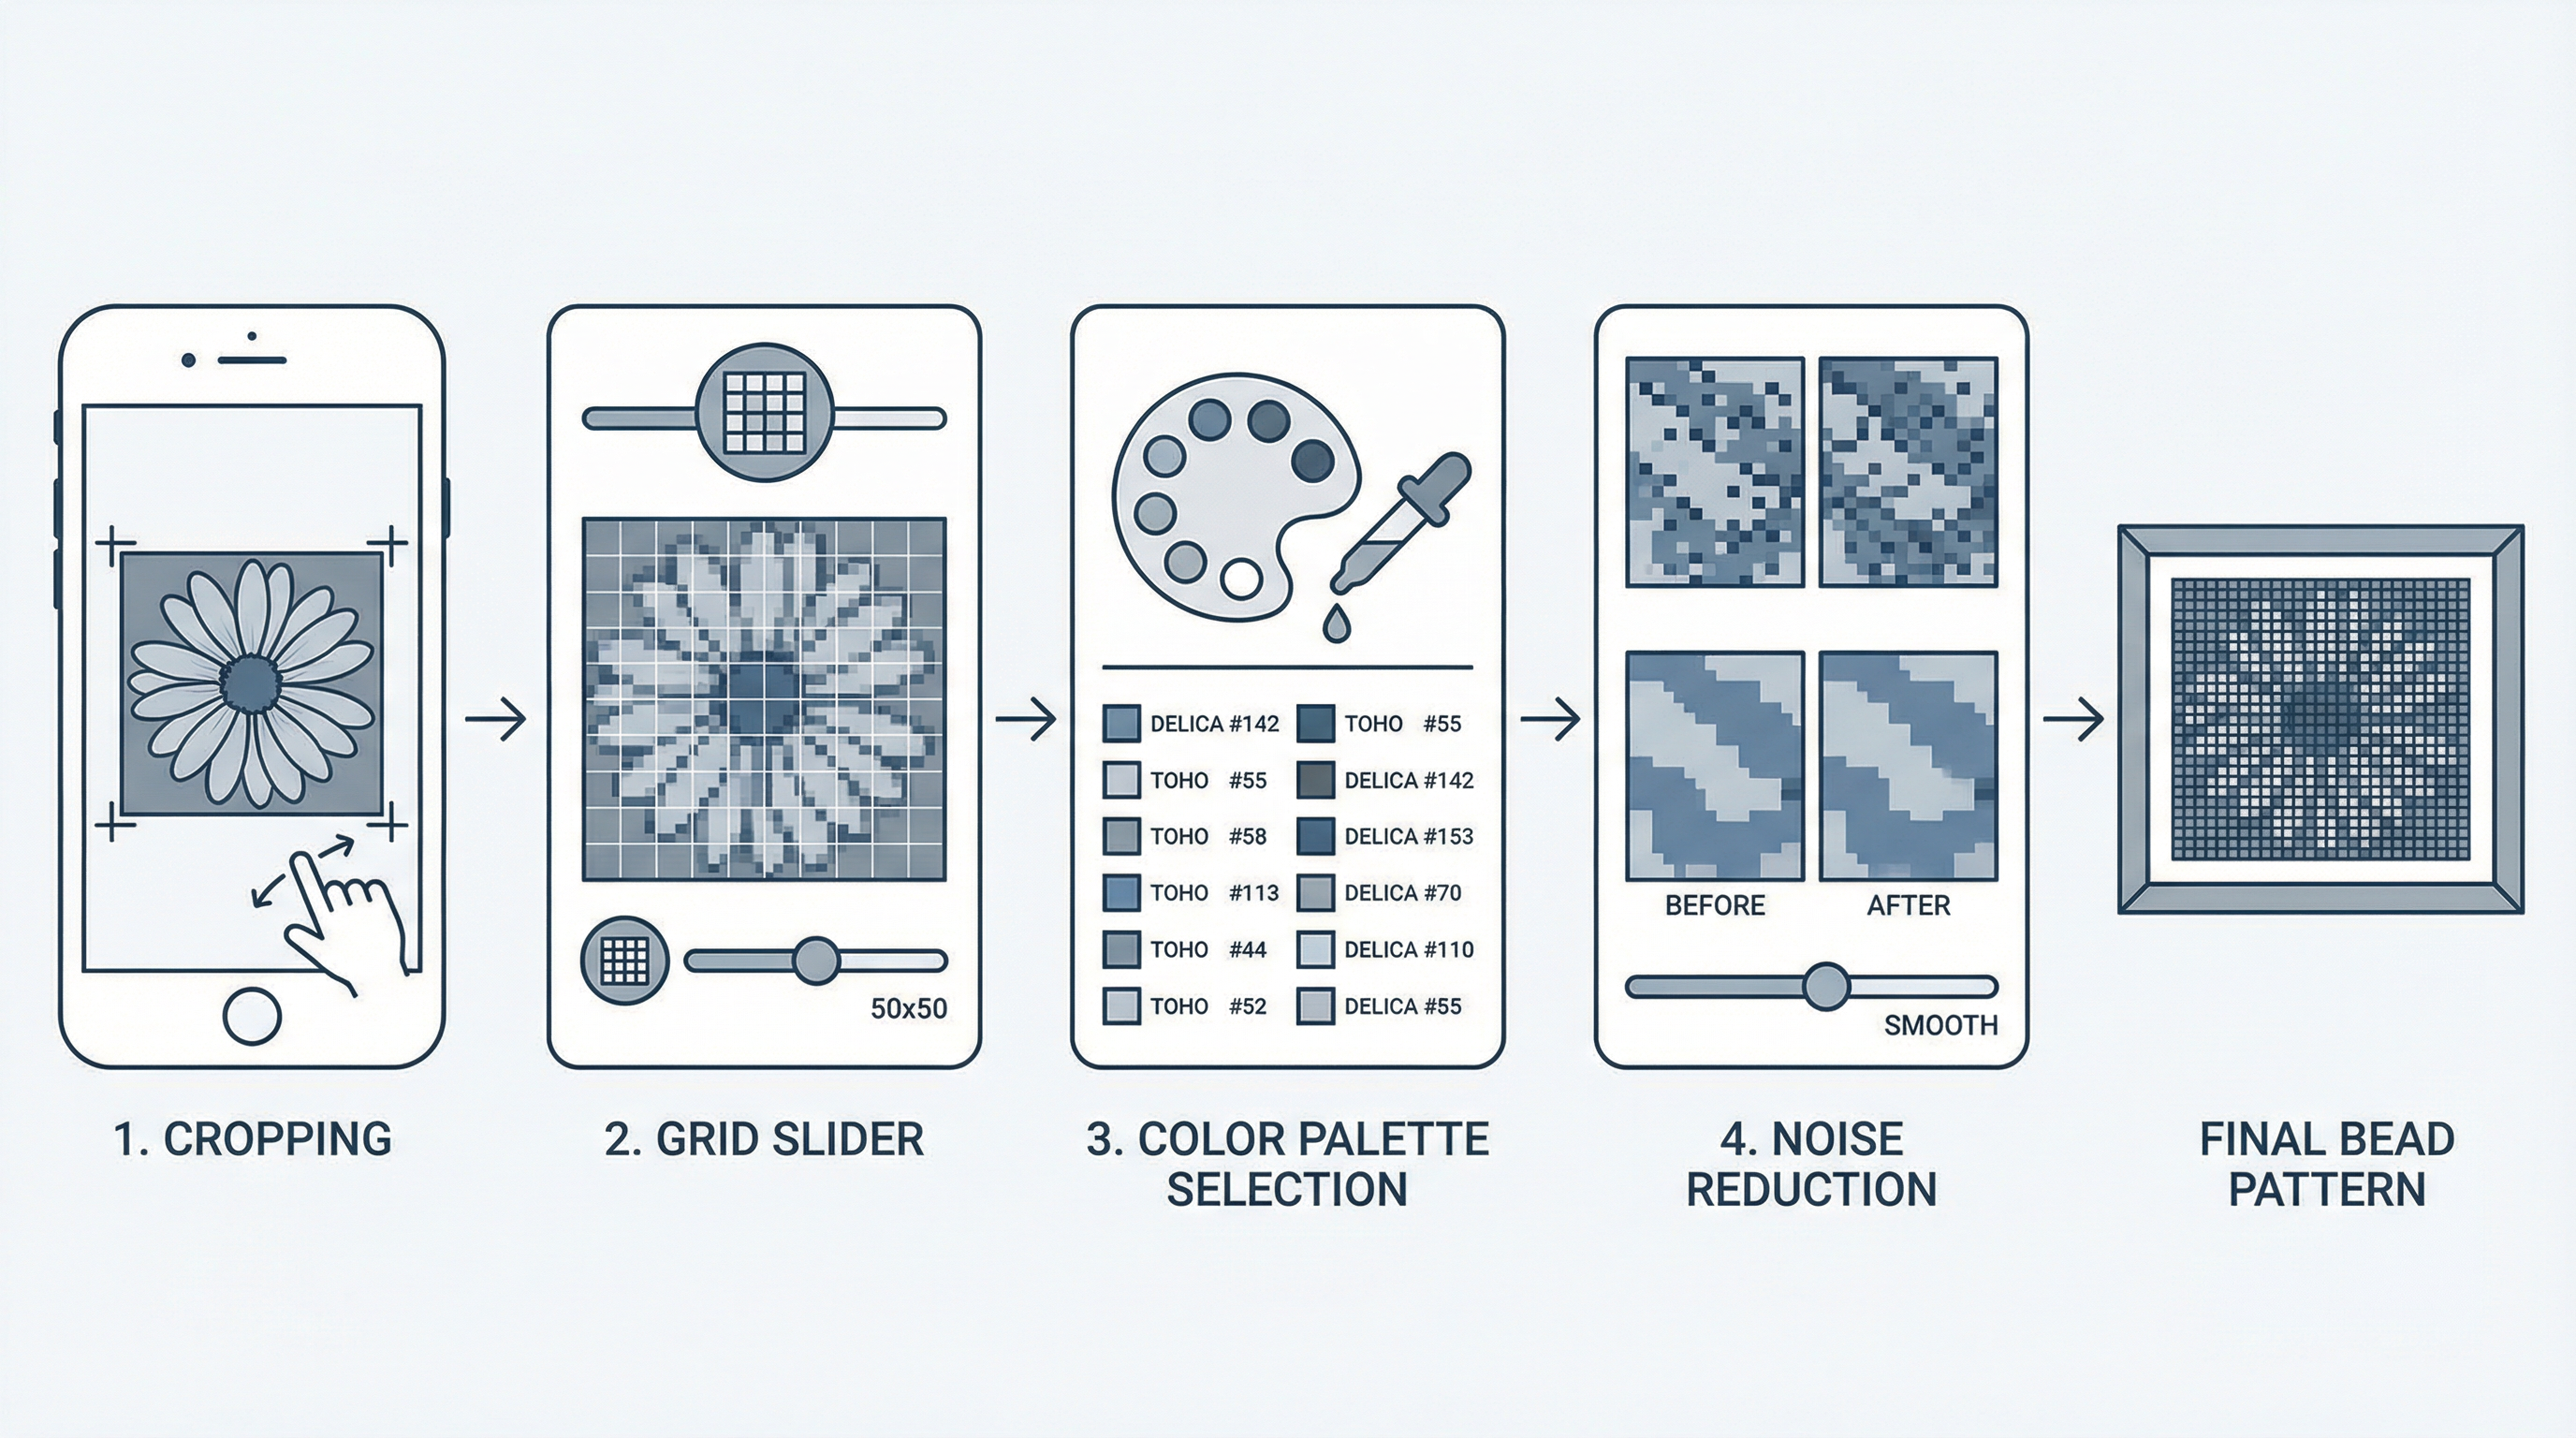
Use the merge threshold to remove speckles and merge similar colors.
Raise the threshold until tiny islands disappear, then back off slightly to keep important detail.
If the background is not part of the design, use background removal so it does not inflate color counts.
This step should remove 80 percent of the cleanup work before you touch the brush.
Step 5: Fix the Critical Details
Manual edits are most effective when you focus on the parts people notice first.
Use the eyedropper to keep colors consistent, and the fill tool to clean flat areas quickly.
Avoid repainting large regions unless you are fixing the outline or a focal point.
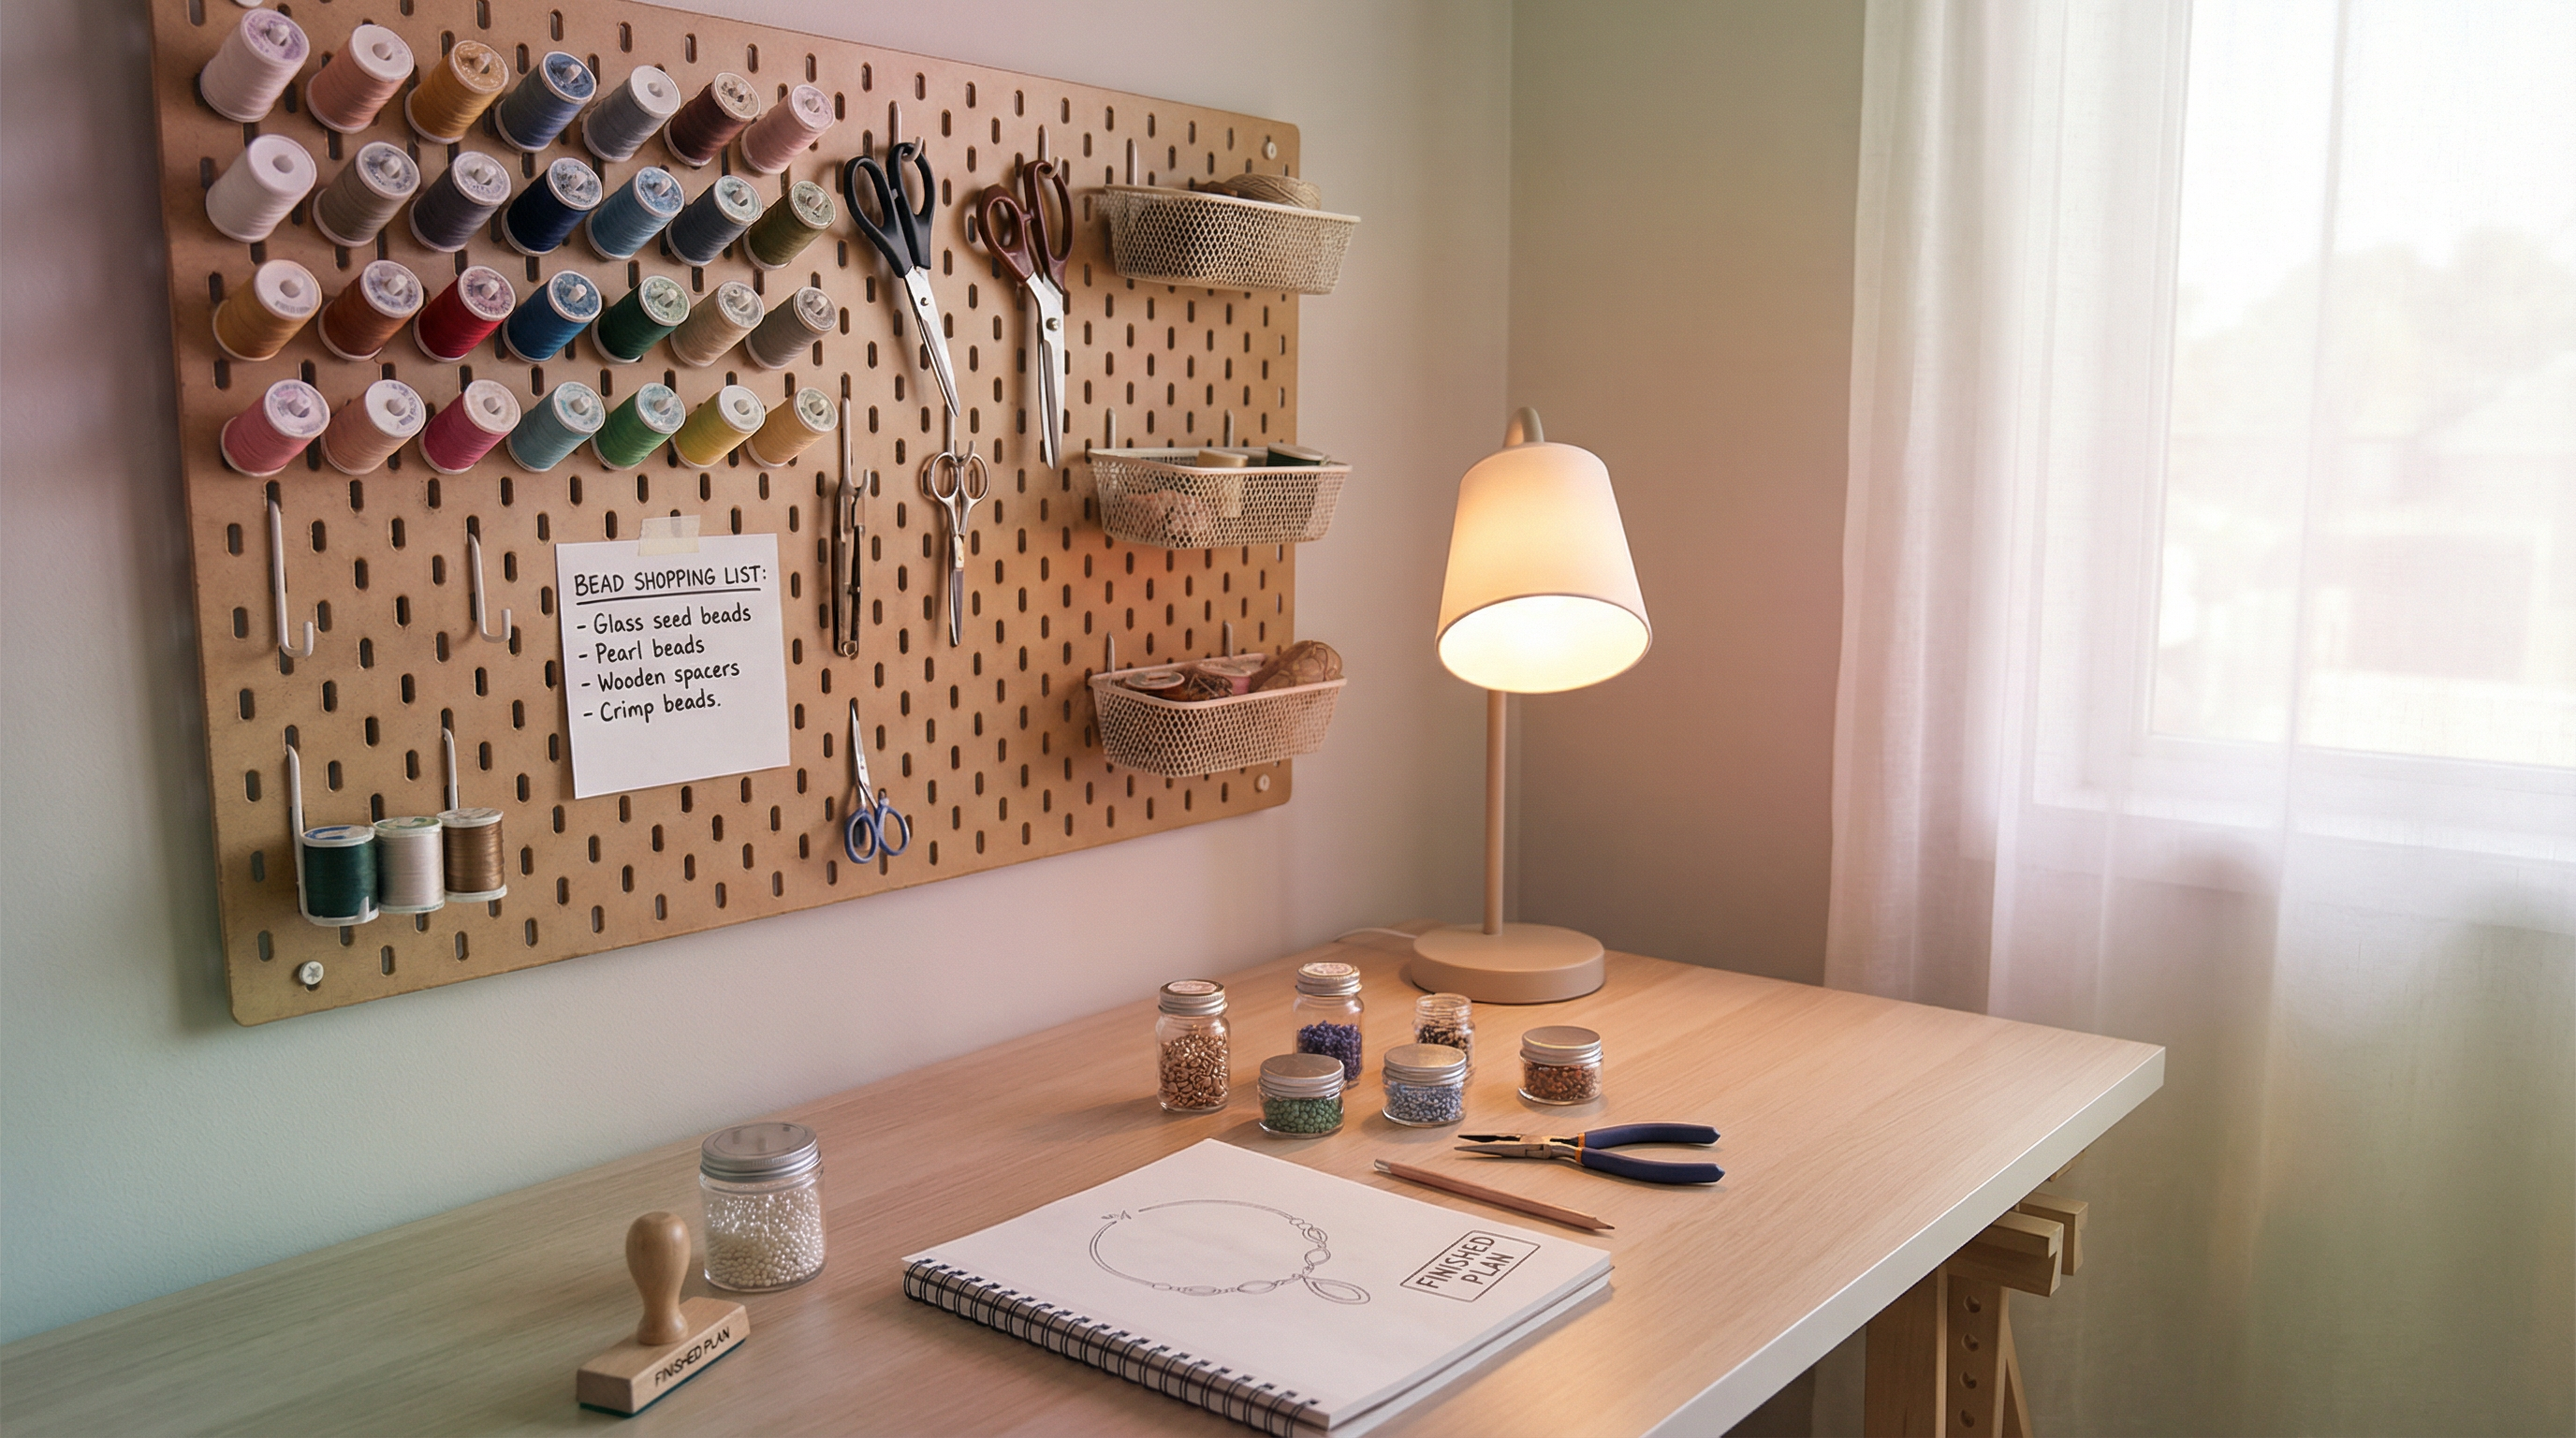
Step 6: Export and Plan the Build
Export the pattern with color codes and the shopping list so you can buy the right beads once.
If you plan to share or print the design, also export a plain pixel preview without labels.
For big builds, work in sections and keep the pattern near your pegboard to reduce mistakes.
Common Photo-to-Pattern Mistakes
Quick FAQ
How do I know if a photo will convert well?
If you can recognize the subject in a small thumbnail, it will usually convert well. If you need to zoom in to see the subject, the pattern will be too noisy.
What grid size should I choose for a portrait?
Start around 58 to 70 beads wide. This gives enough space for facial features without turning the build into a month-long project.
Do I need to use every bead color available?
No. A limited palette is easier to build and often looks more cohesive. You can always add one or two accent colors later.
Final Thoughts
A clean photo-to-pattern conversion is mostly about making smart choices before you edit.
Use BeadPattern as your conversion engine, then spend your time polishing the details that matter.
Once you get this workflow down, you can turn almost any image into a buildable bead pattern in under an hour.